
FABRIC BACKGROUND FOR A BOOKCASE
December 12, 2019
Adding a fabric background for a bookcase is easy and can turn your boring shelves into something really special. I’d never experimented much with fabric before this, so it’s truly an easy project for a beginner.
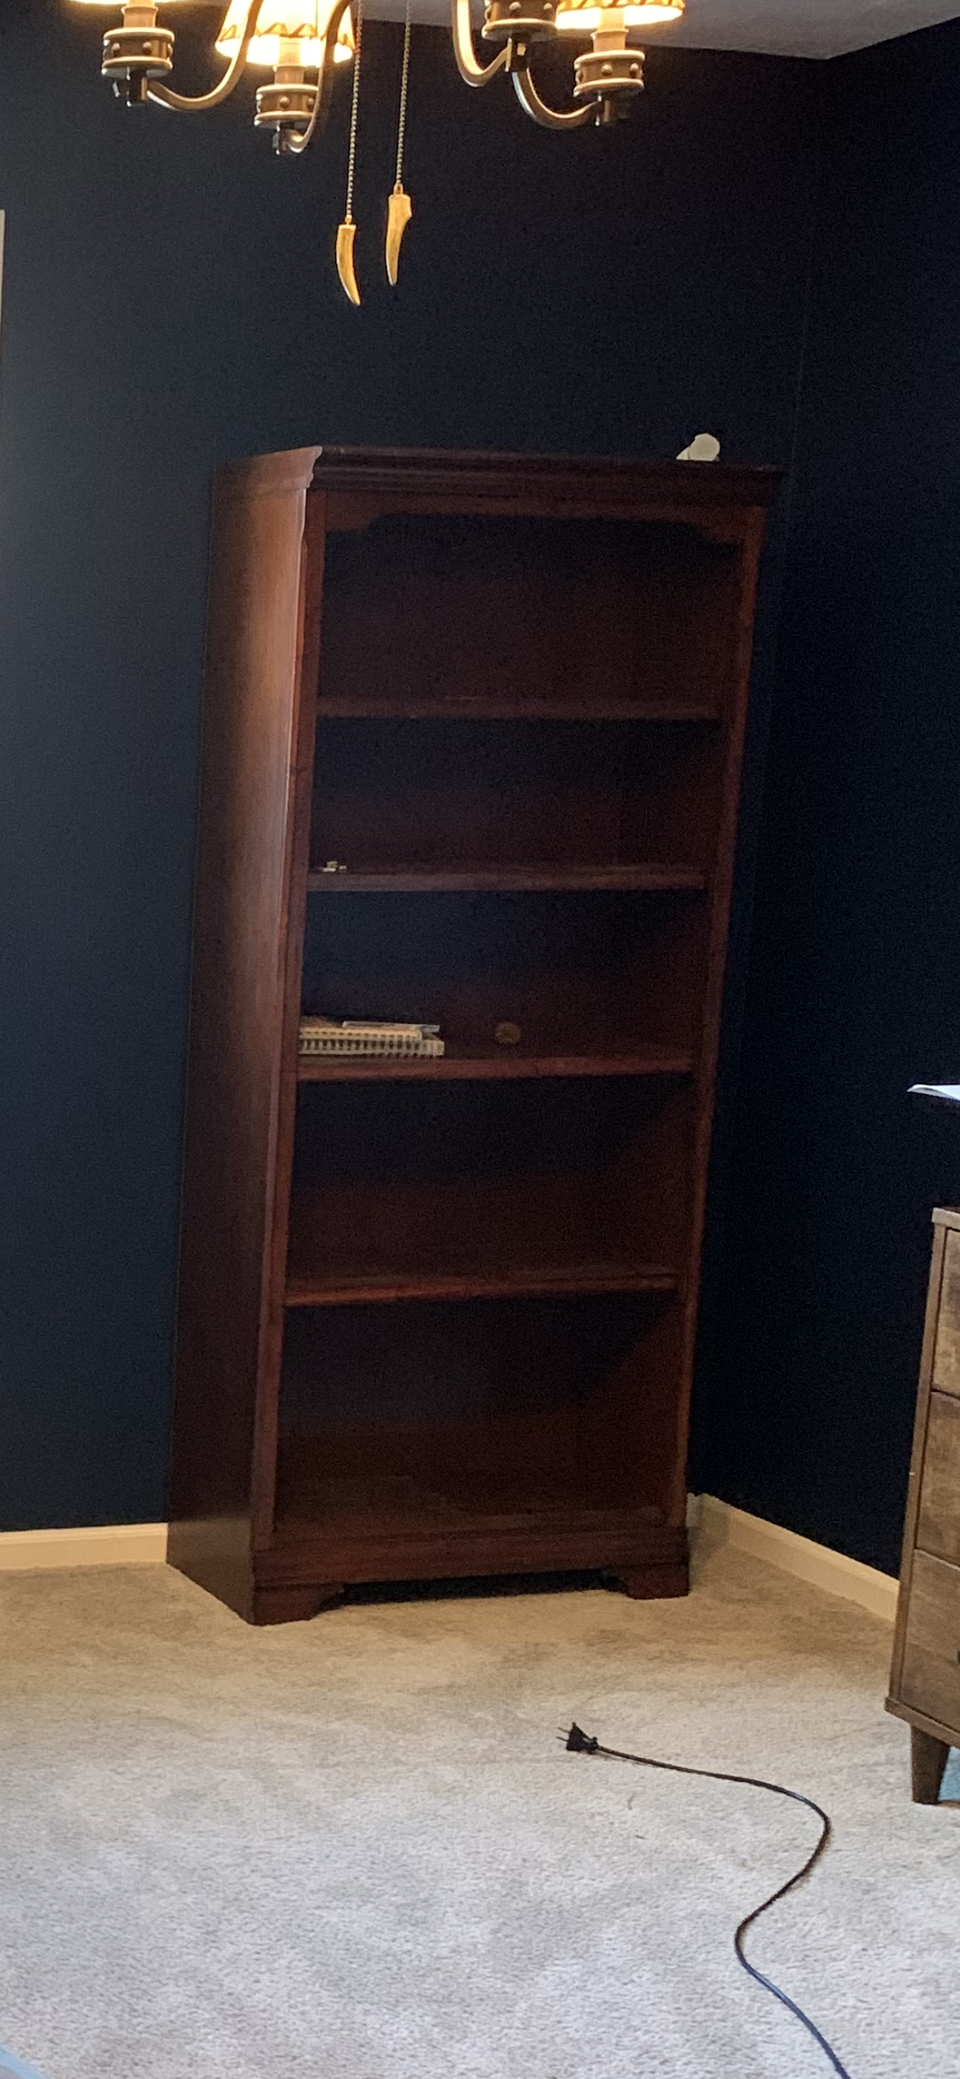
Bookcase Before
I bought a pair of dark wood bookcases from Facebook Marketplace that were in great condition. One went in my son’s room as-is, but there was only room for one, and I didn’t have another place for that style bookcase anywhere else, except my daughter’s room. And that dark wood just didn’t work in her light and airy bedroom.
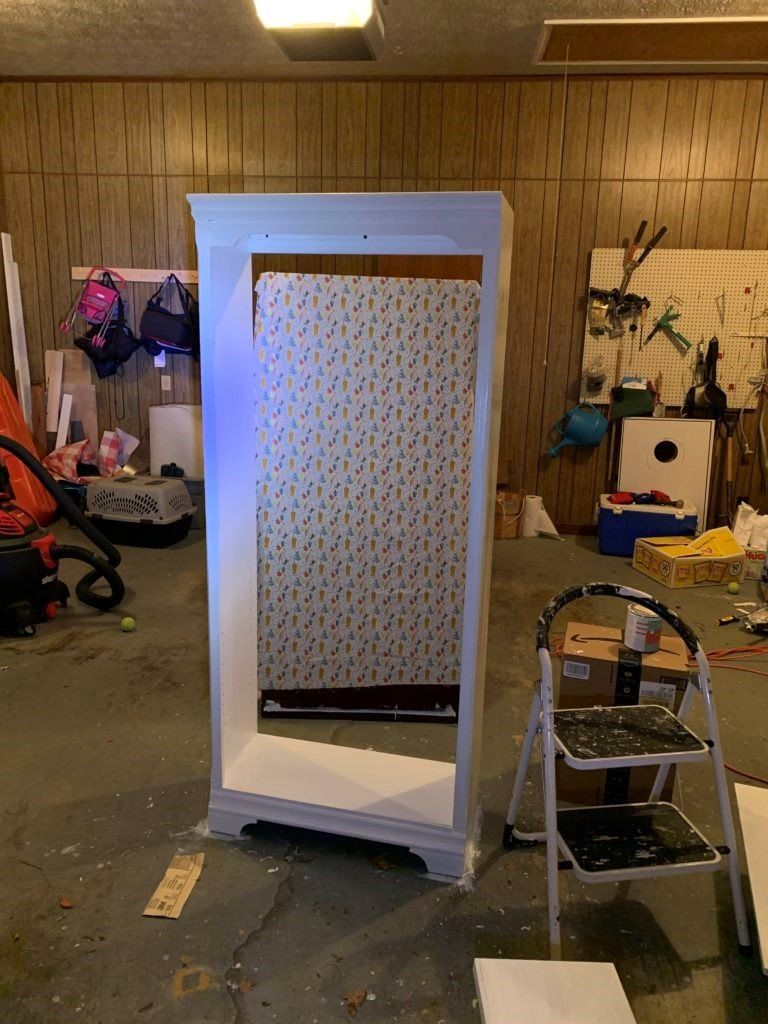
Painting the Bookcase
First, I removed the back panel of the bookcase, since there was no need to paint it. It was screwed on with several short screws, so I just removed them and set them to the side in a safe place. I chose to use a quart of chalk paint from Lowe’s tinted to a creamy white to paint the bookcase and finish it with Liquitex Satin Varnish, but it would have also been a good candidate for spray painting.New Paragraph
Fabric
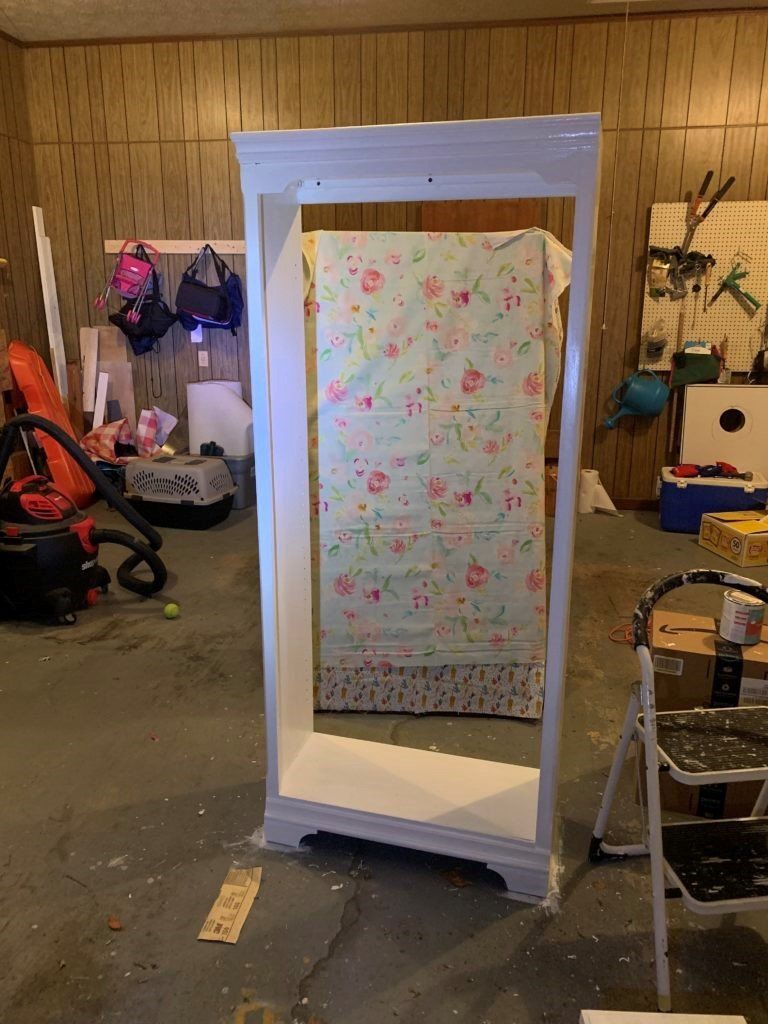
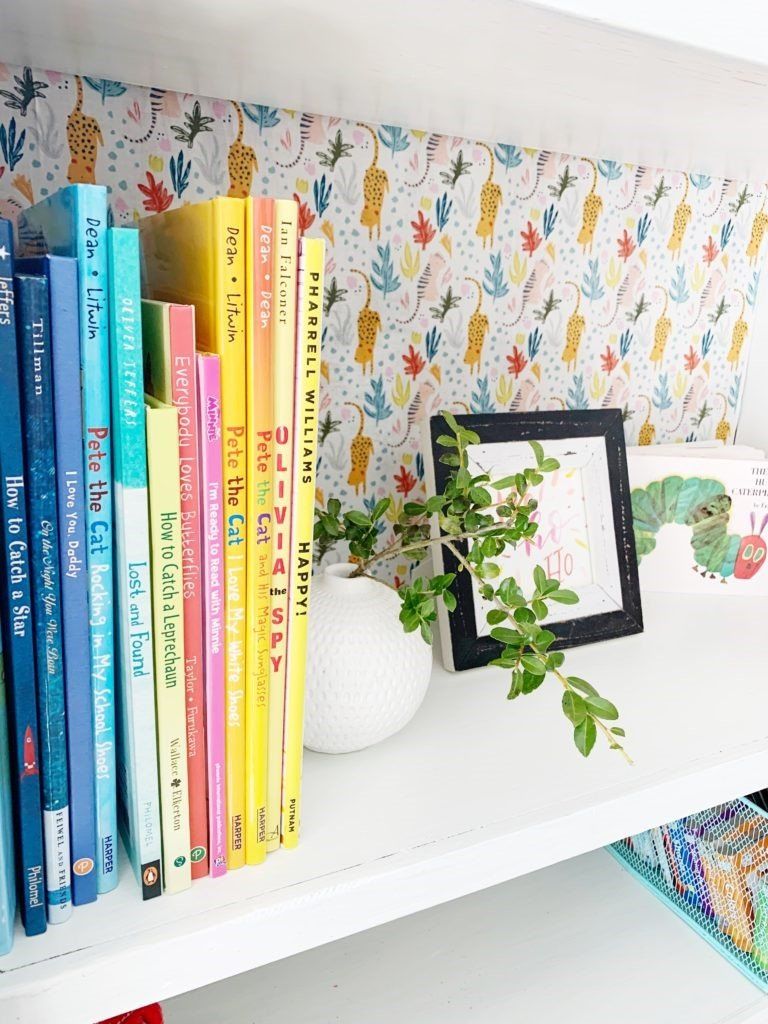
Hobby Lobby is a great place to select a fabric, so that’s where I went to find some for the back panel, and had a really hard time choosing. I was immediately drawn to this adorable cat pattern, but before I left, found this gorgeous watercolor floral on clearance, so I bought them both.New Paragraph
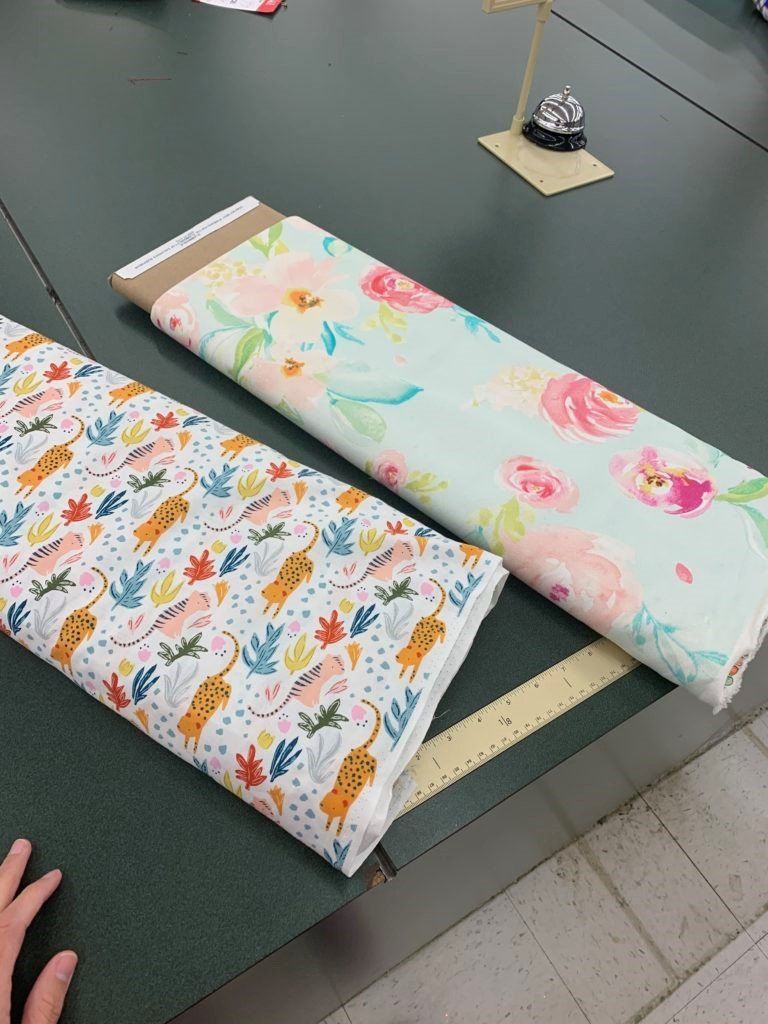
I tried them both out by draping them over the back panel and trying to visualize what I wanted. After much agonizing and an Instagram vote, I finally decided on the cats. I love the playful nature and colors of the pattern, so it was perfect for this project.
Attaching the Fabric
I layed the back panel flat on the ground and placed the fabric on top. I needed a small border around the edge for the screws, so I didn’t need the fabric to quite be edge-to-edge, so starting along one edge of the fabric, I kind of eyeballed it on the other, cutting it along the other three edges.
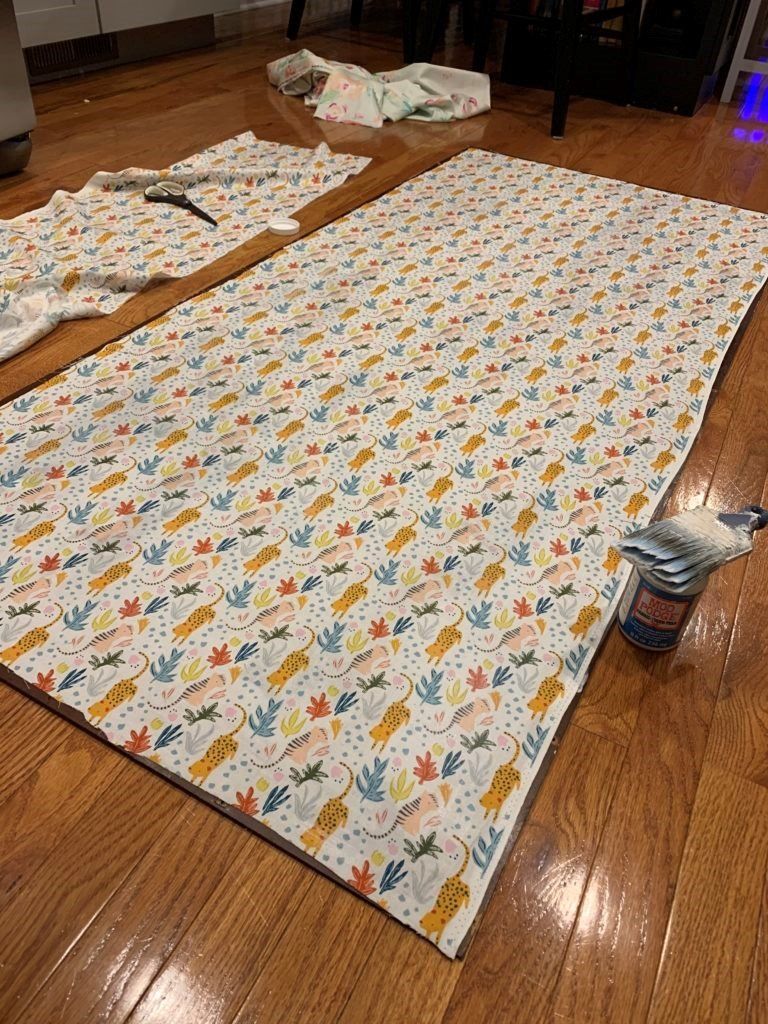
Once all the fabric was cut, I tacked it down with Scotch tape in a few places along one side to keep it in place. Then I folded it back and added a layer of Mod Podge for fabric on the panel and pressed the fabric back on top, being careful to press out any bubbles. I finished it with a layer of Mod Podge on top.
If you have any stubborn bubbles, you can put a thicker layer of Mod Podge in that area and press the bubbles out until the fabric is flat. After you finish that top layer, just let it dry!
Putting it back Together
Putting it back together
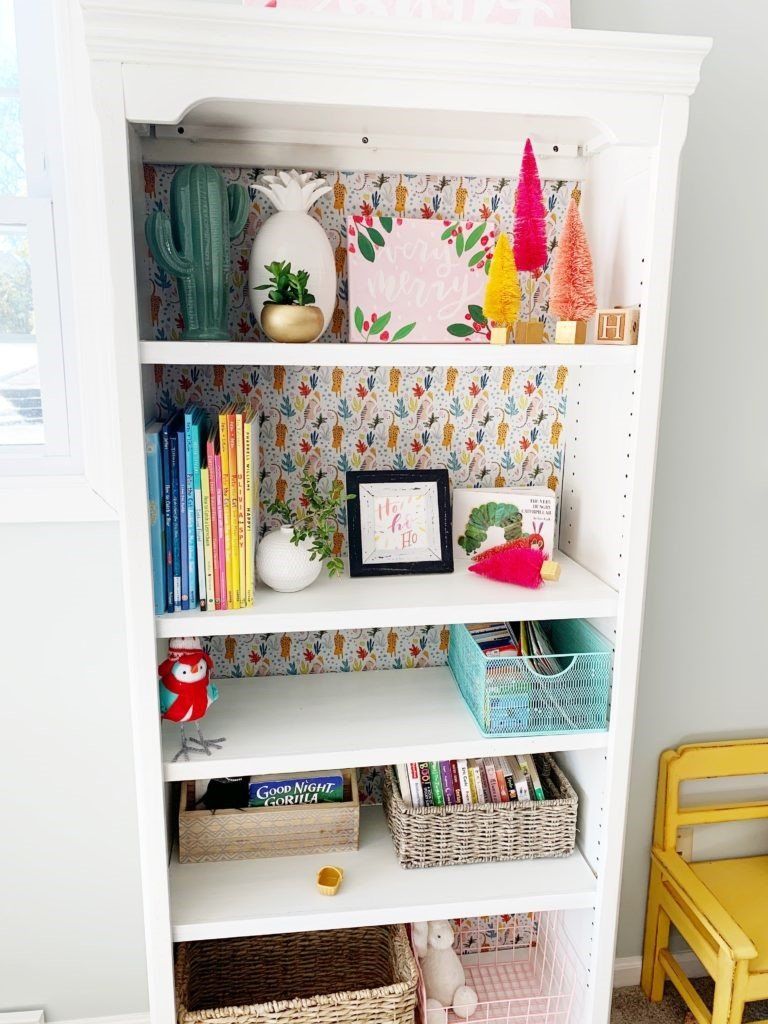
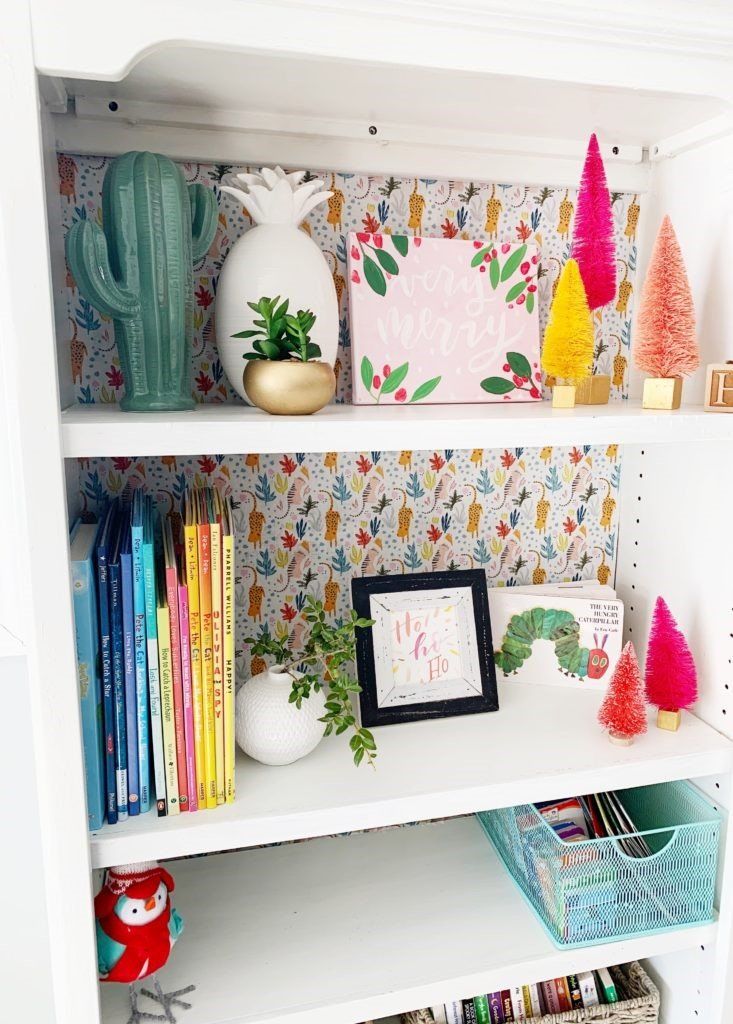
Remember those screws you set aside in a safe place? You’ll just use those to reattach the back and you’re all finished and ready to stage your adorable new bookcase! Be sure to check out the rest of this little girl’s room and the pink buffalo check wall!
Pin for Later!


Rifle Paper Co Wallpaper

Space Planning

Rifle Paper Co Wallpaper

Designer Drapes

Rug Roundup January 2024

Booth at Christmas Market
Grasscloth

What not to do

Romabio Velatura Mineralwash

I can't remember the first example of fluted wood furniture I saw, but it was probably either this gorgeous custom wood bathroom vanity from Chris Loves Julia , or the DIY fluted coffee table Fariha shared on Pennies for a Fortune . The custom cabinetry was done professionally using a router for each line, which isn't something I possess the skills to do. This did help inspire the colors I used in our bathroom remodel, though! I really connected to the method Fariha used to build the coffee table--wooden dowels. What a fabulous idea!