DIY Designer Dupe: Add Trim Tape to Curtains

Jenni Jarvis • February 2, 2024
master bedroom grandmillenial decor

Designer Drapes

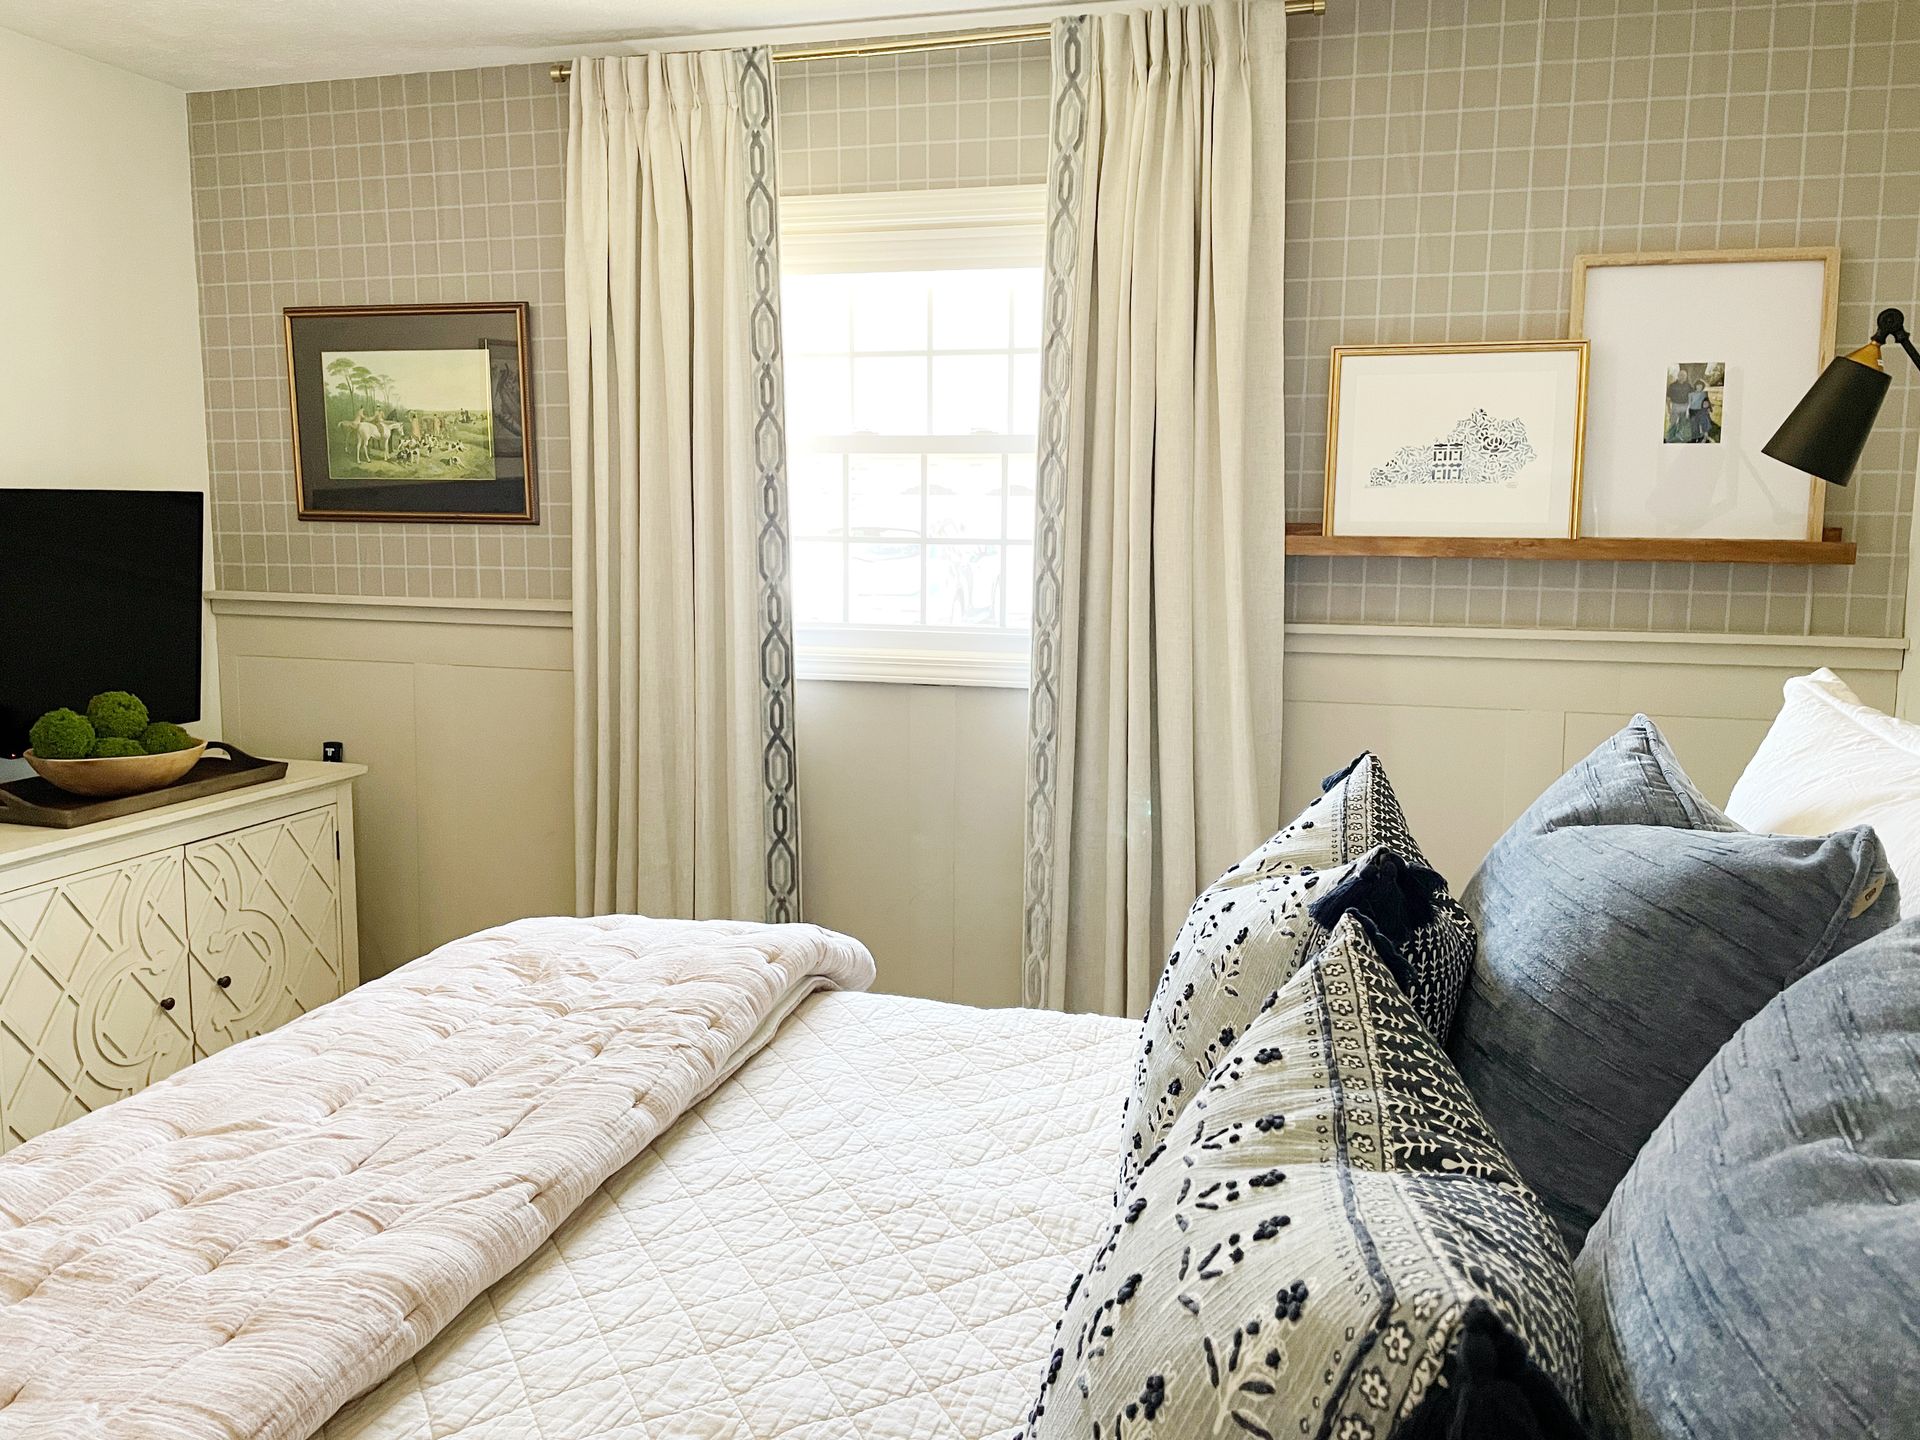
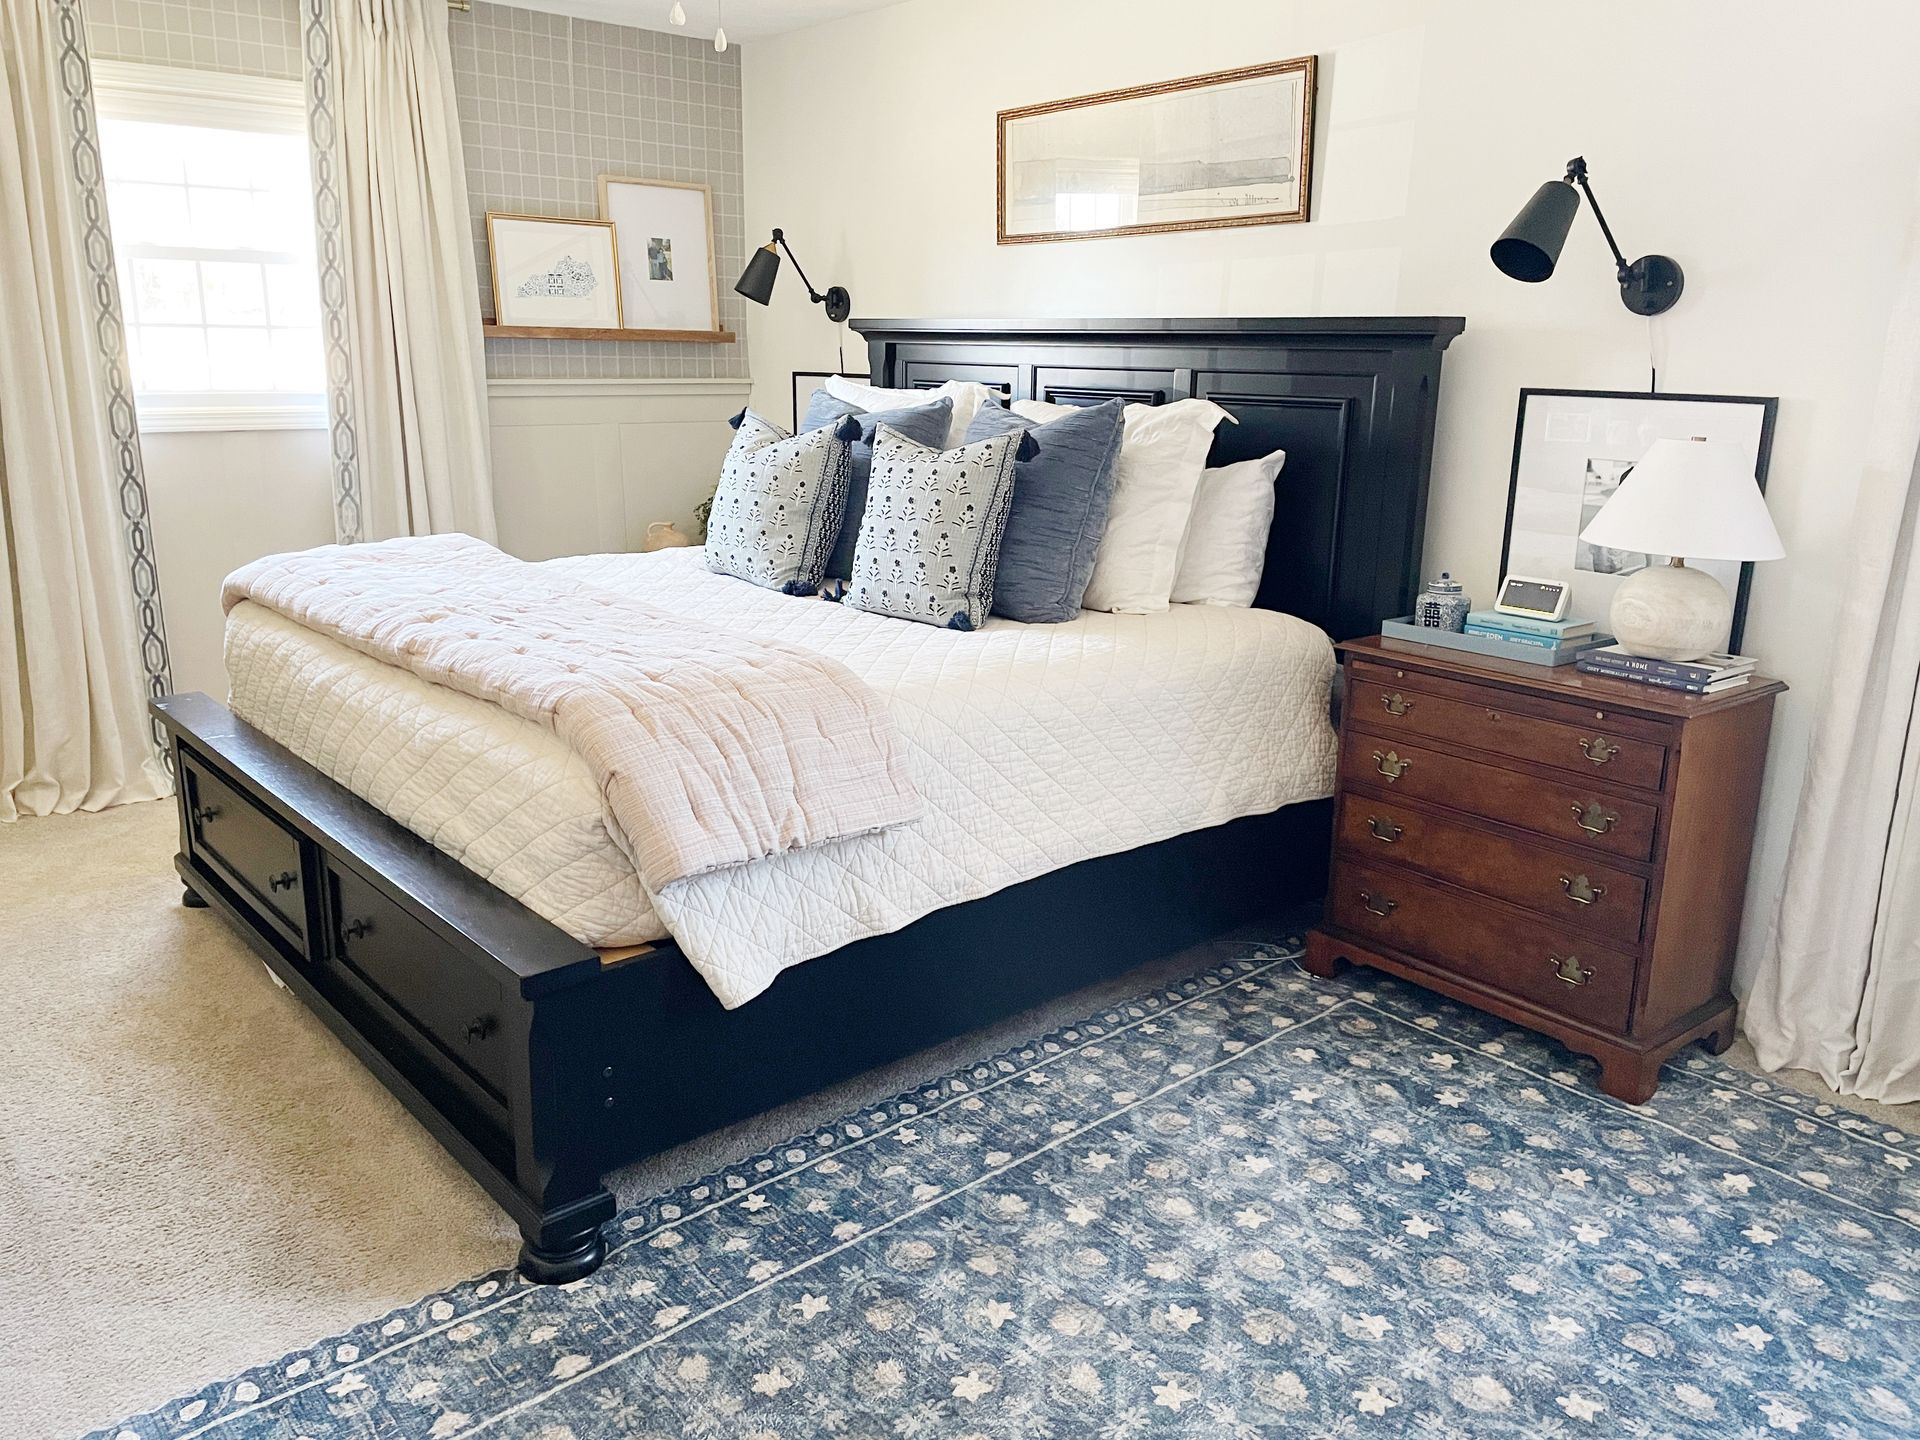
Custom drapes are a luxury item, but there's no reason you can't copy the look without breaking the bank. Pinch pleat curtains are typically my favorite, and there are a lot of great options out there. Amazon carries the Two Pages brand and I've found those to be great quality. I have them in my living room currently. These are the linen-look unlined pinch pleat curtains I chose.
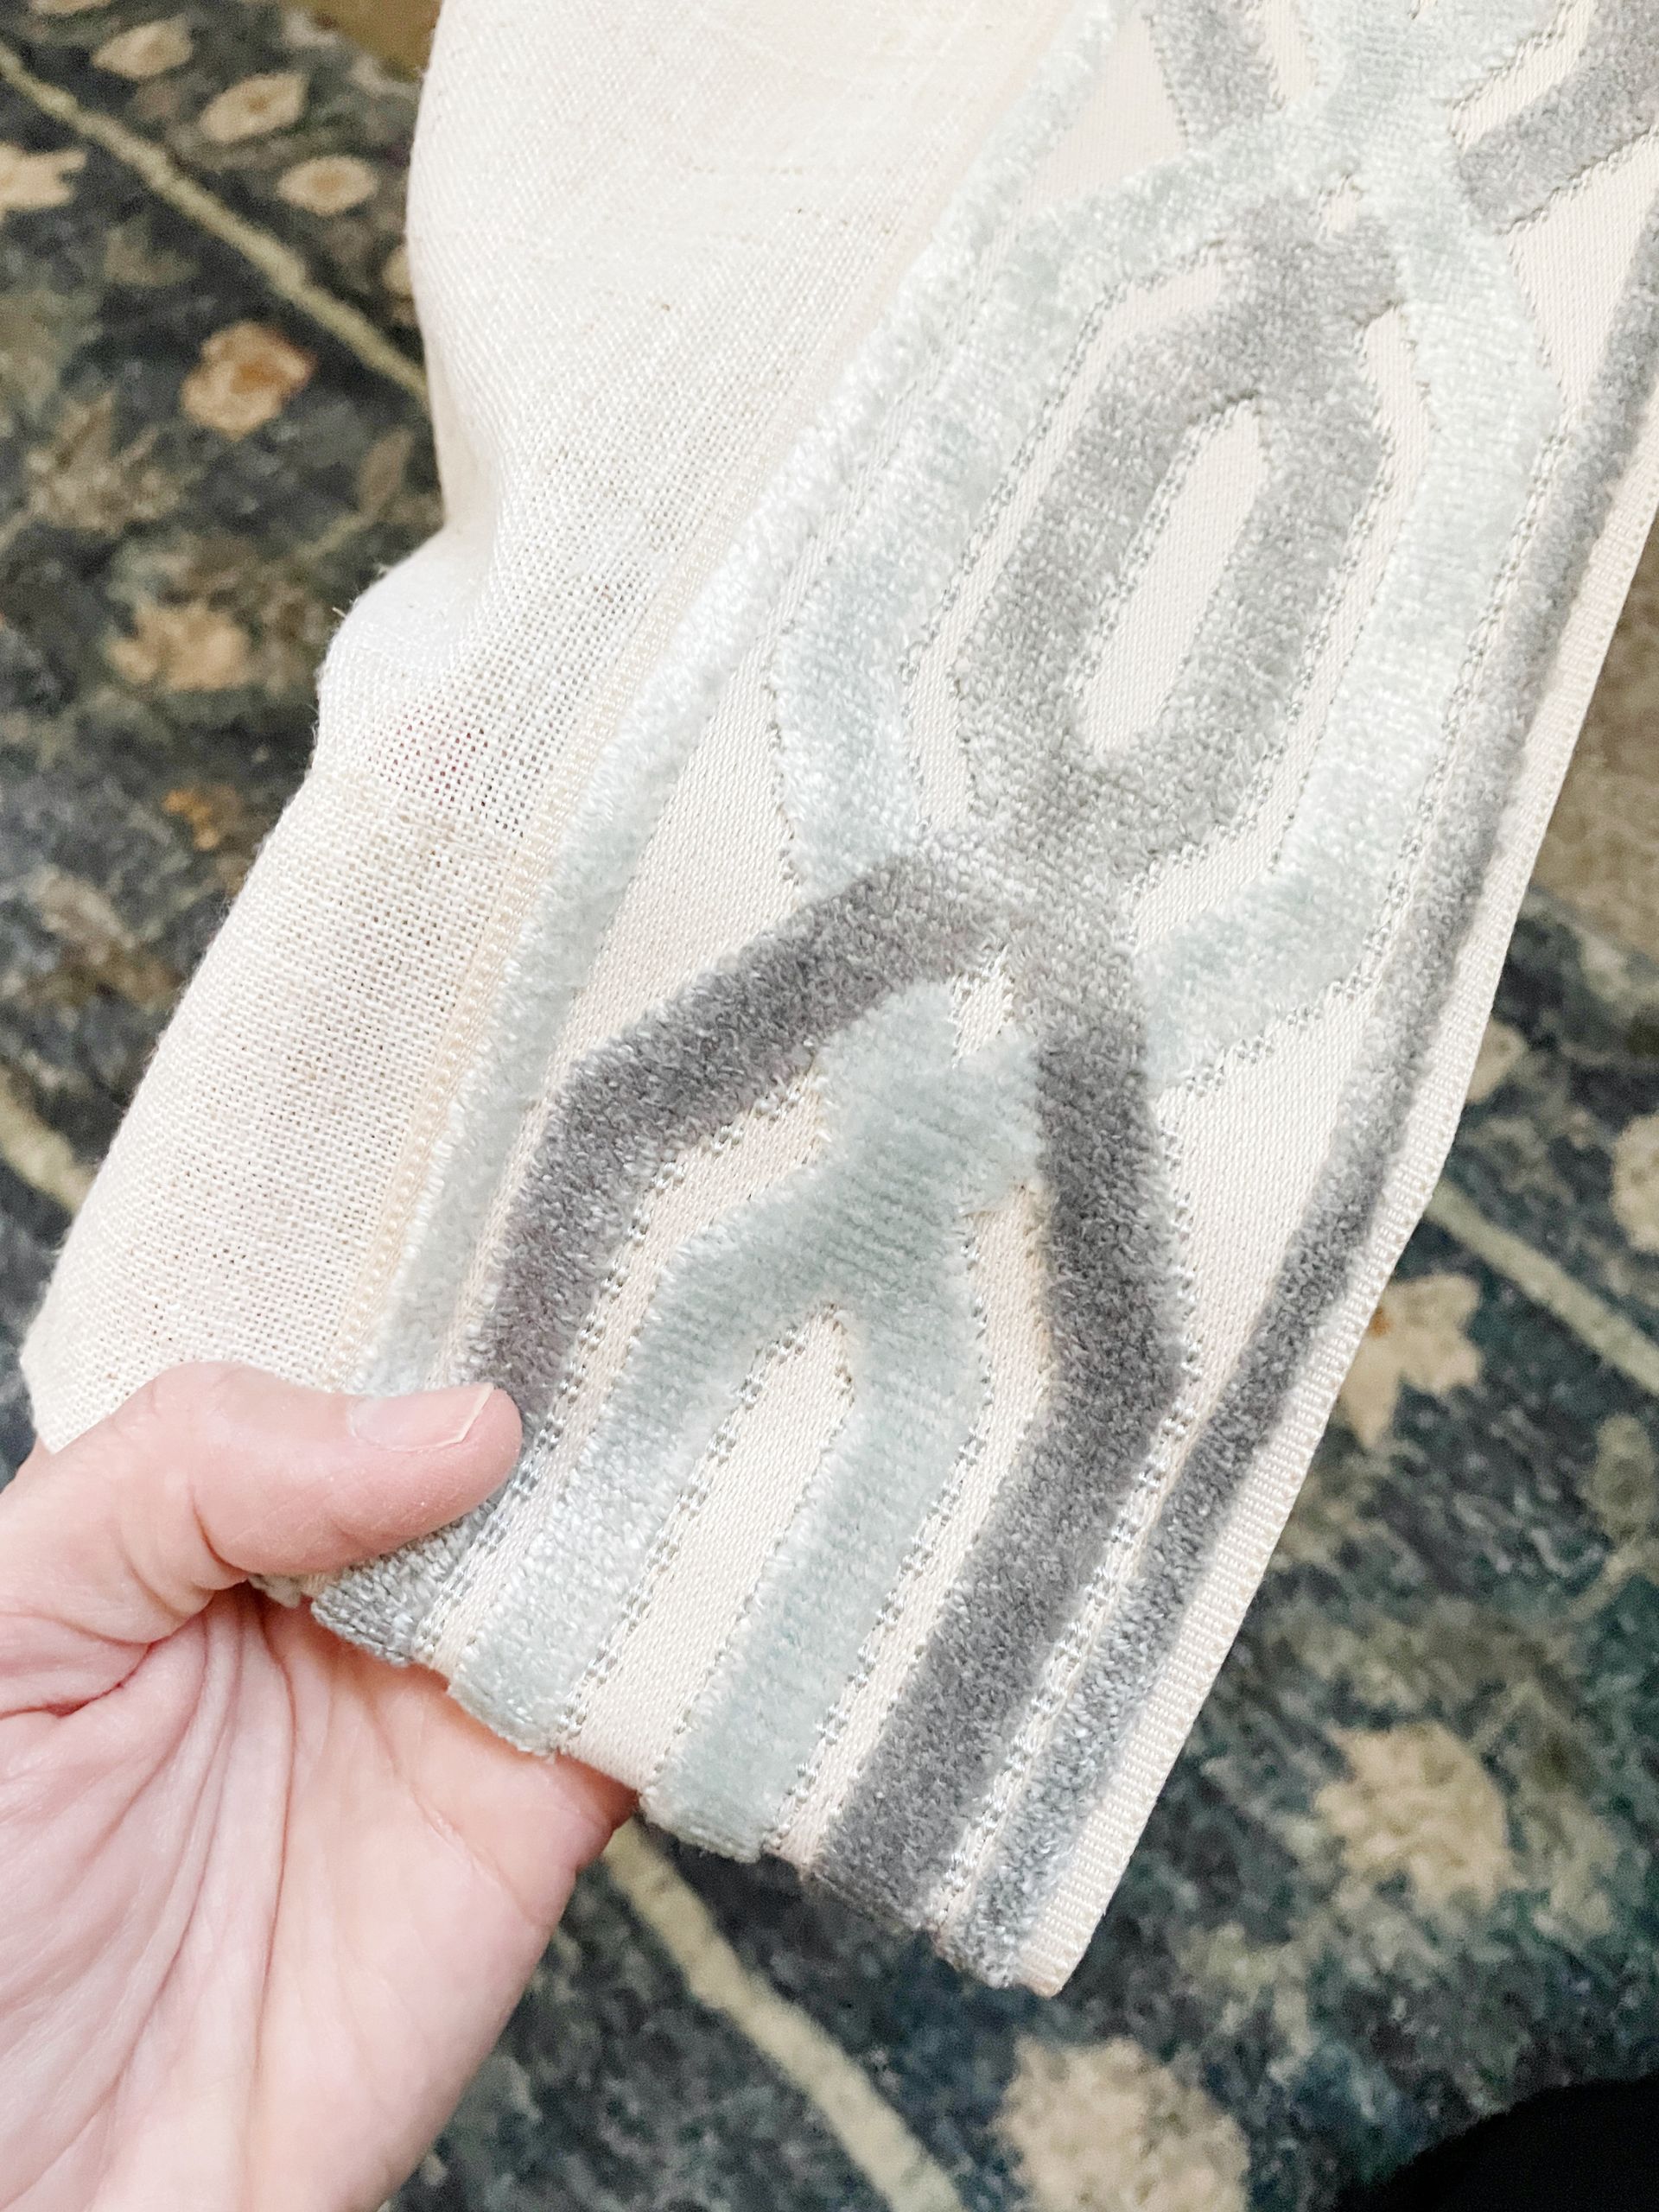
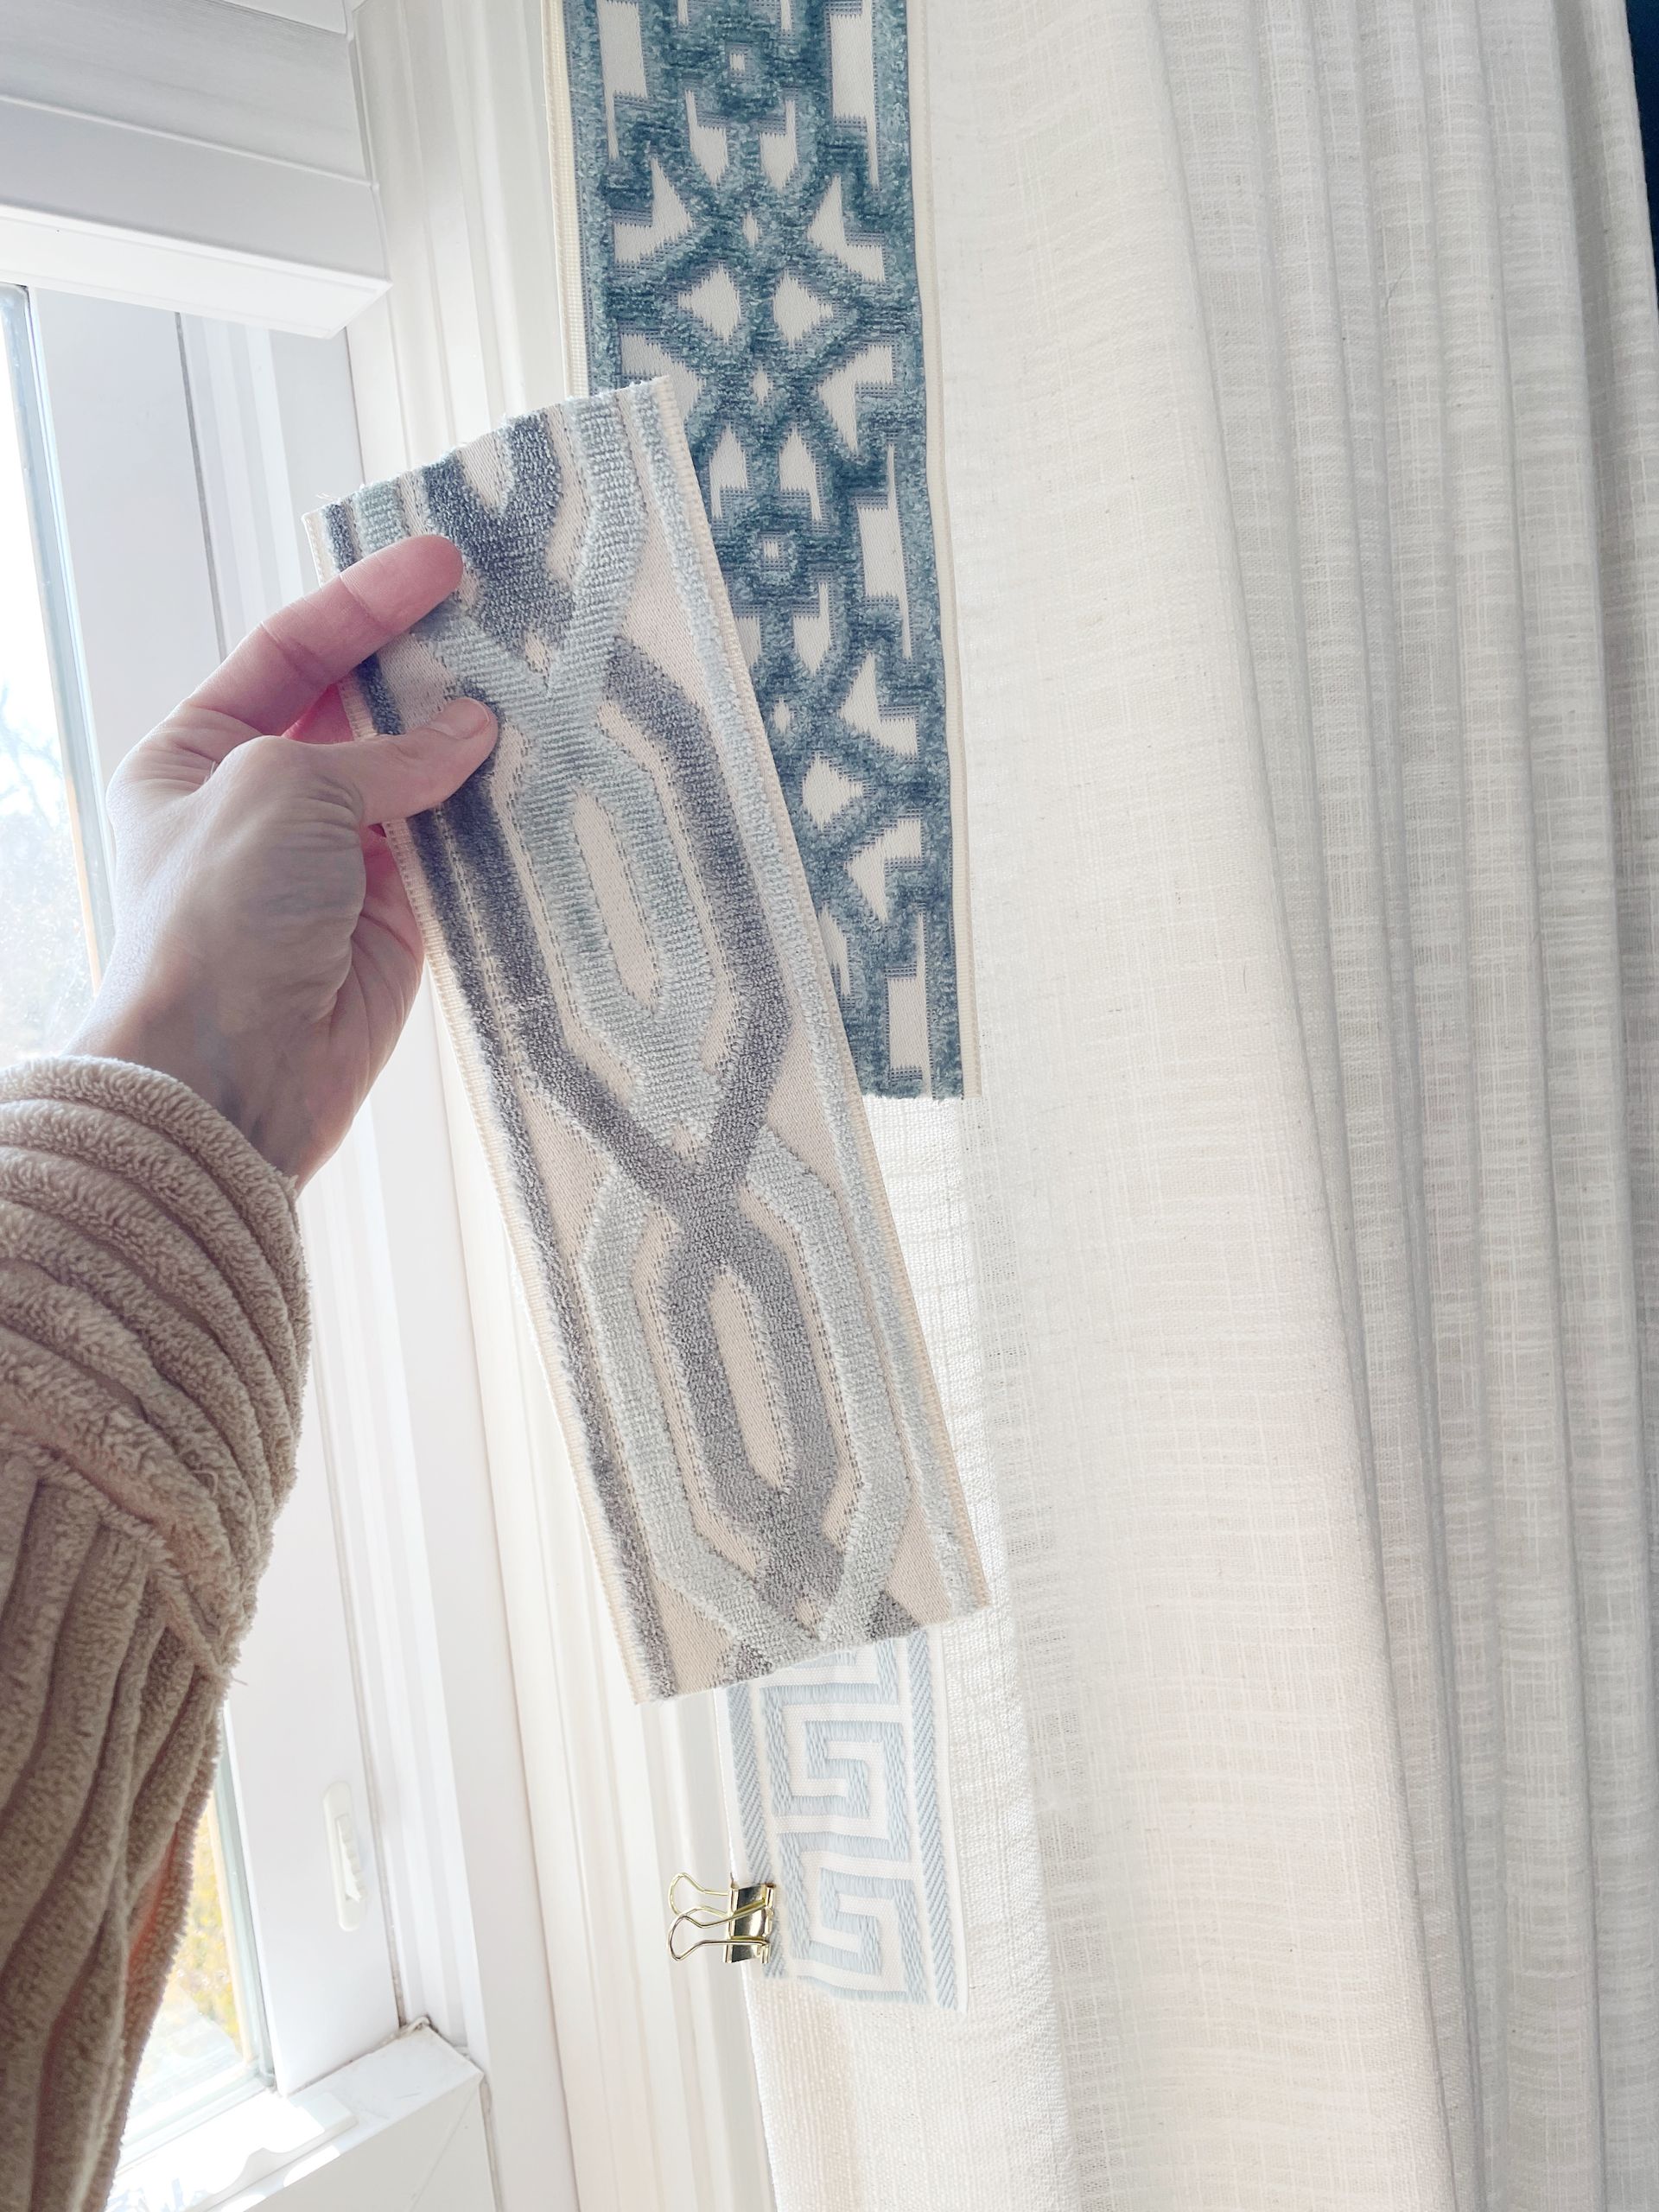
If you're looking for curtains to use in a bedroom, I recommend using something lined for privacy or blackout. Blackout curtains basically turn your bedroom into a hotel room, where almost zero light is peeking through--we love ours. I also found them on Amazon and they come in a variety of colors. I hung ours directly using the rod pocket, instead of pins/hooks, because I could still get the lovely pleated look and didn't have to hem, at all, which leads me to the next topic--making curtains work when you don't sew!

I don't sew, so I'm always looking for a hack to use as a substitute for actual sewing skills. I have found that iron-on hem tape works for hemming curtains. You just iron it on and fold up the hem to the correct length. I have found it's not always easy to get it to stick well, though. I'd say mine are JUST good enough to get by.

Curtain Trim Tape

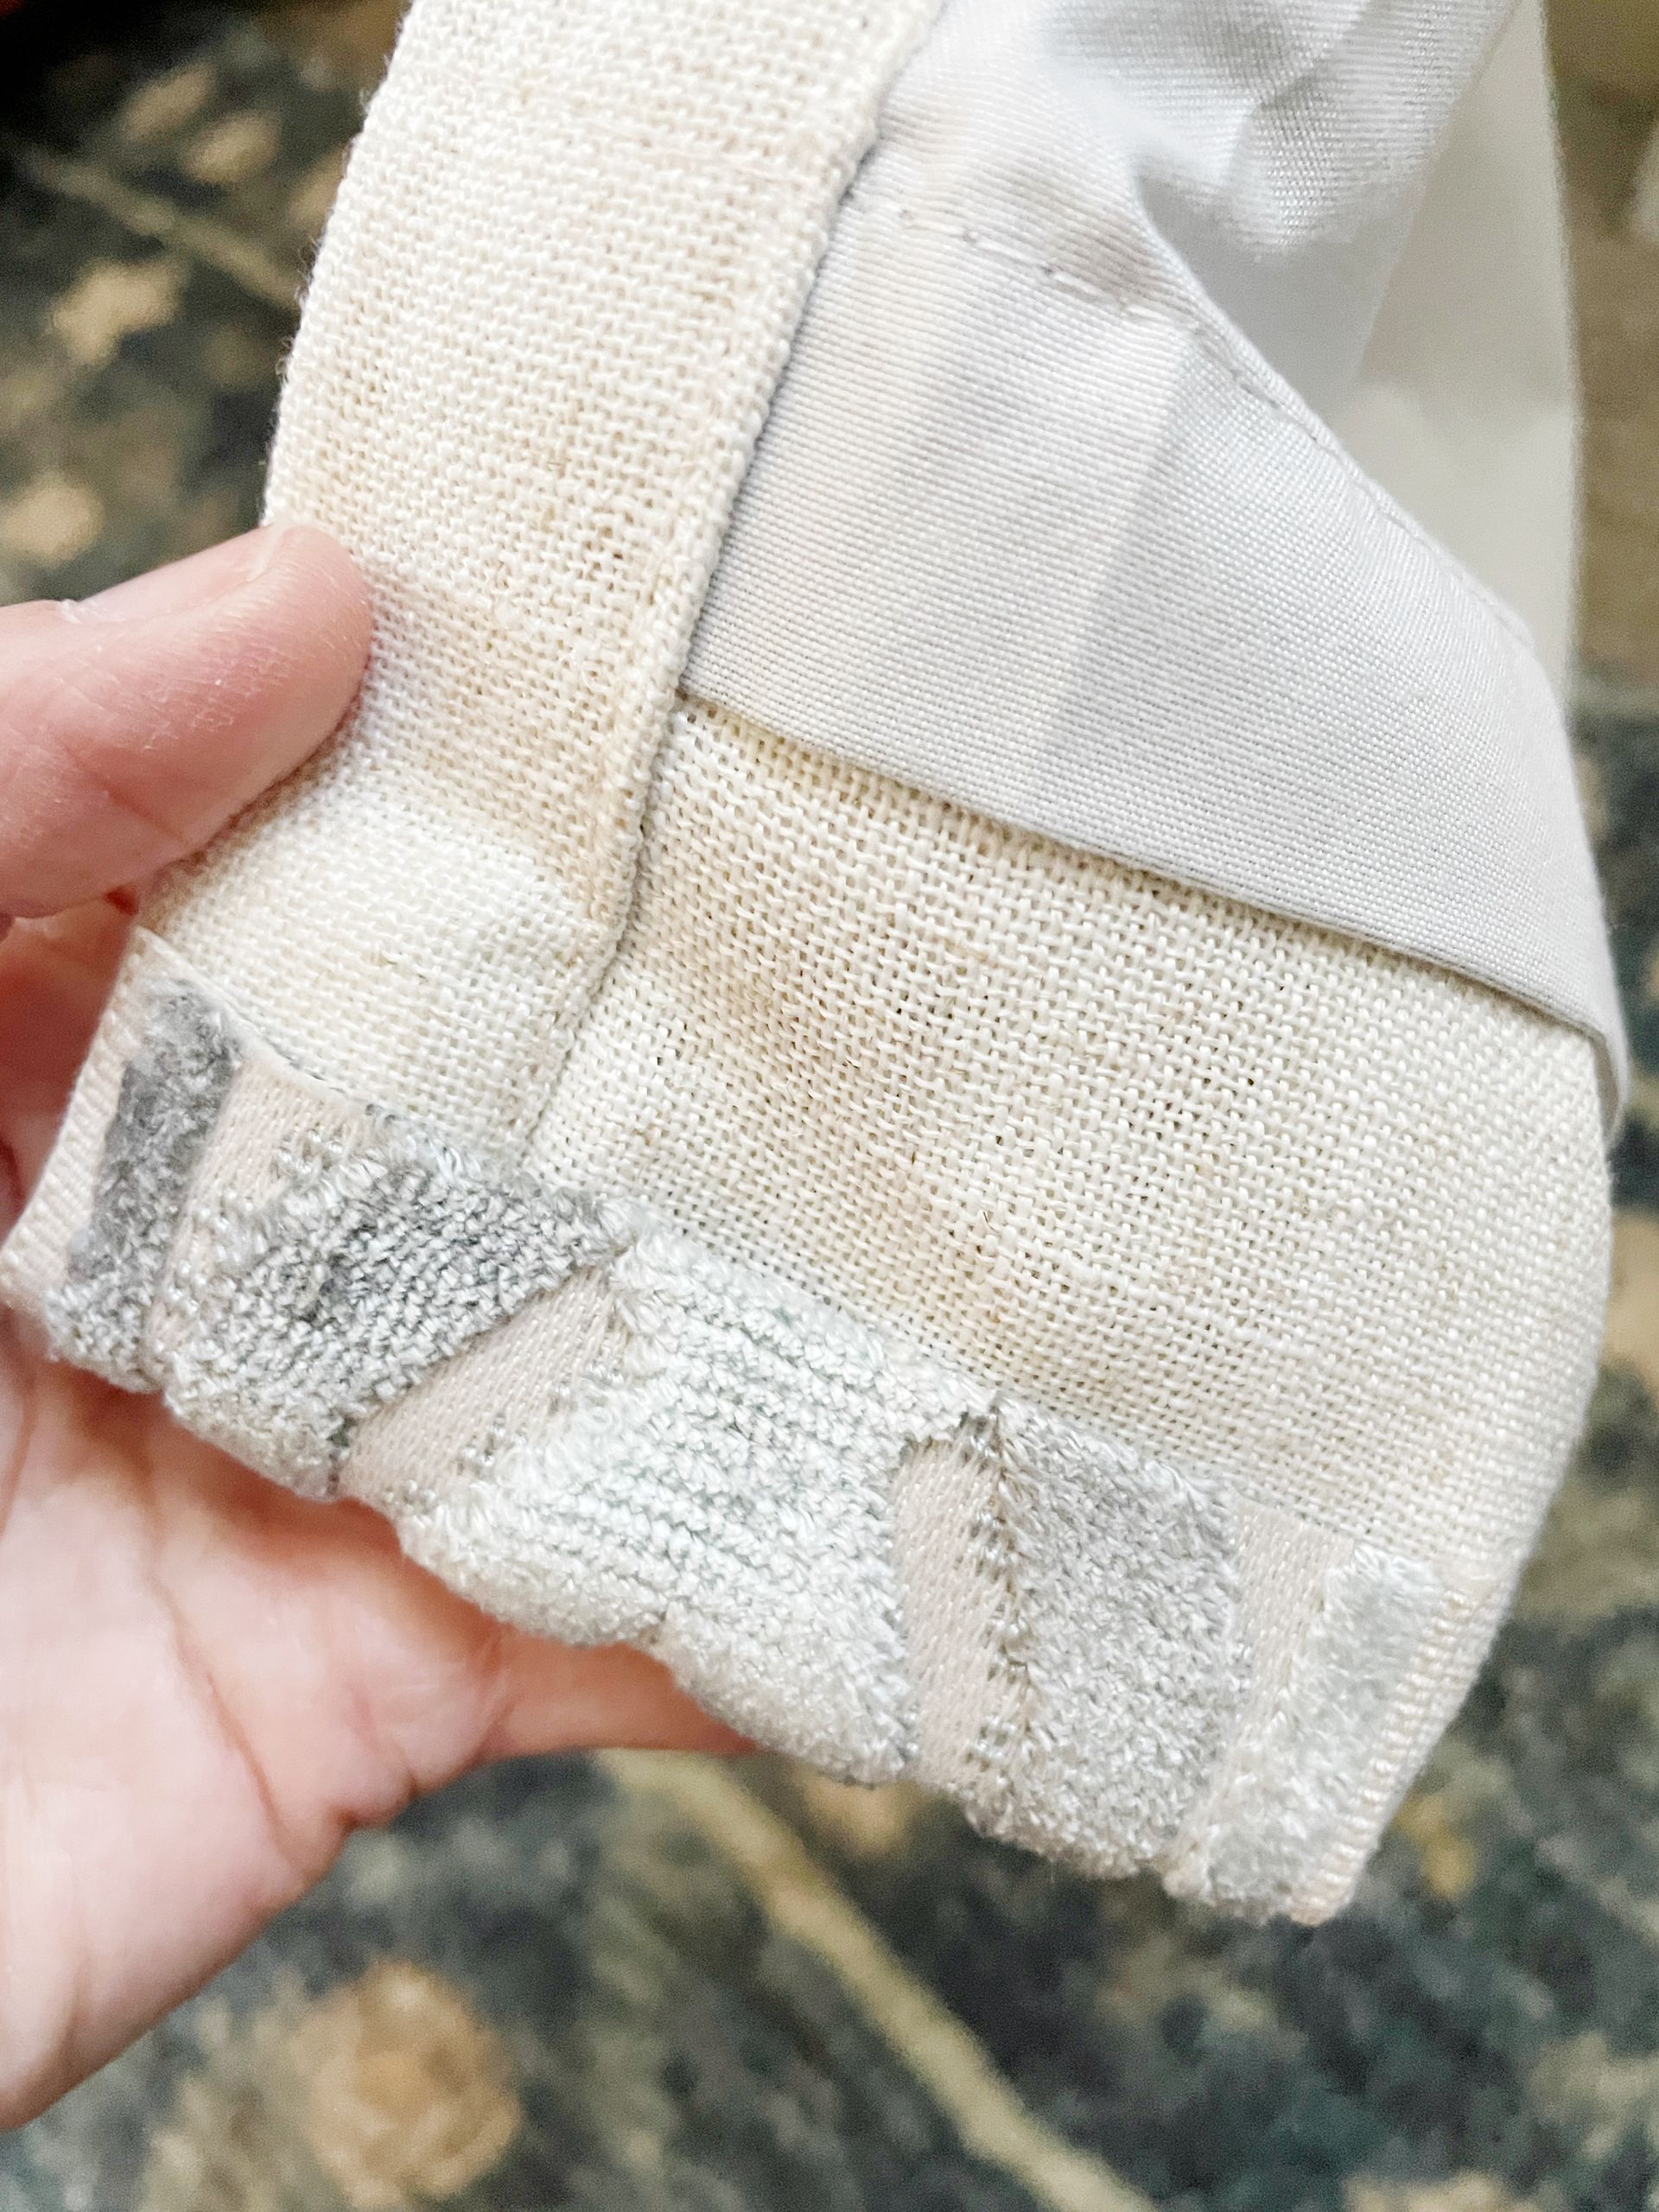
I have grown to love the look of curtains with trim, and scoured the internet to find something I loved that wasn't super expensive. This is what I ordered off Etsy. I also got samples of this and this. Our ceilings are 8', and the curtains are hung almost to the top, so I ordered four 96" lengths so I'd have a little extra. It arrived as one single roll, which ended up being just fine.
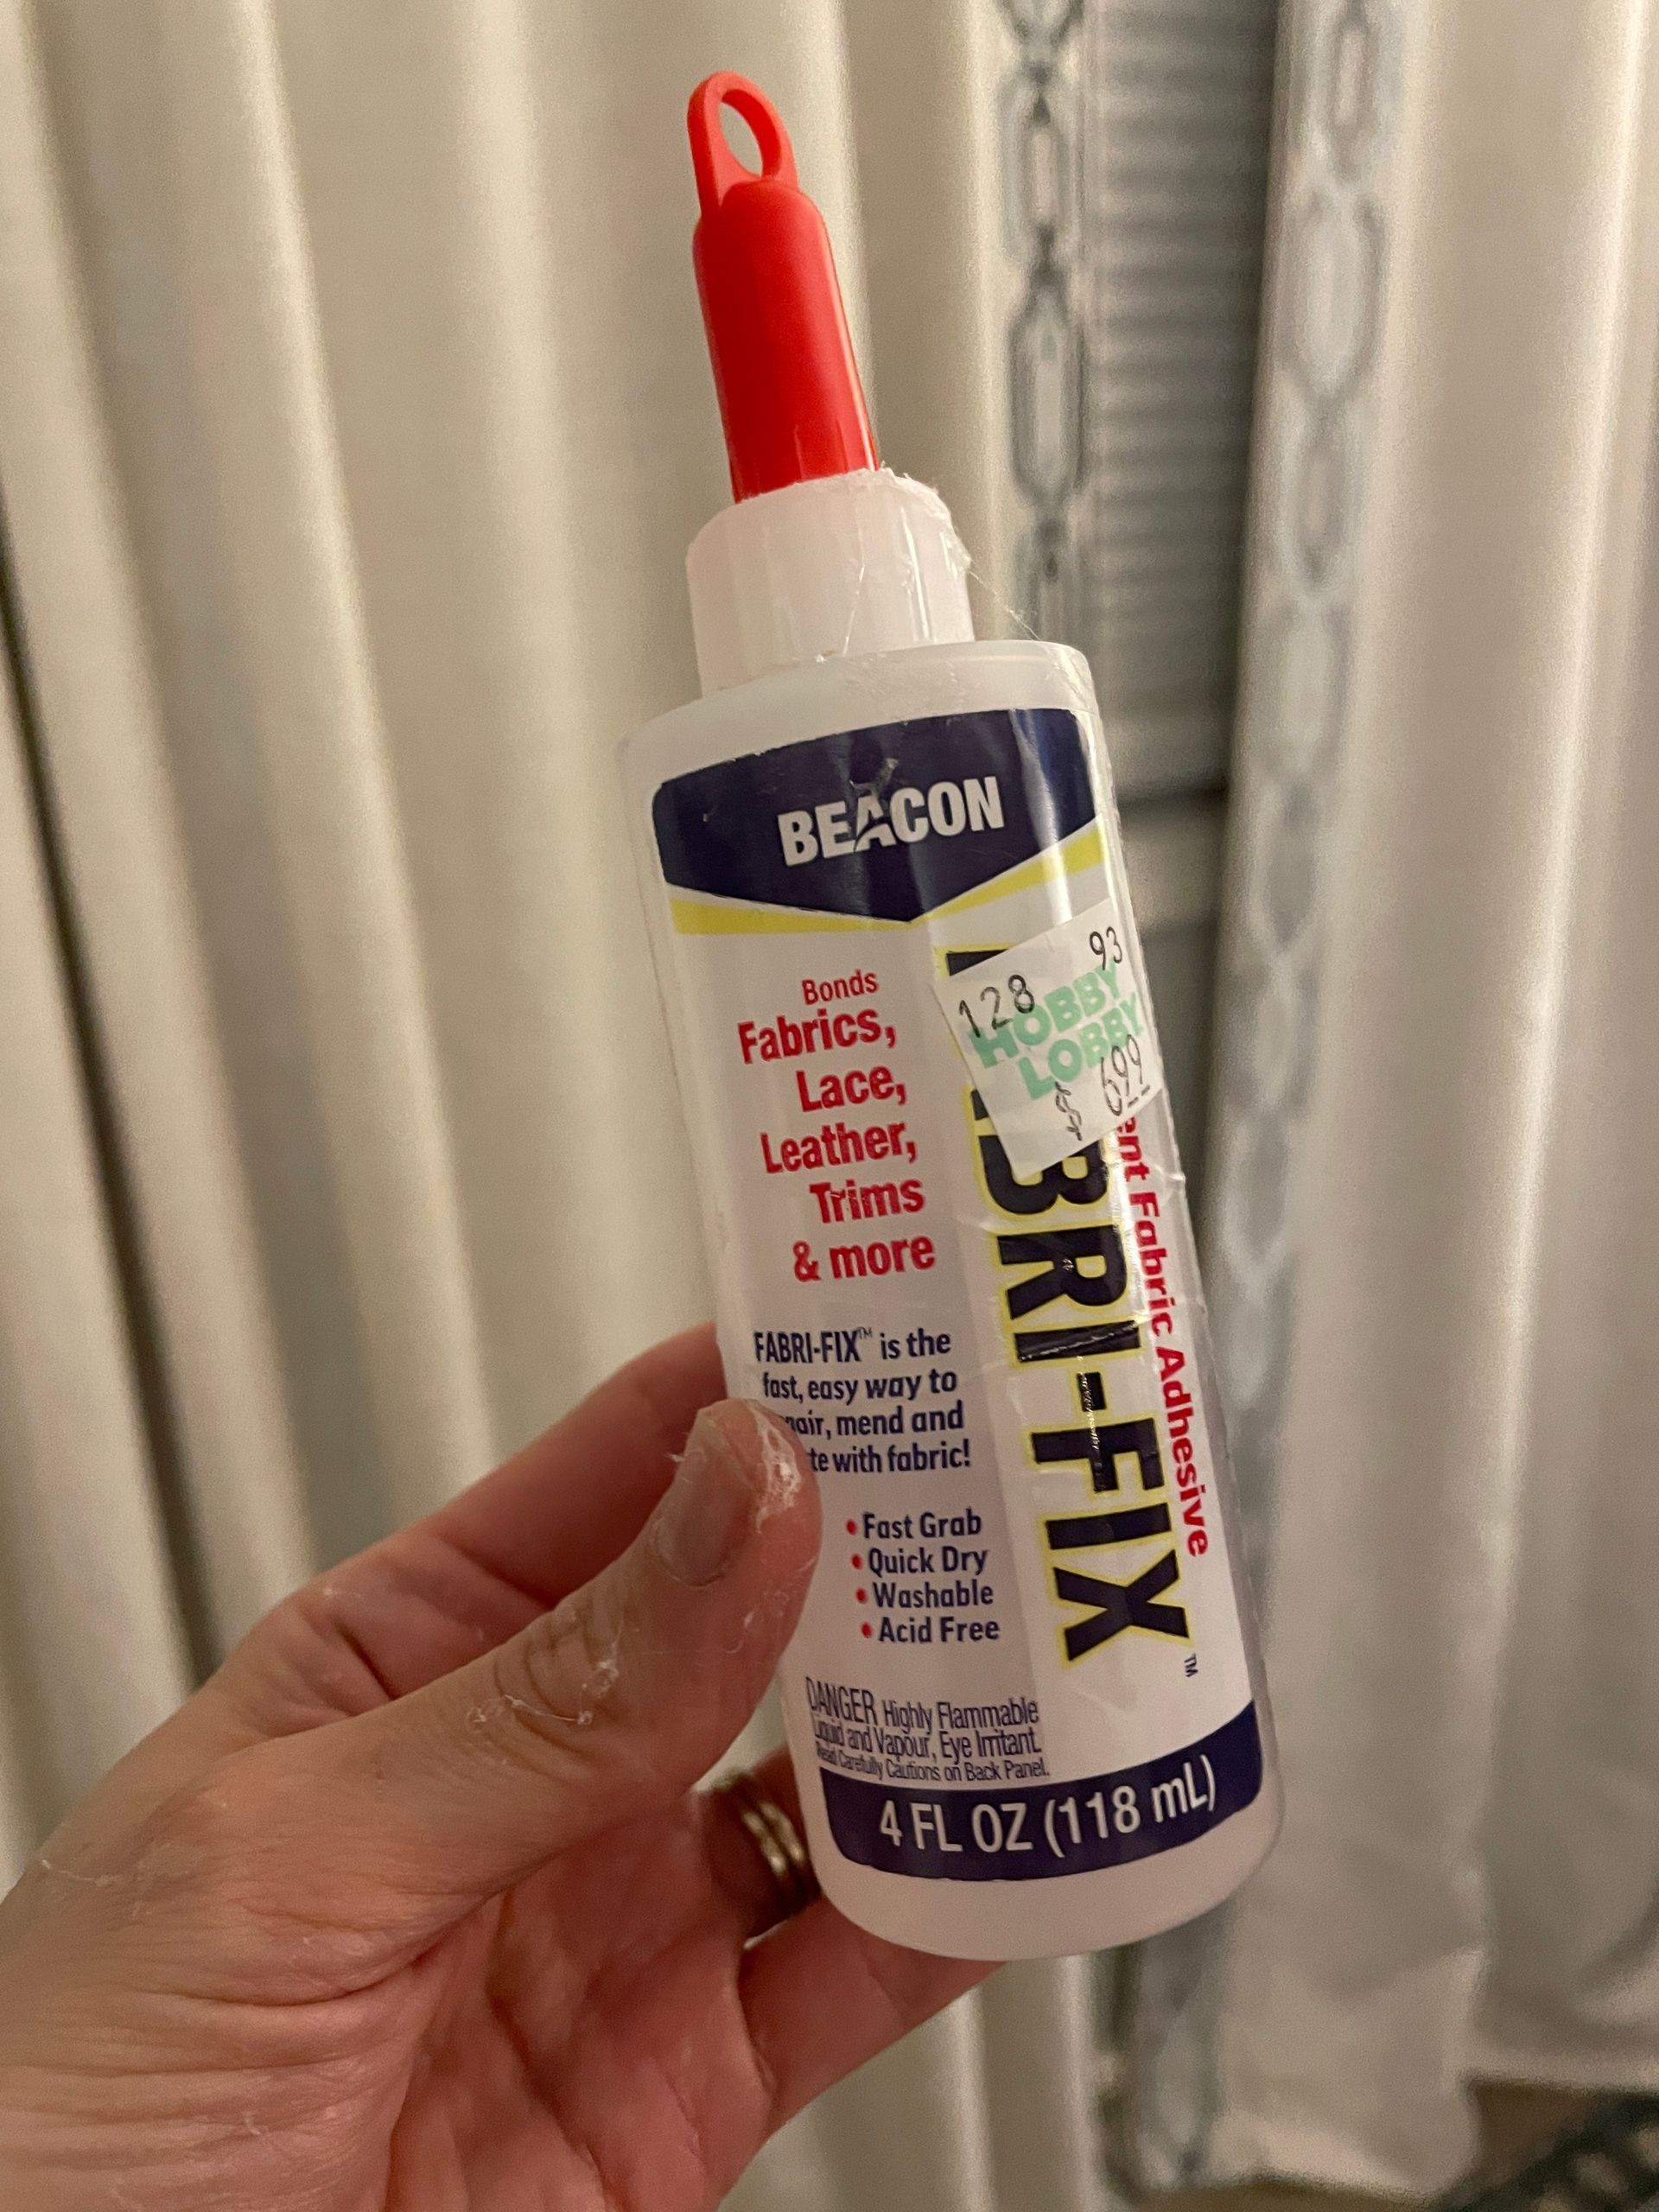
Curtain trim tape samples

No Sew 

fabric glue for curtain trim tape
I knew I didn't' want to try to use the testy hem tape for this project. I'd originally assumed I'd take them down off the rods, but after researching, I learned that others preferred to attach the trim while the curtains were hanging. Starting at the top of the curtain panel, I used a strong fabric glue to run a bead along the outer edges, and a single bead down the middle of the trim. I had approximately a 2" overhang at the top and simply folded it over to the back, and pressed the trim down on the curtain, carefully keeping the outer edge of the trim lined up with the outer edge of the curtain. I worked down the curtain in 12-18" sections, keeping everything lined up along the edge well. When I reached the bottom, I cut the tape with about 2" of excess, and wrapped it under the bottom, folding the trim under and gluing it on the back of the hem. It took almost the entire bottle of glue for all four panels.

And that's literally it! It's one of the easiest and most impactful DIY projects I've ever done! The hardest part is choosing your trim, and I have a couple tips on that:

1. If you have pinch-pleats, measure the distance from the edge of the curtain panel to the first pleat. I would get trim equal or smaller in width than that measurement, so it will lay nicely.

2. Consider the background color of the trim in relation to your curtain. My trim worked perfectly for these curtains, because it's neutral background was very similar to my beige curtains. White might have been to stark for this particular curtain.

3. Order more than you actually need. Measure what you need and add at least 4" per panel to that number. You want to be able to fold it over when you attach, and it's better to pay for a little more initially that have to order a whole extra set later.

I hope you'll try this project and please tag me @grey.snail.press if you share it, because I'd love to see! 

The links I shared on Amazon are affiliate links and I do receive a small amount of compensation if you choose to purchase from those links. 
diy curtain trim tape
curtain trim tape on pinch pleat curtains close up
bedroom with white beige and blue
blue and white chinoiserie in bedroom with curtains
grandmillenial preppy master bedroom with curtains with trim and blue
close up of blue and grey trim tape on curtain
By Jenni Jarvis April 6, 2025
Rifle Paper Co Wallpaper
By Jenni Jarvis April 6, 2025
Space Planning
By Jenni Jarvis April 6, 2025
Rifle Paper Co Wallpaper
By Jenni Jarvis January 24, 2024
Rug Roundup January 2024
By Jenni Jarvis January 15, 2024
Booth at Christmas Market
By Jenni Jarvis August 31, 2023
Grasscloth
May 9, 2023
What not to do
January 24, 2023
Romabio Velatura Mineralwash
October 13, 2022
I can't remember the first example of fluted wood furniture I saw, but it was probably either this gorgeous custom wood bathroom vanity from Chris Loves Julia , or the DIY fluted coffee table Fariha shared on Pennies for a Fortune . The custom cabinetry was done professionally using a router for each line, which isn't something I possess the skills to do. This did help inspire the colors I used in our bathroom remodel, though! I really connected to the method Fariha used to build the coffee table--wooden dowels. What a fabulous idea!
February 14, 2022
I did a little refresh in our daughter's room, and I decided we needed some large-scale art. I actually planned to order a print, but inspiration struck on a trip to HomeGoods when I saw two HUGE framed canvases on clearance for $25 and $9. I grabbed them up and headed home, with my head filled with ideas on what to do with them.
More Posts