
Wood Tray Diy
Jenni Jarvis • August 16, 2020
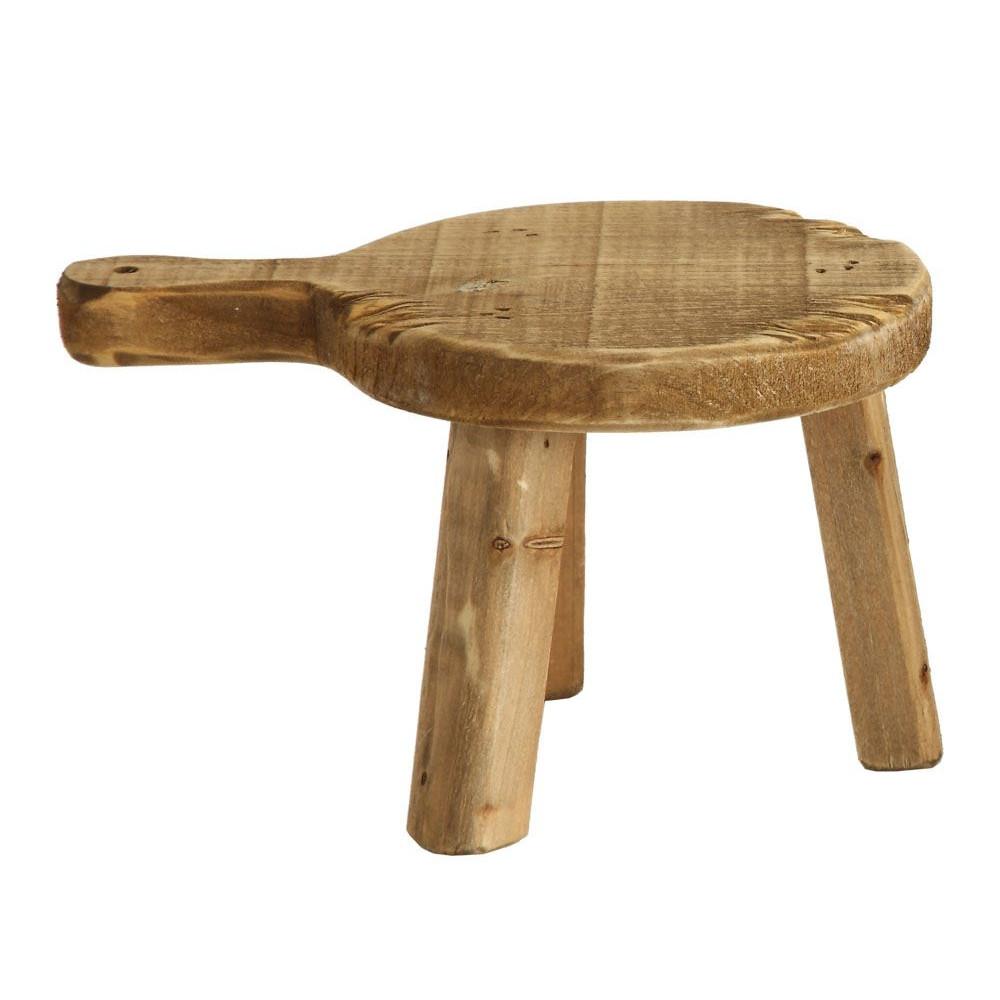
Wood Tray
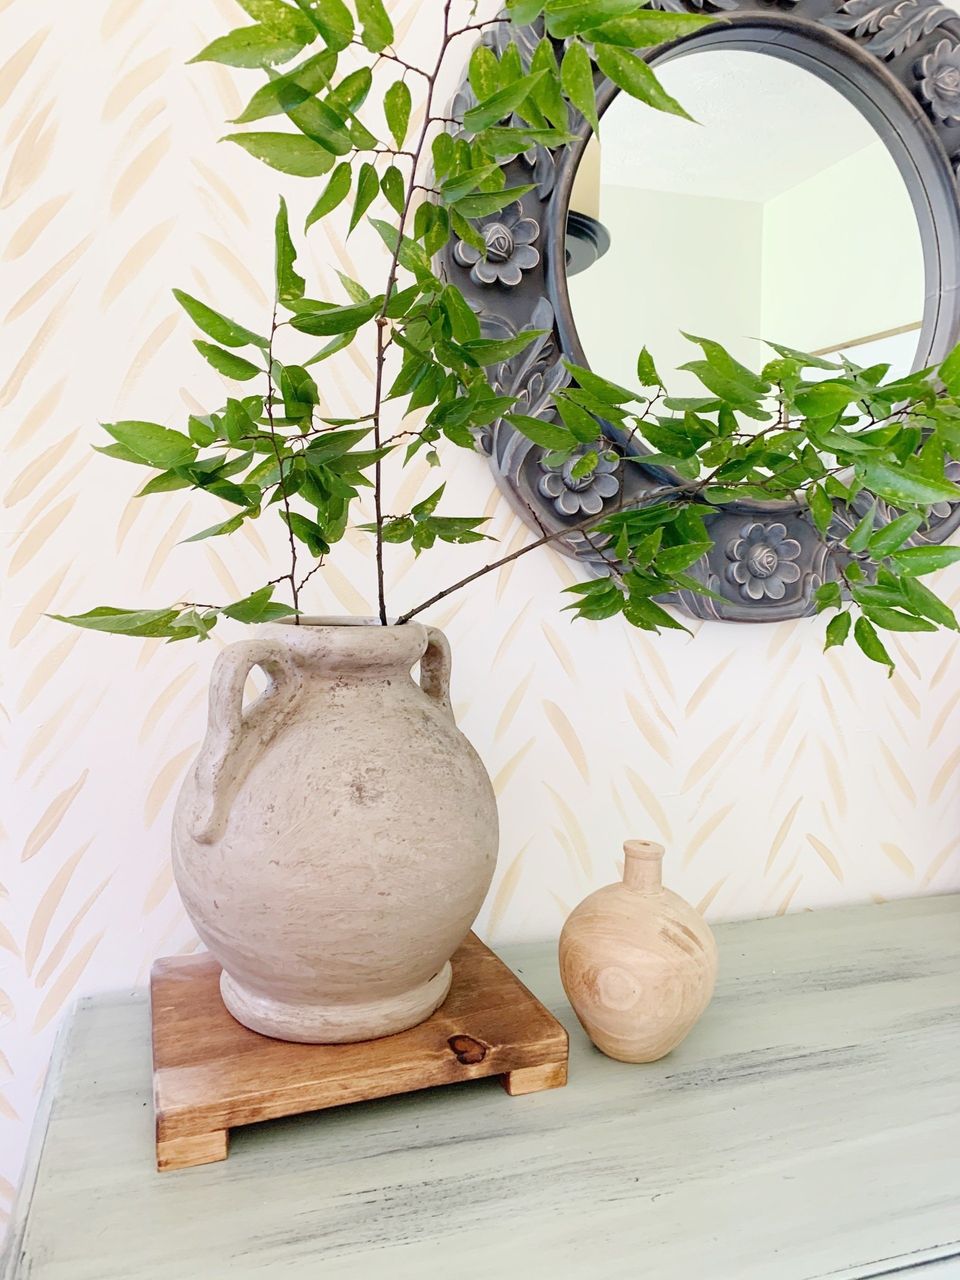
I've been seeing these cute little wood pedestals all over Instagram. I tend to call mine a wood tray, but I guess you could also refer to them as a stand or pedestal. People use them for plants, candles, soap and all sorts of other things. I have SO much scrap wood around here from other projects, I decided to give it a try and make one myself. Fast forward a week and I have made over a dozen! Oh, and I didn't spend a dime because I had everything on hand!
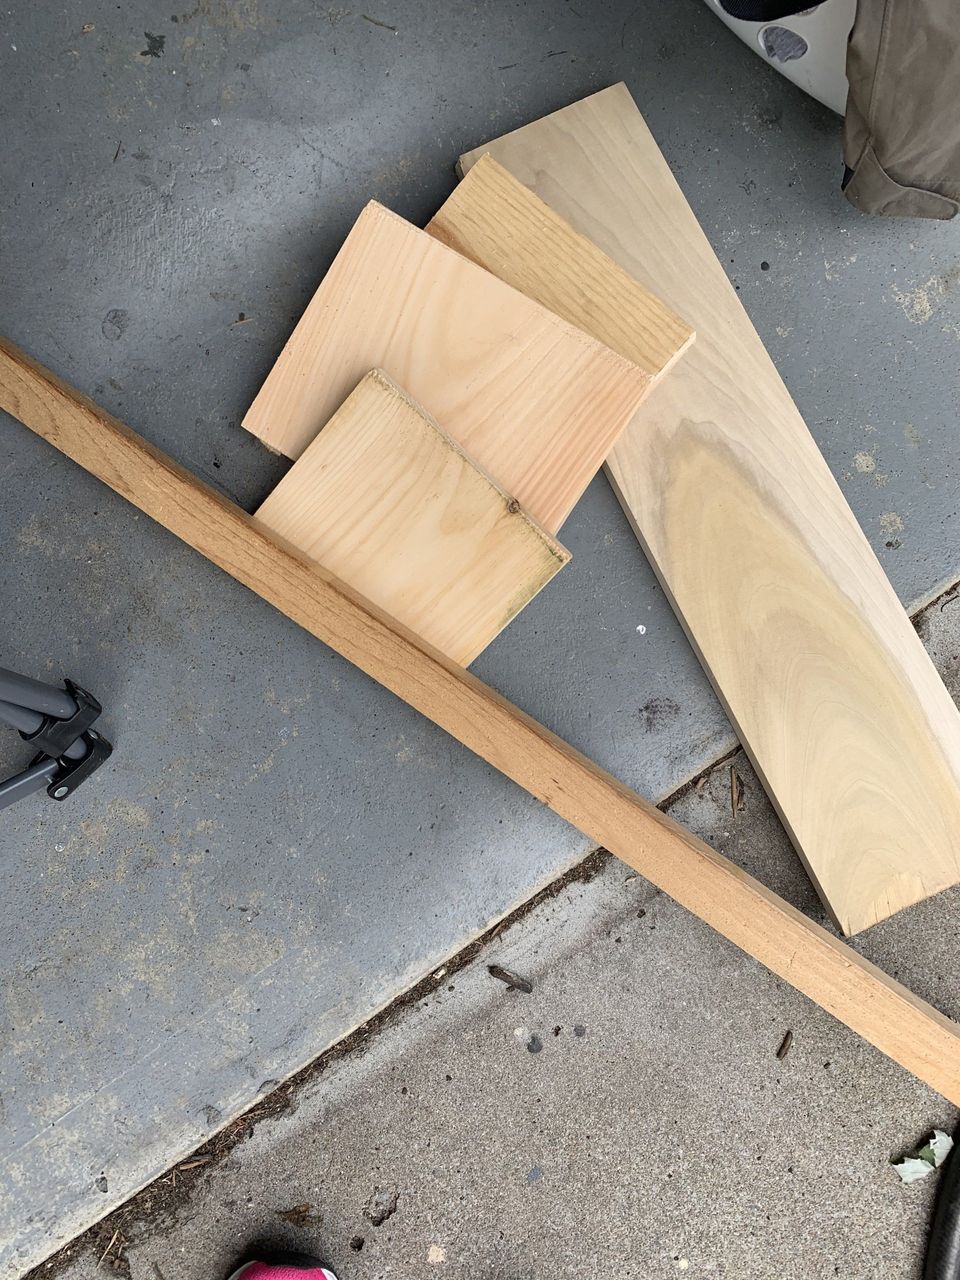
Supplies
I just had a variety of different widths of wood boards from 3"-10", along with 1x2" boards for the legs. I used my mitre saw to cut around 2" lengths of 1x2s to use for the legs. I used a several different lengths for the actual trays.
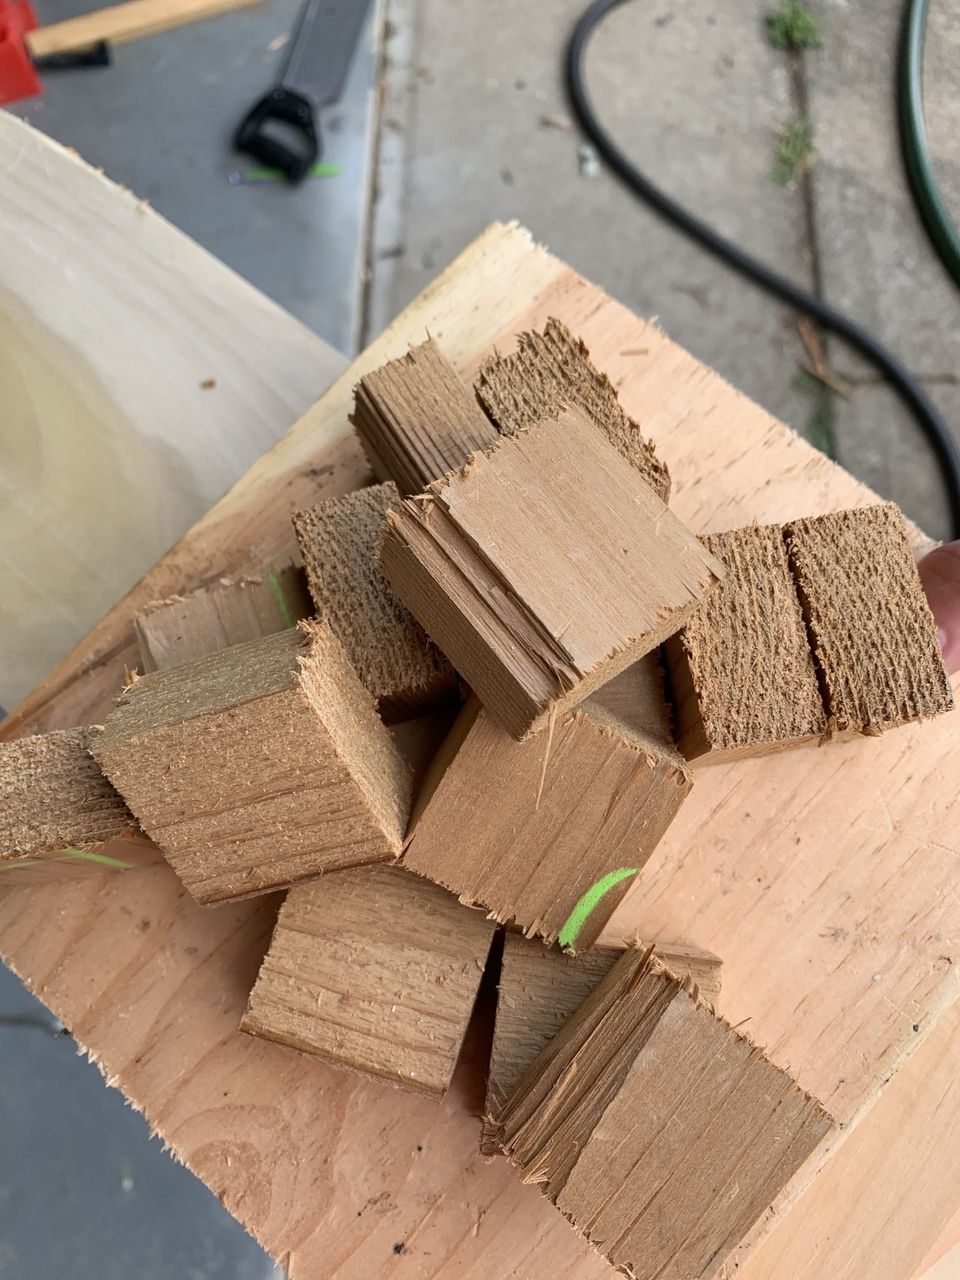
Don't worry too much about the wood being too rough when you cut it. I cut everything with a handsaw so my cuts are pretty rough on these. You'll sand them later.
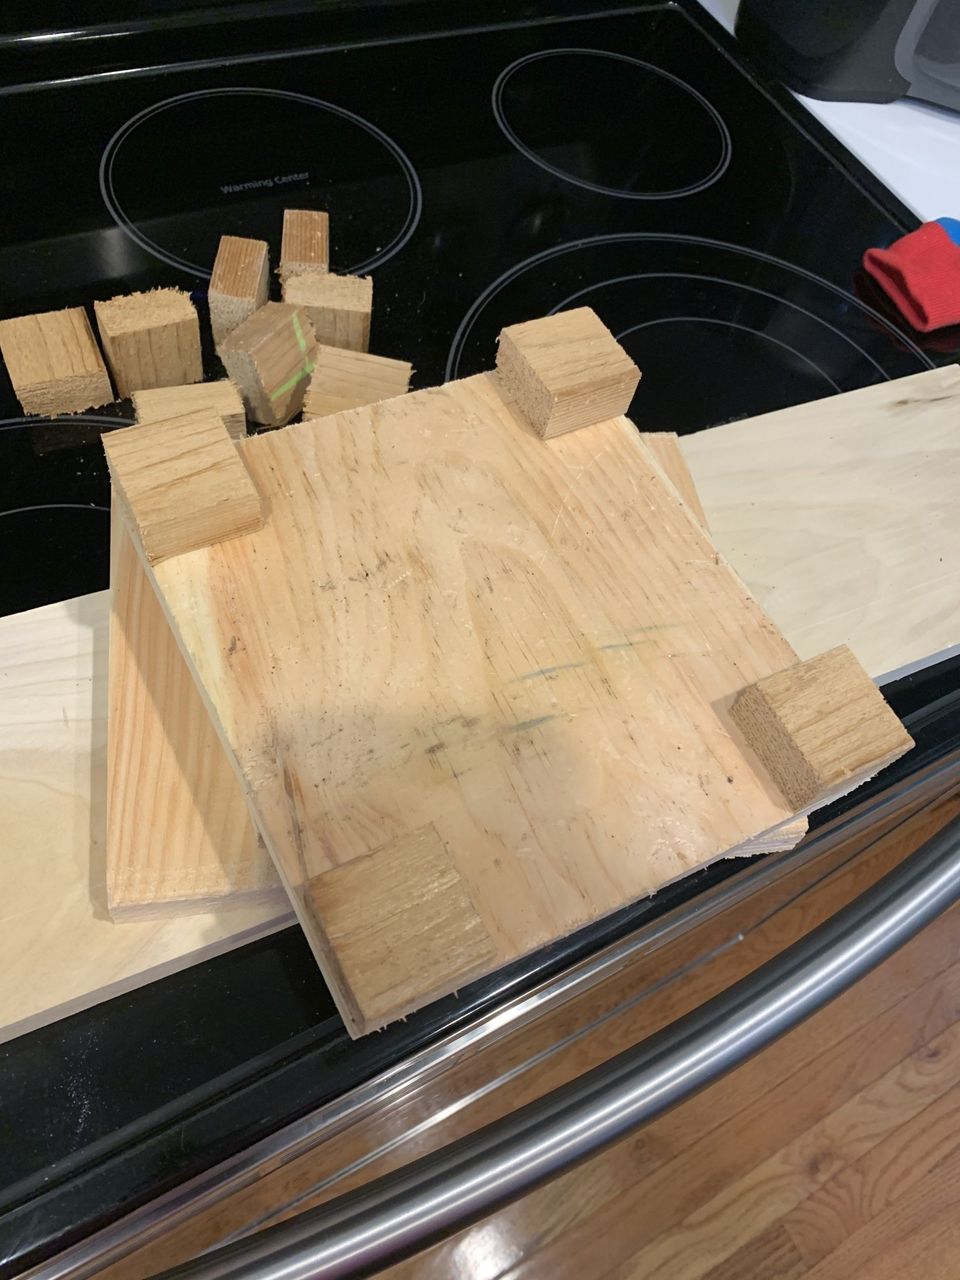
I used wood glue to attach one leg to each corner of the larger board, trying to use the "nicest" side of the board for the top. Be sure to wipe off any excess and not to use too much. This will be set enough for you to work with it again in about an hour.
Sanding
I used my electric Craftsman sander with a fine grit sandpaper to sand every surface of the tray. I sanded the corner of the edges and legs so it wasn't sharp and looked worn. I was also able to correct any errors of the legs not being completely flush with the top by sanding that down. Sanding is by far the most labor-intensive part of this project. Everything else is super quick. I definitely recommend using an electric sander--especially if you plan to do more than one. It is so much easier and does a better job than you would do sanding by hand.
Staining
I like to use a mix of lighter and darker stain to get a medium tone that's not too red or gray. I think I used several on these. I used Minwax Natural and Provincial for all the trays shown. Varathane
Weathered Oak and Early American are also another great mix. Once it's dry, I give it a good spray with Low Odor Crystal Clear Krylon to seal it and it's ready to go!
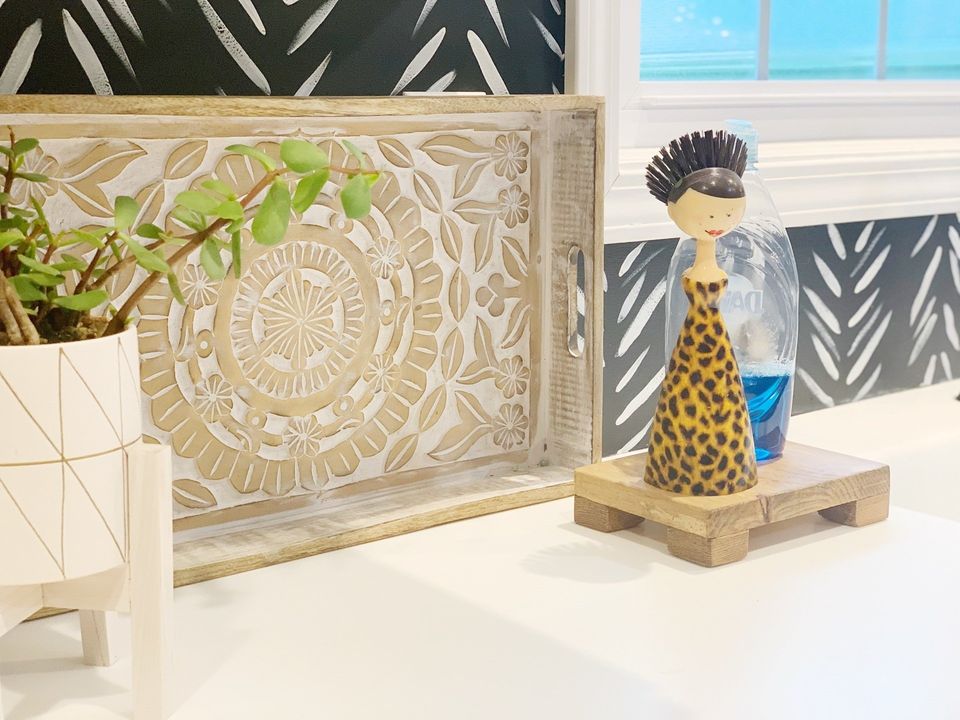
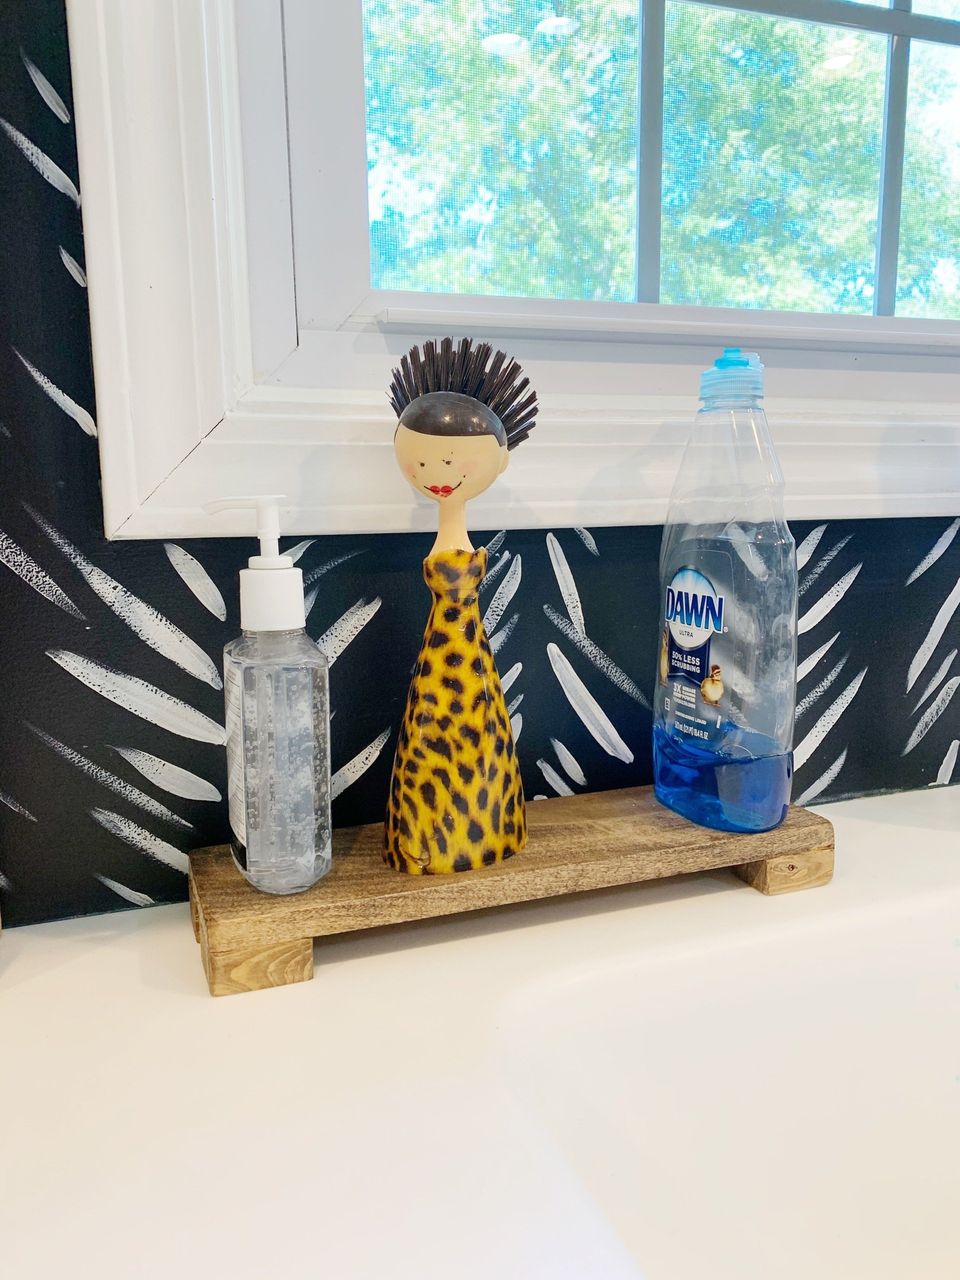
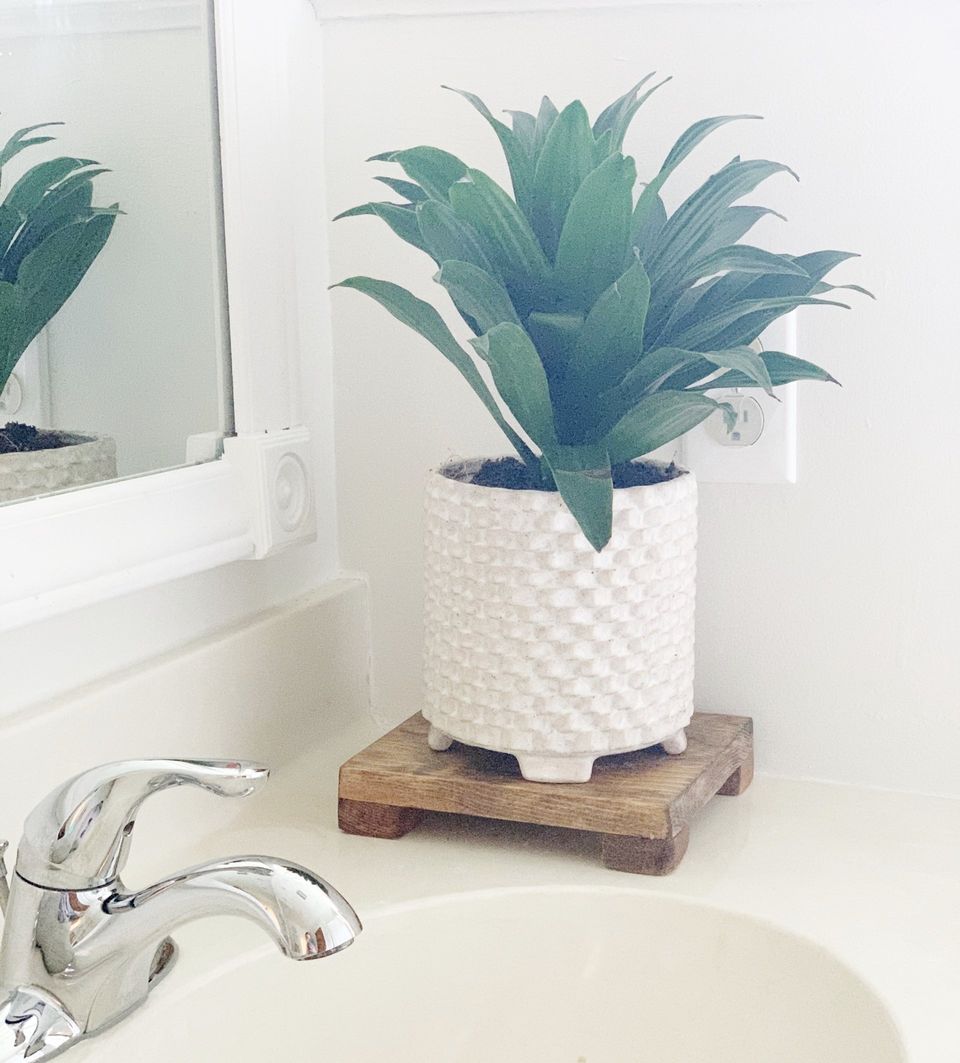
How I use mine!
I love using the different size trays around the house. A small tray is perfect for keeping all your dish washing supplies together and keeps drips off the counter. I also love a narrow tray for behind the sink. They are great for storing hand soap and toothbrushes!
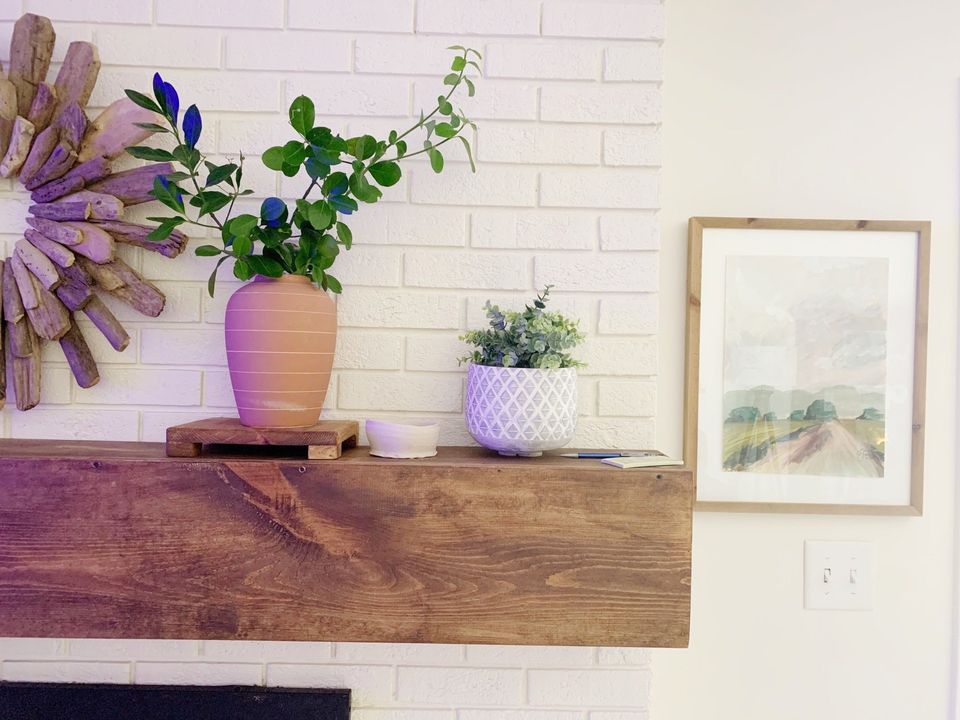
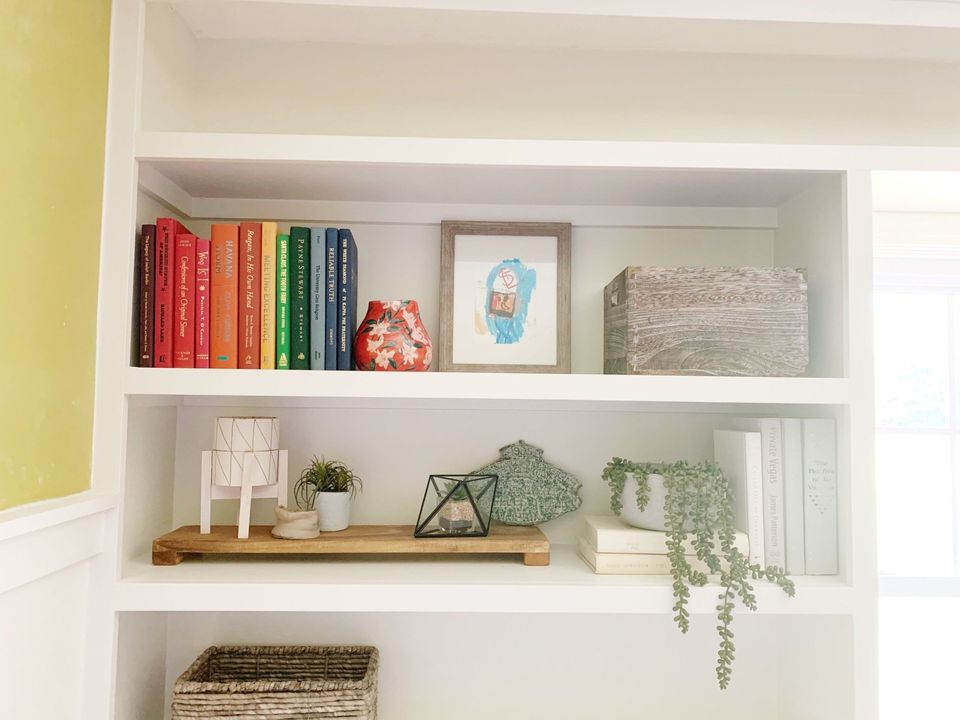
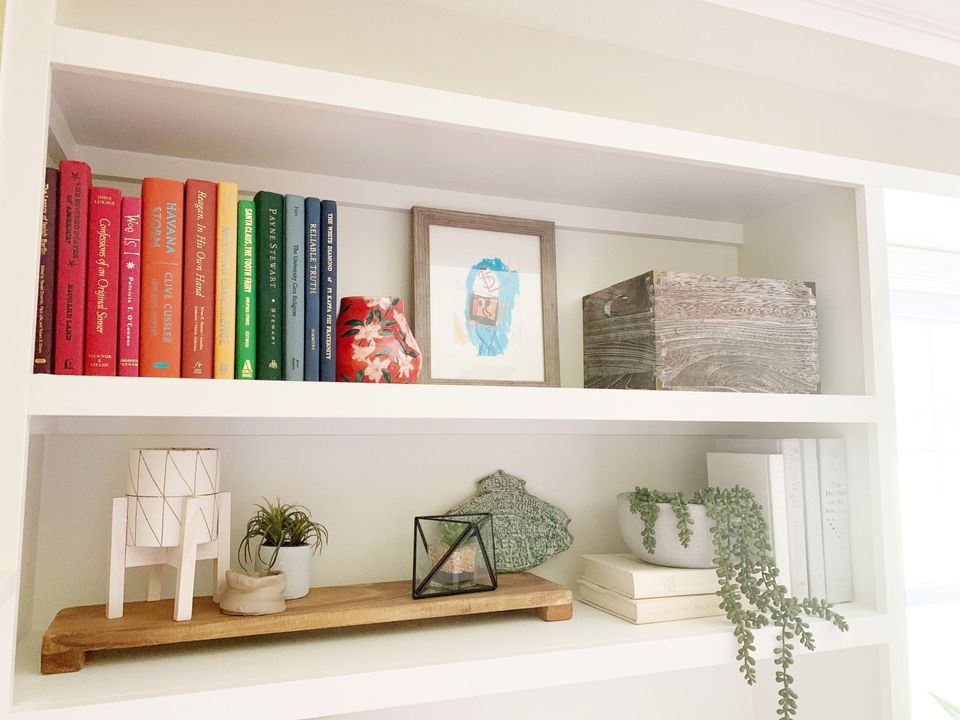
I also use them EVERYWHERE for styling. They are great to corral a collection of like items. I use them for plant stands or anything that just needs a boost.
Pin for Later!

Rifle Paper Co Wallpaper

Space Planning

Rifle Paper Co Wallpaper

Designer Drapes

Rug Roundup January 2024

Booth at Christmas Market
Grasscloth

What not to do

Romabio Velatura Mineralwash

I can't remember the first example of fluted wood furniture I saw, but it was probably either this gorgeous custom wood bathroom vanity from Chris Loves Julia , or the DIY fluted coffee table Fariha shared on Pennies for a Fortune . The custom cabinetry was done professionally using a router for each line, which isn't something I possess the skills to do. This did help inspire the colors I used in our bathroom remodel, though! I really connected to the method Fariha used to build the coffee table--wooden dowels. What a fabulous idea!