
Vintage Wood Tennis Racket Cross Stitch Wall Decor
Jenni Jarvis • January 25, 2021
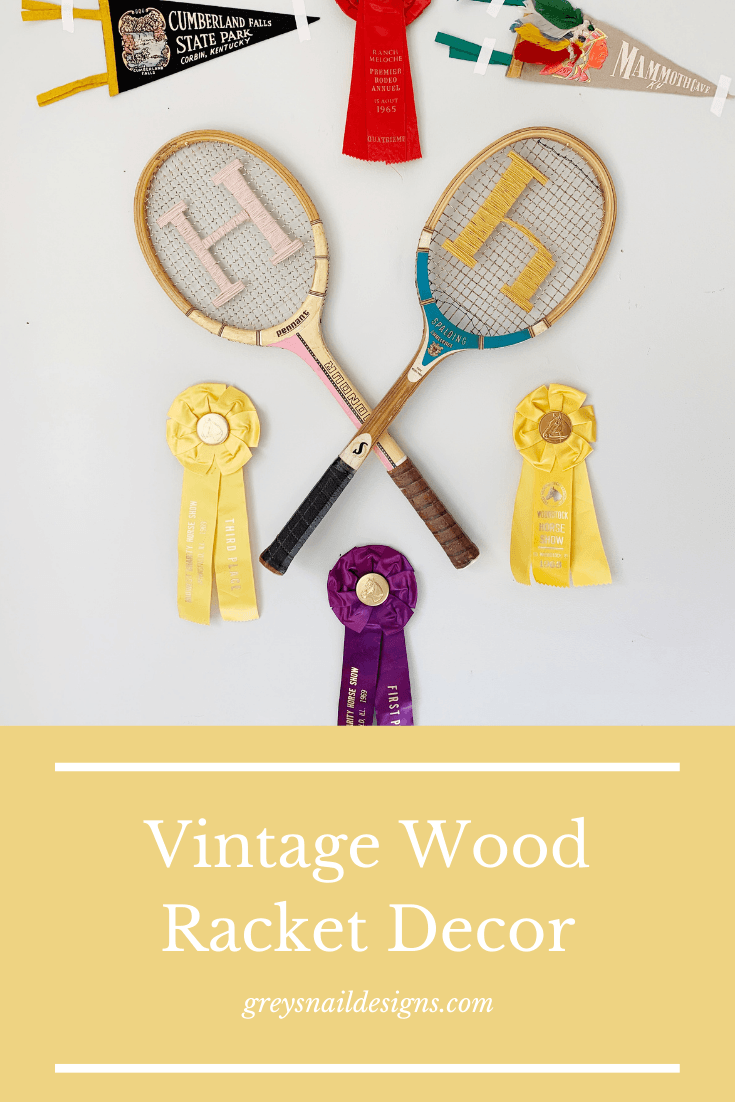
Vintage Wood Racket Art
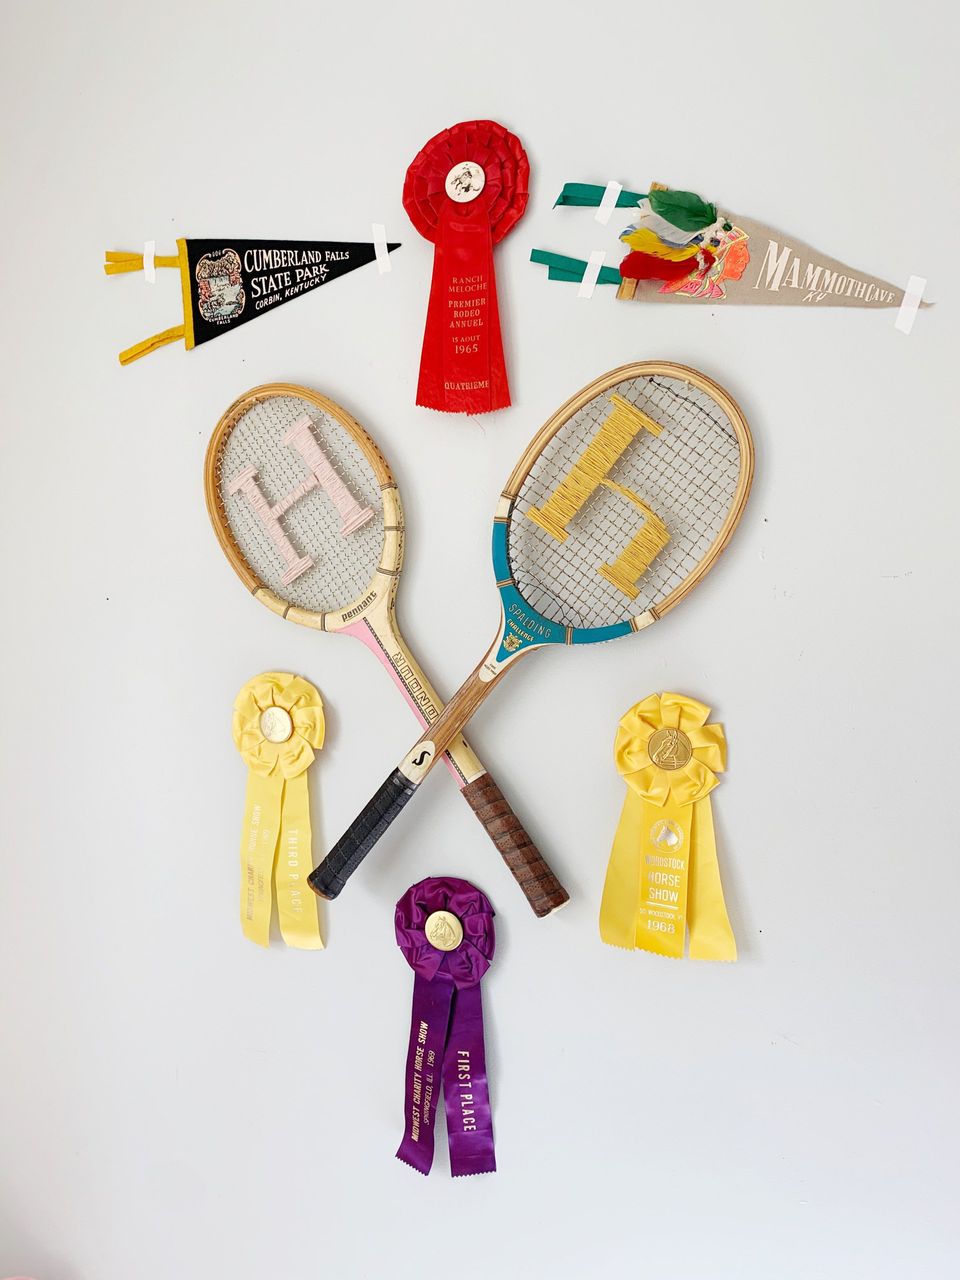
I first came across this idea on Lay Baby Lay and absolutely love her style and ability to take everyday objects and make them special again. I am crazy about her use of vintage horse show ribbons and started collecting them and using them in my home, too.
Tennis has always been a huge part of my life. I
How To
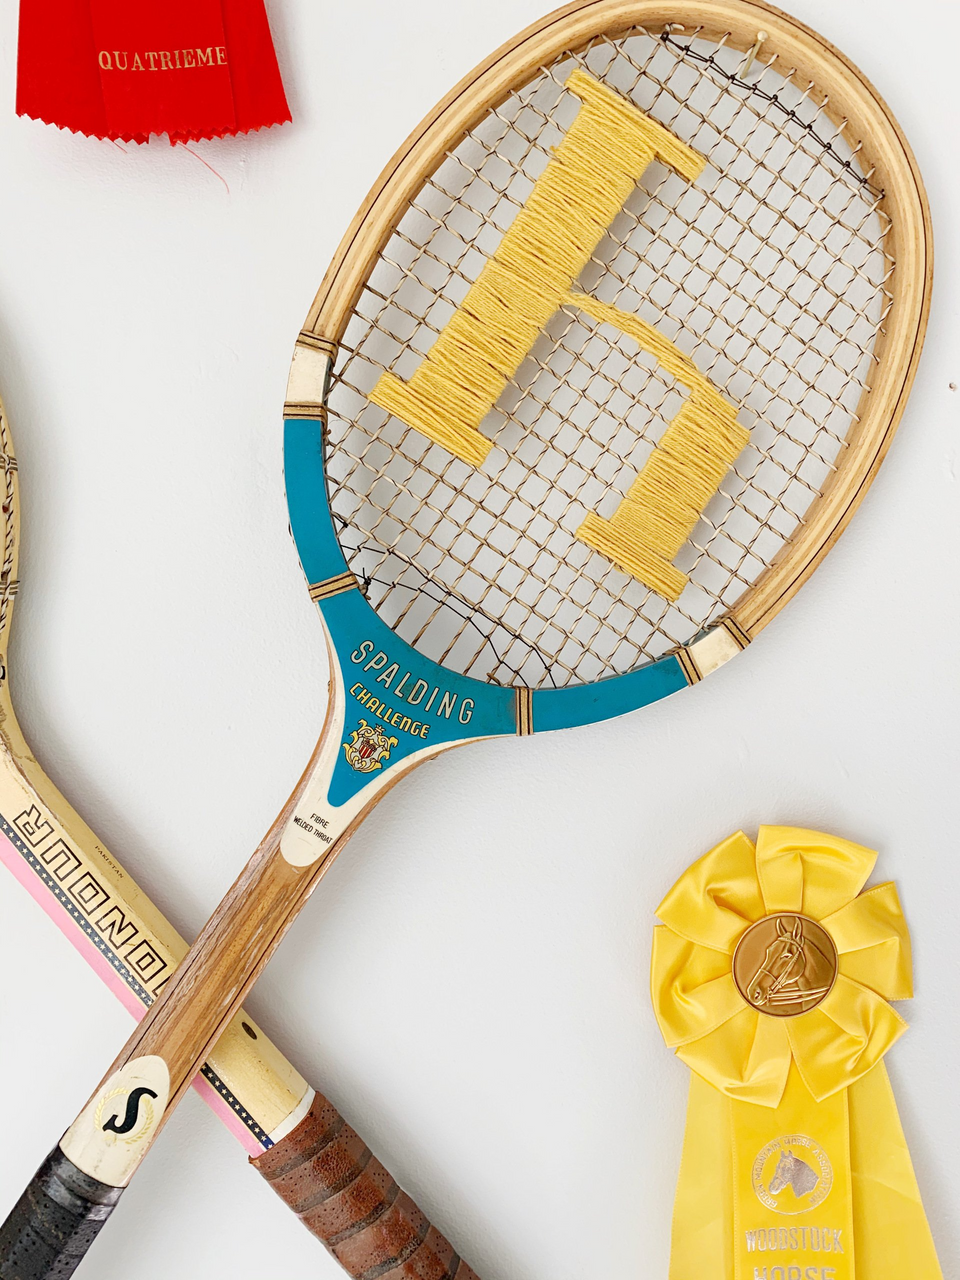
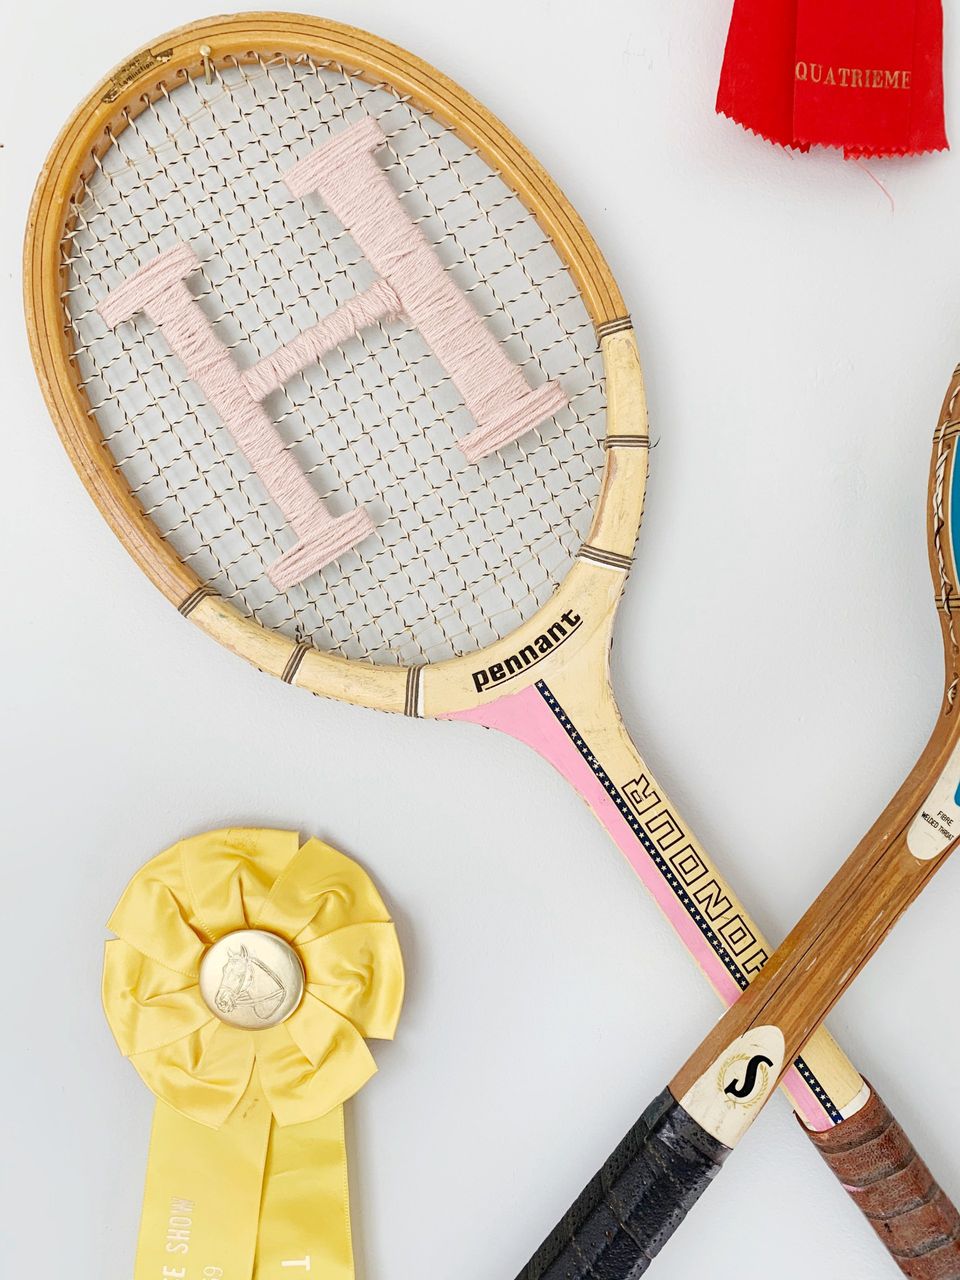
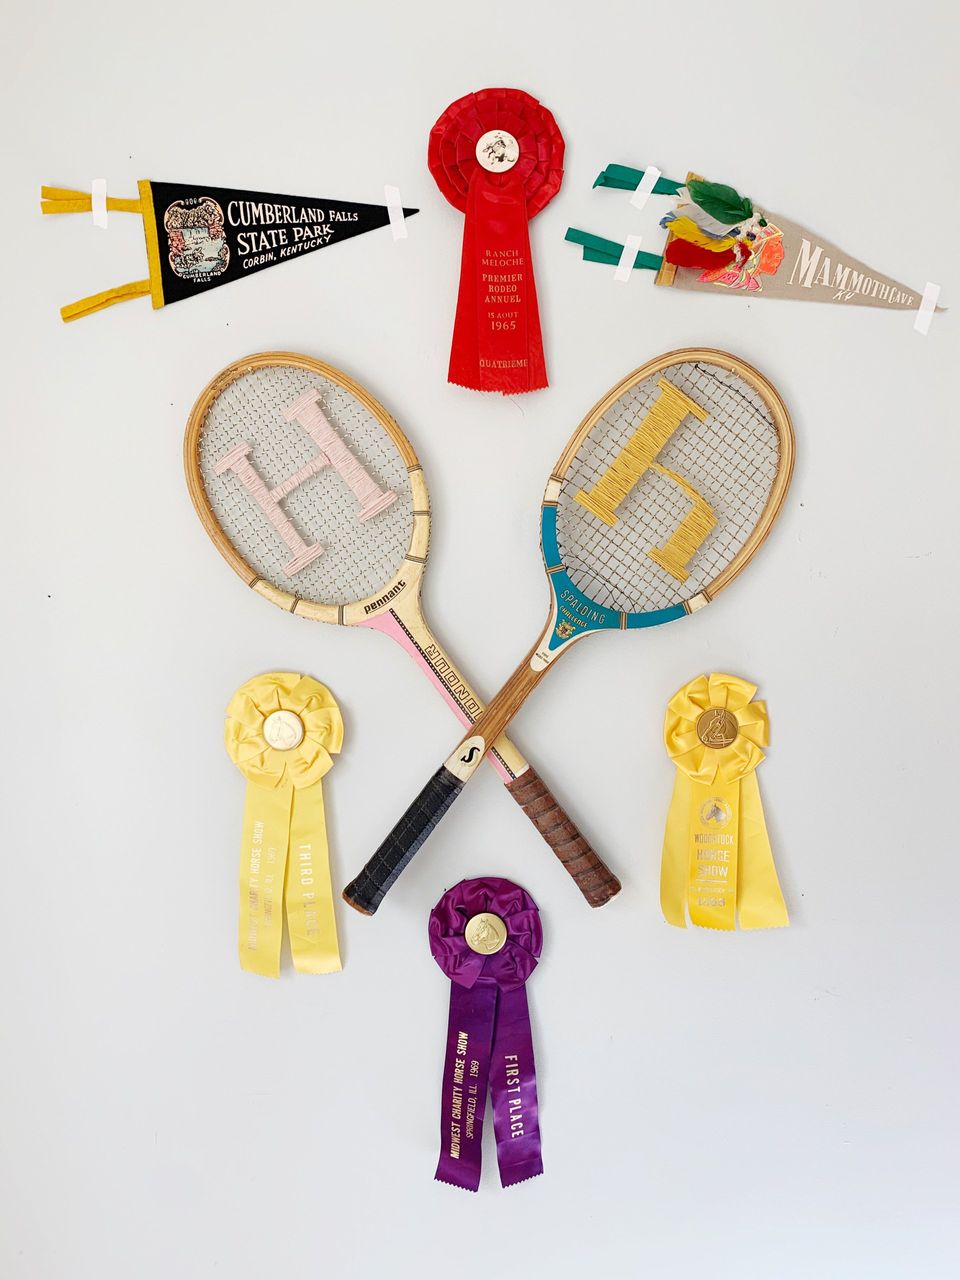
When picking your yarn, a heavier weight is better. It's easier and faster than using something super thin. I chose a color that would stand out on the wall, while coordinating with other things in the room. Since I was doing pretty straight forward letters without many curves, I freehanded mine. I thread the yarn through a needle (although you CAN do it without one), tied it around the string section I started with to secure it, and started neatly wrapping it in a line. I worked with pretty long pieces, so I didn't have to tie it off and restart as often.
If you're not comfortable freehanding it, print off a letter in a typeface you like and cut it out. Center it on the strings of the racket and start wrapping the yarn around it. You're not limited to letters, either. I thought about doing a heart on one of mine to go with the H.
Painting the Rackets
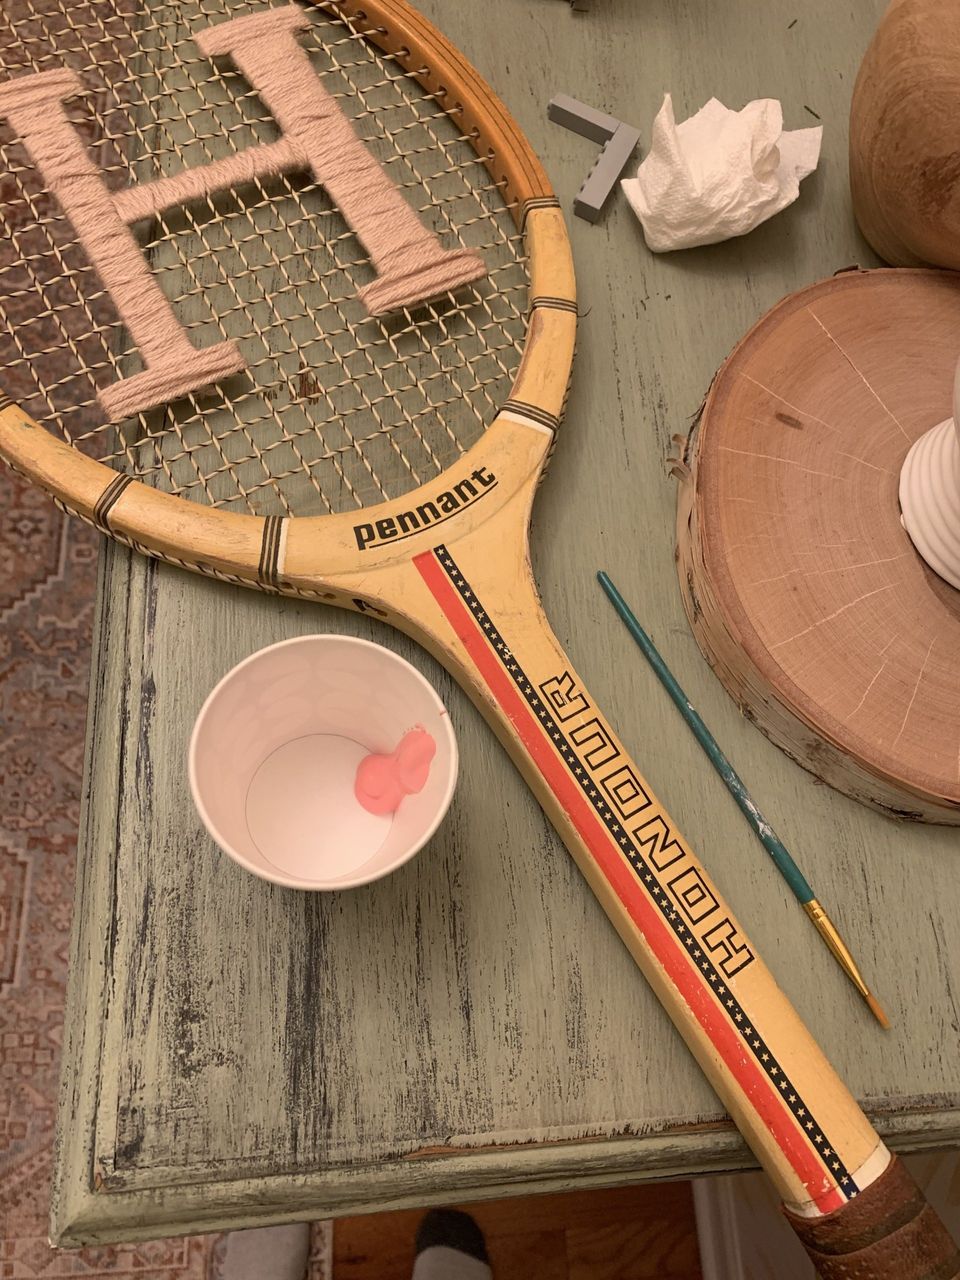
If you don't love the color of the racket, use a little paint to change it up. I didn't want to lose all the character of the racket, but I didn't love the red stripe on one, so I painted over it with pink acrylic paint with a flat brush and I like it so much better for the room.
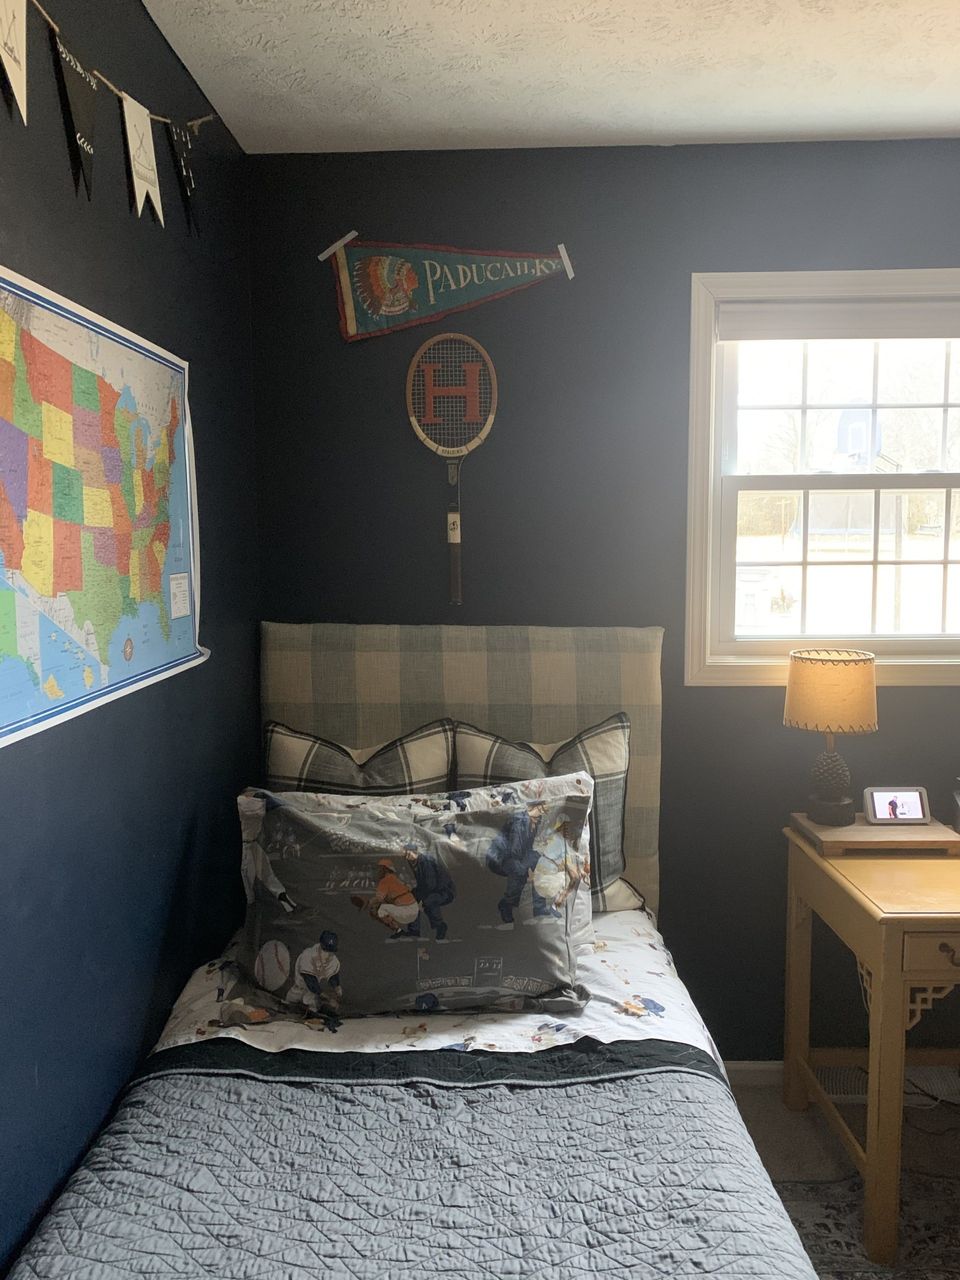
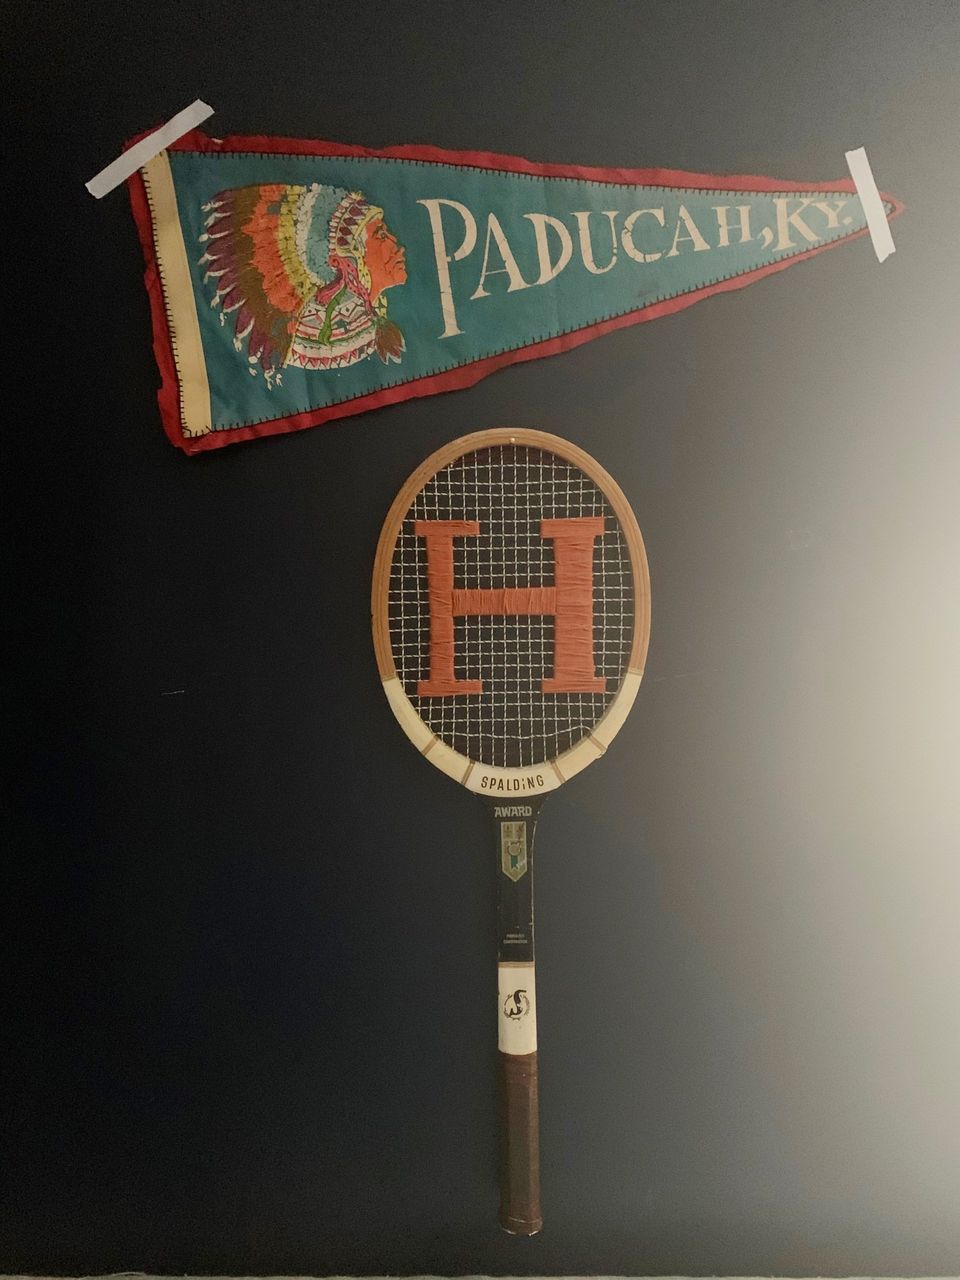
Hanging the Racket Straight
If you're just using one racket, it's super easy. Put a long nail through the top middle strings and hang it up! I paired this one with a vintage pennant and love the simplity!
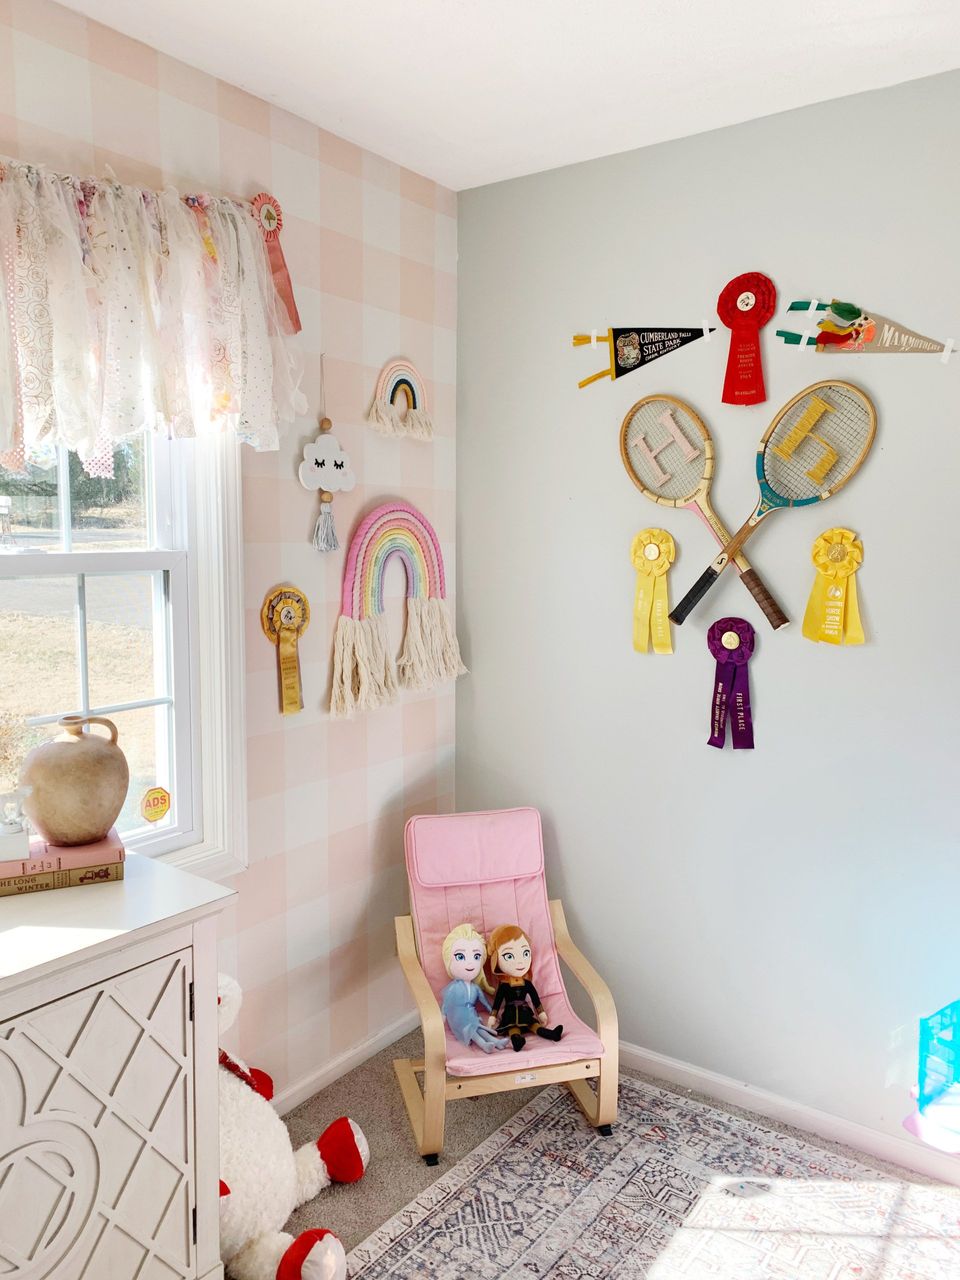
Hanging the Rackets Crossed
Hanging the rackets crossed is a little trickier, but not too bad. It's easier with two people, so you have someone to hold them and you can position them just how you like before making any holes in the wall. Once you get them how you like them, place a long nail through the strings on the bottom racket. Do the same with the racket on the right. The nails may or not be on the top center string, and that's okay! Once they're hanging, determine where they'll cross. I used a piece of a Velcro Command strip
to attach the throats of the racket to each other. Once they were secure, I did the same thing with the racket on the bottom--I attached it to the wall with a Command Strip.
Put your lampshade back on and you're all finished! This is a really easy and inexpensive project and great dupe for an expensive lamp. I can't wait to try this process out on some vases!
Pin for Later!


Rifle Paper Co Wallpaper

Space Planning

Rifle Paper Co Wallpaper

Designer Drapes

Rug Roundup January 2024

Booth at Christmas Market
Grasscloth

What not to do

Romabio Velatura Mineralwash

I can't remember the first example of fluted wood furniture I saw, but it was probably either this gorgeous custom wood bathroom vanity from Chris Loves Julia , or the DIY fluted coffee table Fariha shared on Pennies for a Fortune . The custom cabinetry was done professionally using a router for each line, which isn't something I possess the skills to do. This did help inspire the colors I used in our bathroom remodel, though! I really connected to the method Fariha used to build the coffee table--wooden dowels. What a fabulous idea!
JOIN OUR NEWSLETTER...
Join Newsletter
Website Design & Hosting by Arterburn.com