Painted Faux Wallpaper
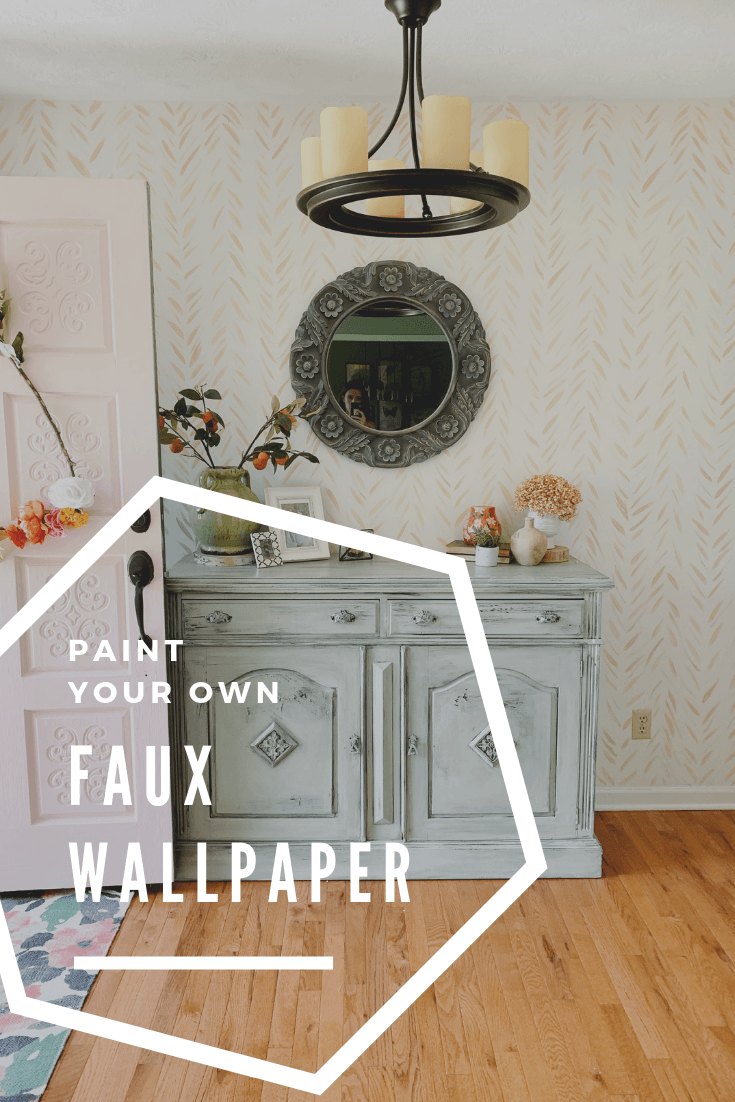
Paint Your Own Faux Wallpaper
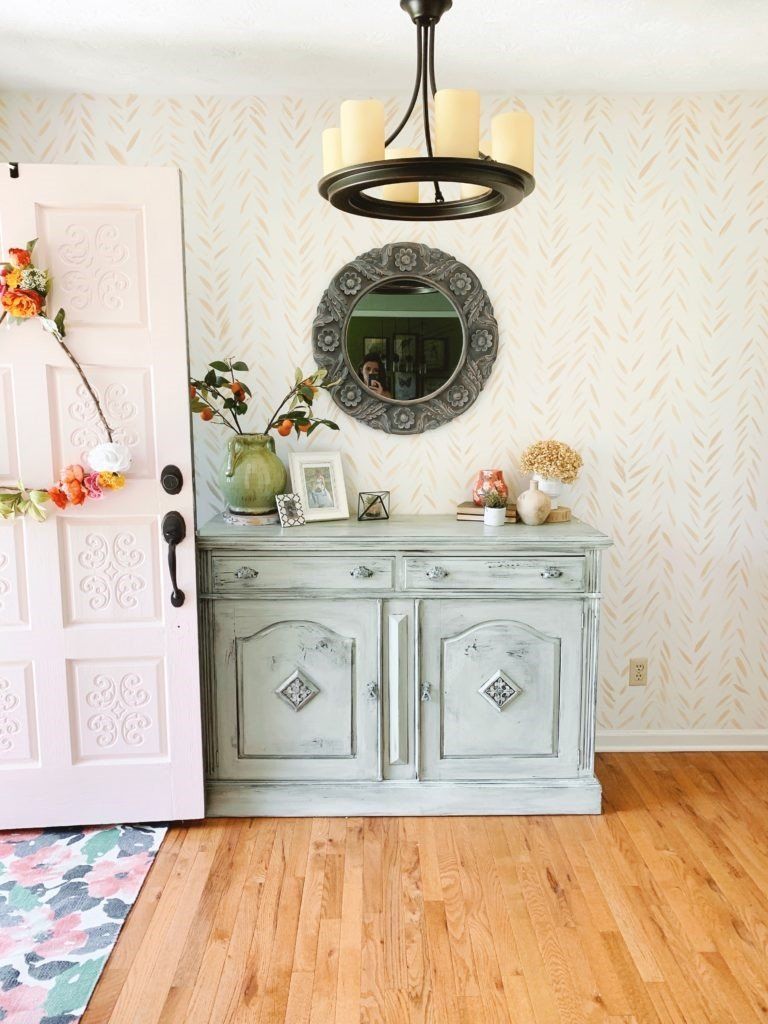
After painting a mudcloth accent wall in our laundry room and black and white pattern on our kitchen backsplash, I was feeling pretty confident about painting patterns on walls and ready to tackle some other areas of our home. I knew it was easy to paint your own faux wallpaper, so I tried to think of some other areas where it might work, and the foyer seemed like the perfect choice. You can also learn how to paint your own faux wallpaper, a project that is a fraction of the cost of the real thing. Psst, no one will know the difference!
Choosing a paint color for dark areas of your home
Cheat Sheet on Paint Swatches
I knew we needed to go with a lighter color, but picking one can be tricky. I went to the paint store and picked some white samples and flipped them over to check the LVR, which stands for the Light Reflectance Value, or the percentage of light a paint color reflects. The higher the number, the lighter the color will appear in the room. Checking the LVR is a smart and easy way to make sure the paint color is going to serve you well in the area you want to use it. I specifically wanted to brighten our hallways and foyer, so I chose Sherwin Williams Alabaster. Alabaster first came on my radar when Chris Loves Julia painted the downstairs of their home that color.
Accent Wall: Take 1
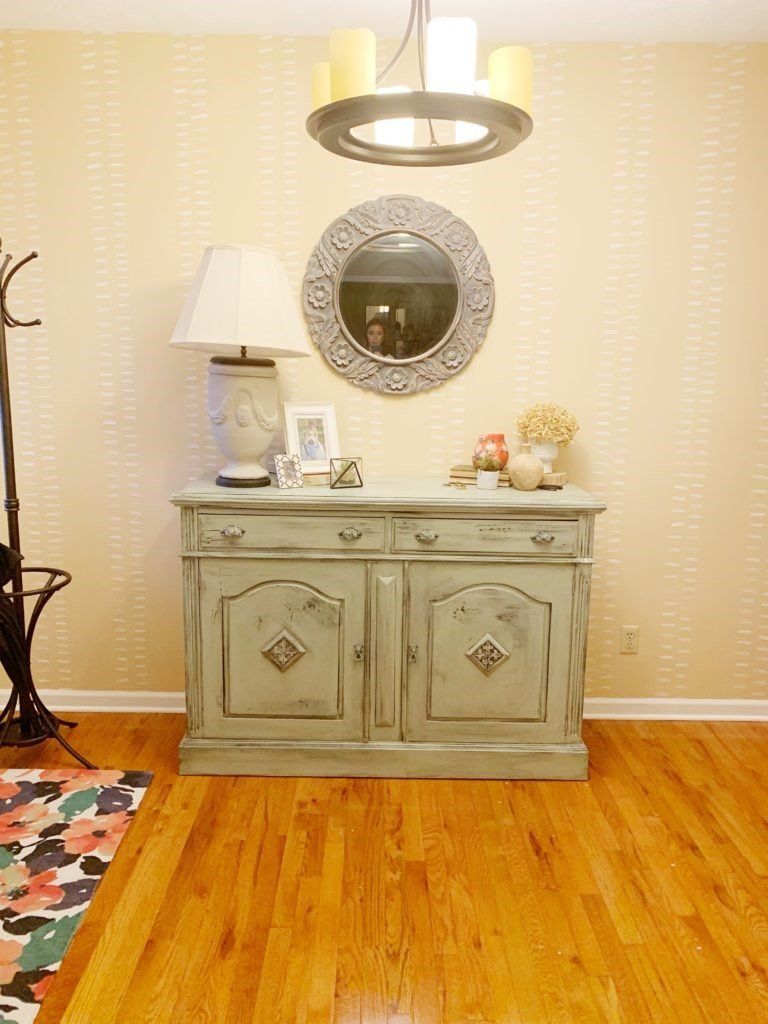
If at first you don’t succeed, paint the wall again
Painting Faux Wallpaper using a Craftsman Laser Level
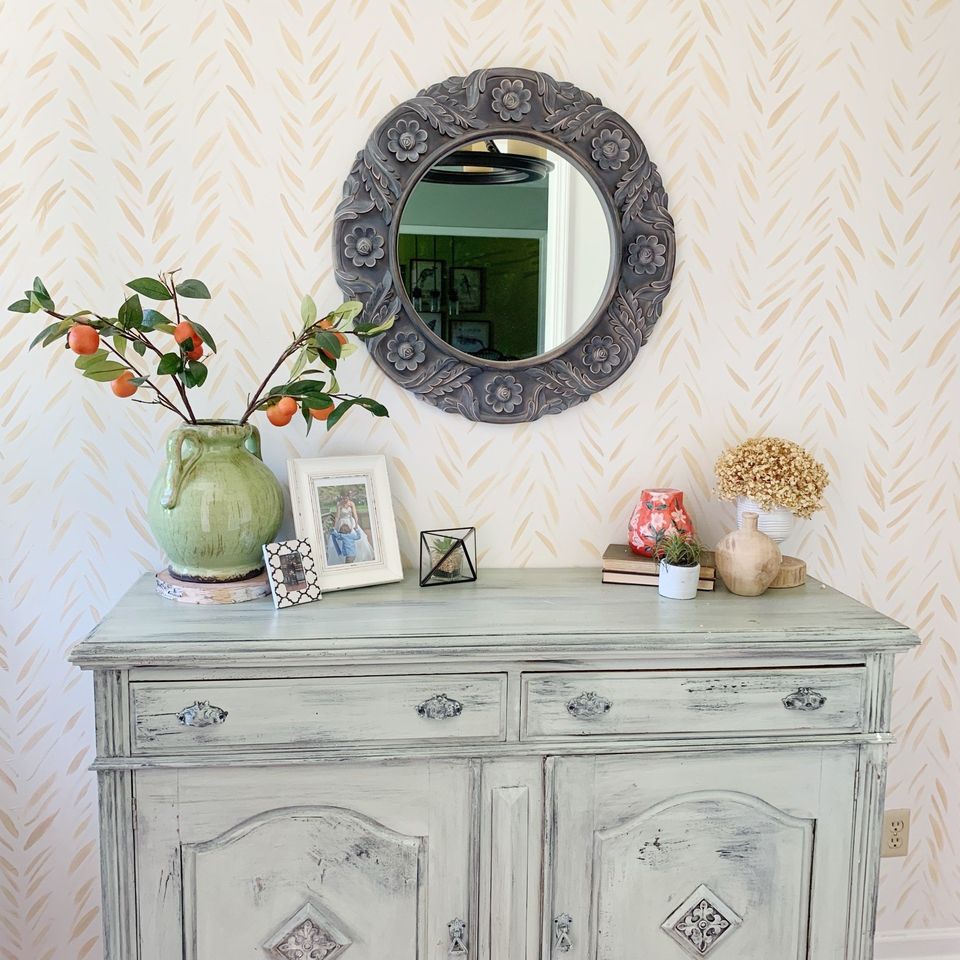
Before you start to paint your own faux wallpaper, you’ll need to measure for your pattern. This time, instead of lining the entire wall, I decided to try out my new Craftsman laser level. I didn’t want to have to erase or wipe pencil lines off an entire 8′ wall. First, I marked off 6″ sections across the entire wall, since I was going to paint a similar striped brushstroke pattern, like the kitchen backsplash, but in a tan color.
I used the magnetic pushpin on the level to stick it into the wall on the 6″ marks, which were in the middle of the wall. I could spin the level up or down and use the nice, clear line to guide my painting. First, I used a large round brush to make wide, dark hash marks. After making my way across the wall, I went back with a smaller, dry brush and added feathery strokes in between the larger marks to add some texture and interest to the design. I left the middle of the row blank where I was rotating the laser level and went back at the end and filled those marks in. You may want to patch the holes and paint over them before adding the design (I did), but I could see where you could get by without doing it.
Next time I do a design requiring vertical lines, I think I’ll try positioning the laser level at the top or bottom and projecting the line all the way up or down the wall. It was a little tricky because I was working in bright sunlight and it was harder to see the projected line, so I found working at a time the sun wasn’t on that side of the house worked best.
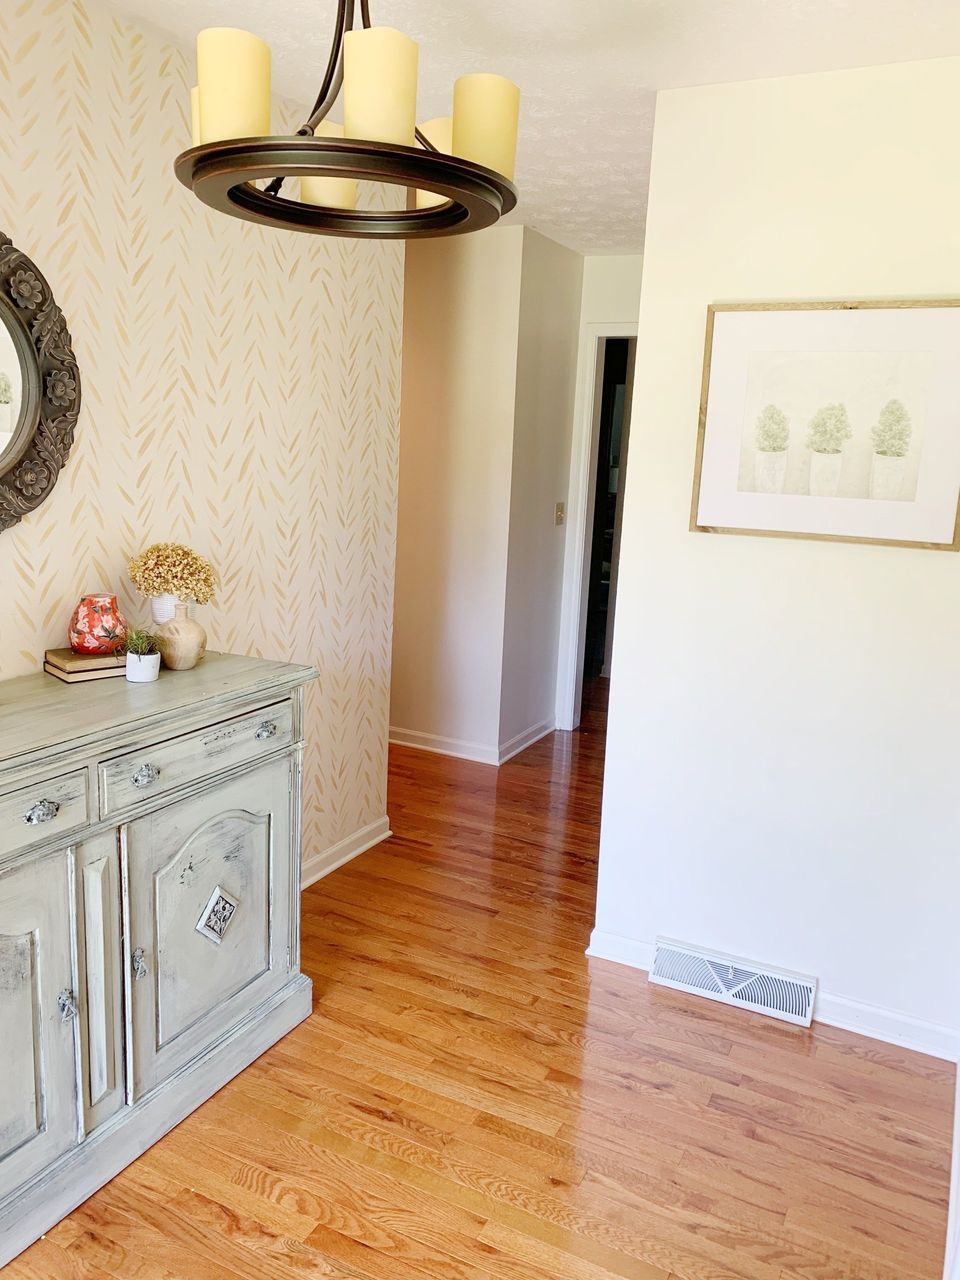
Are you sure that’s not wallpaper? No, I painted my own faux wallpaper!
Pin for Later!