
Laundry Room Peel-and-Stick Wallpaper Update
September 15, 2021
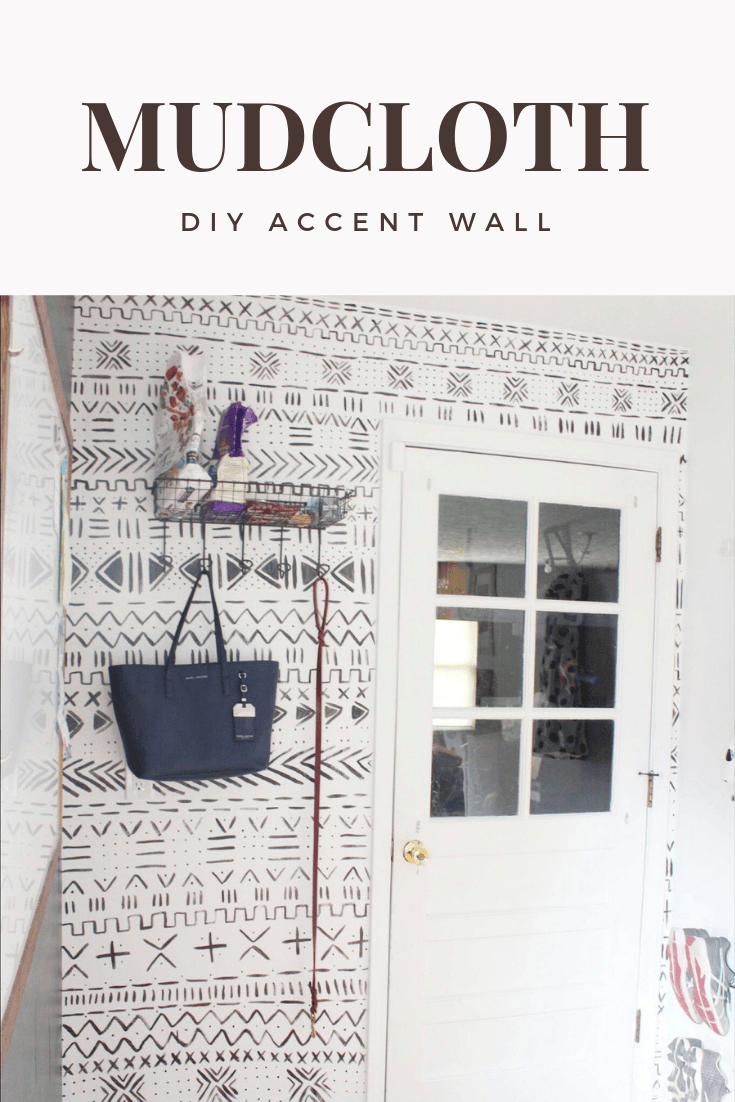
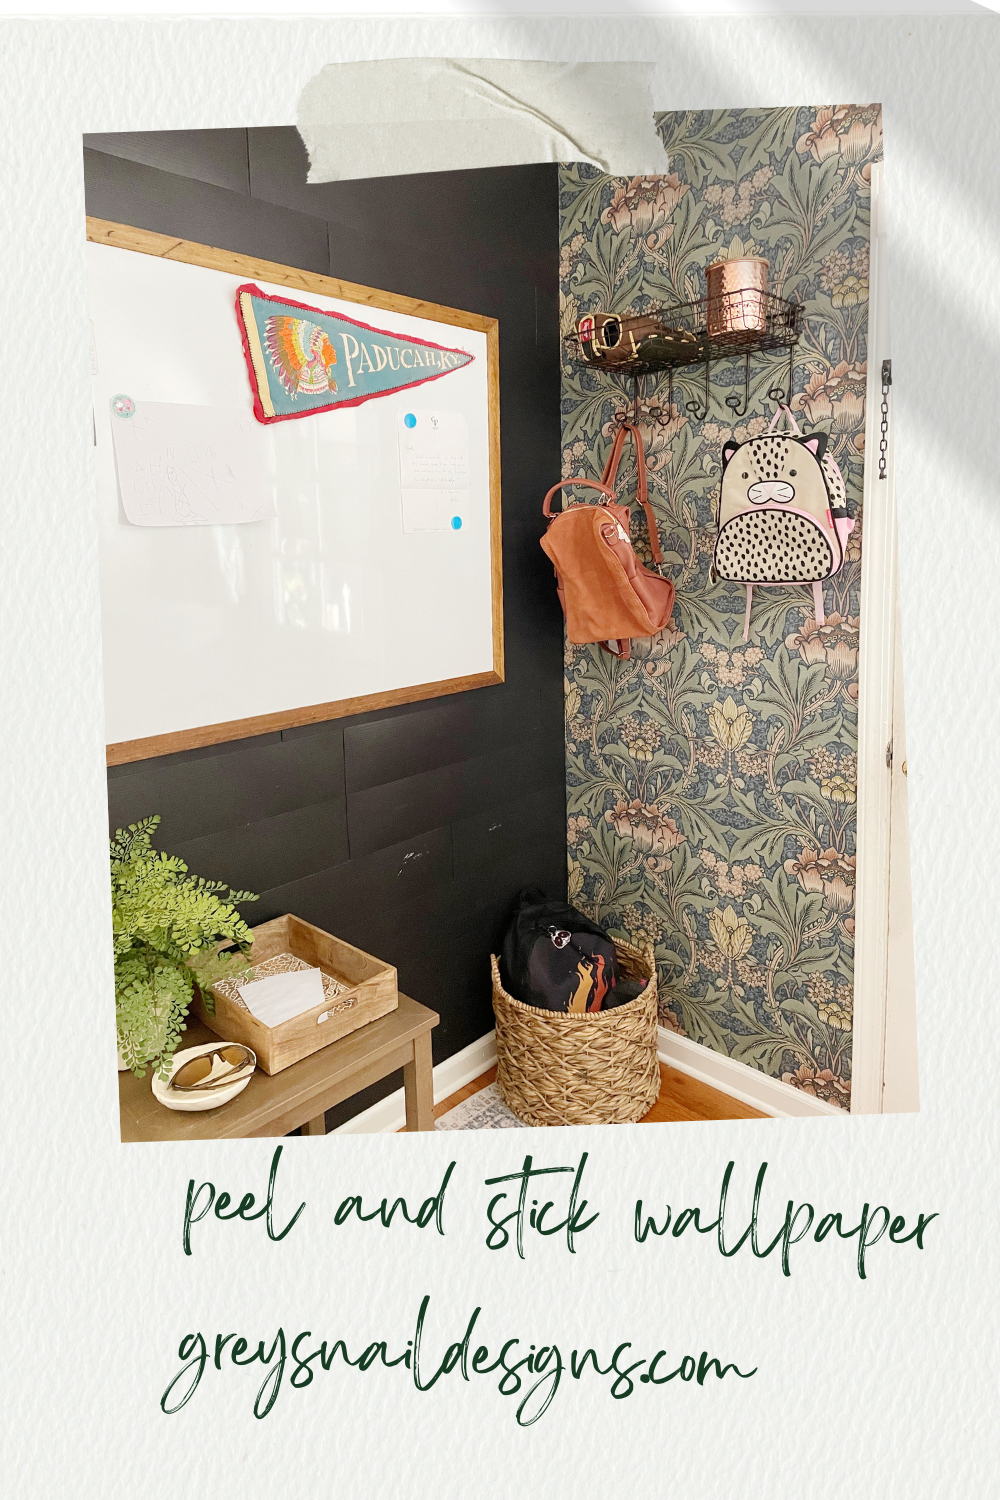
Laundry Room Before
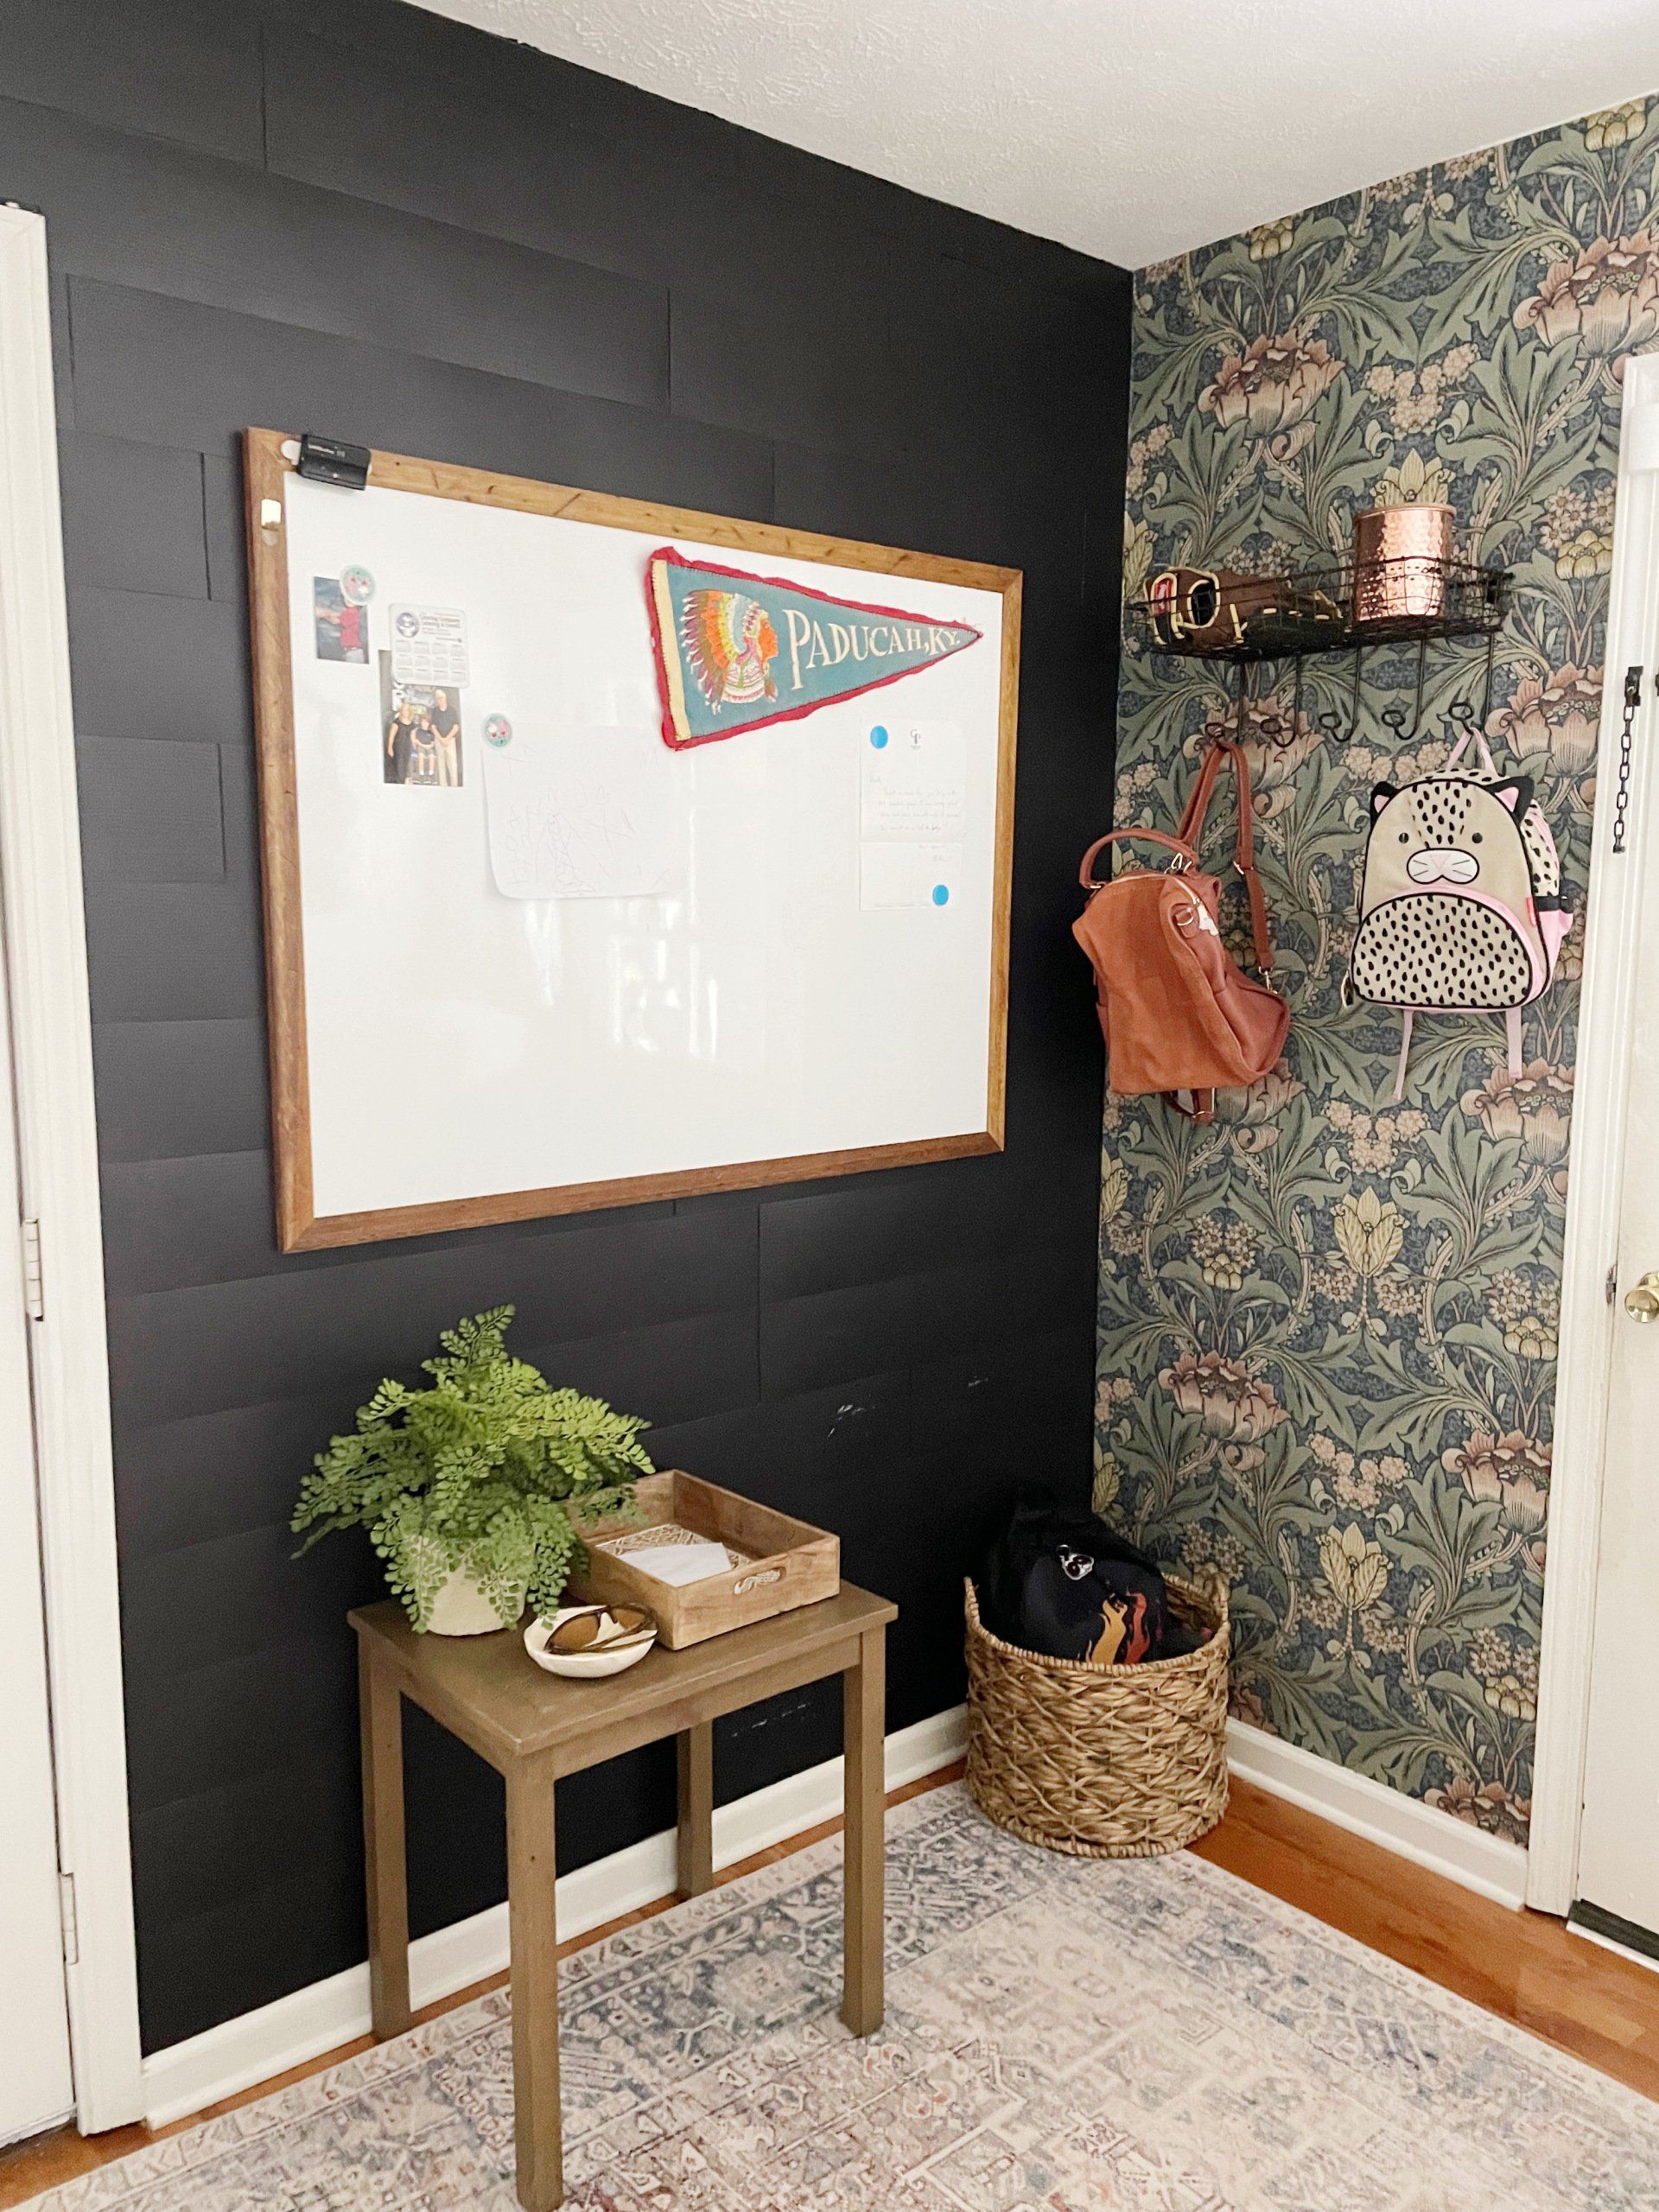
I switched some things around in the house, and needed a spot for one of my favorite rugs from the Chris Loves Julia x Loloi collection. The current laundry rug was getting a little worn and it was the perfect space for another 5x7 rug, so the Oriental Natural/Ocean Area Rug
had a new home. The problem was, it wasn't really meshing well with the existing black and white palette in there, so I decided to nix the hand painted mudcloth accent wall. You can also see the before of the laundry room in the post.
Wallpaper
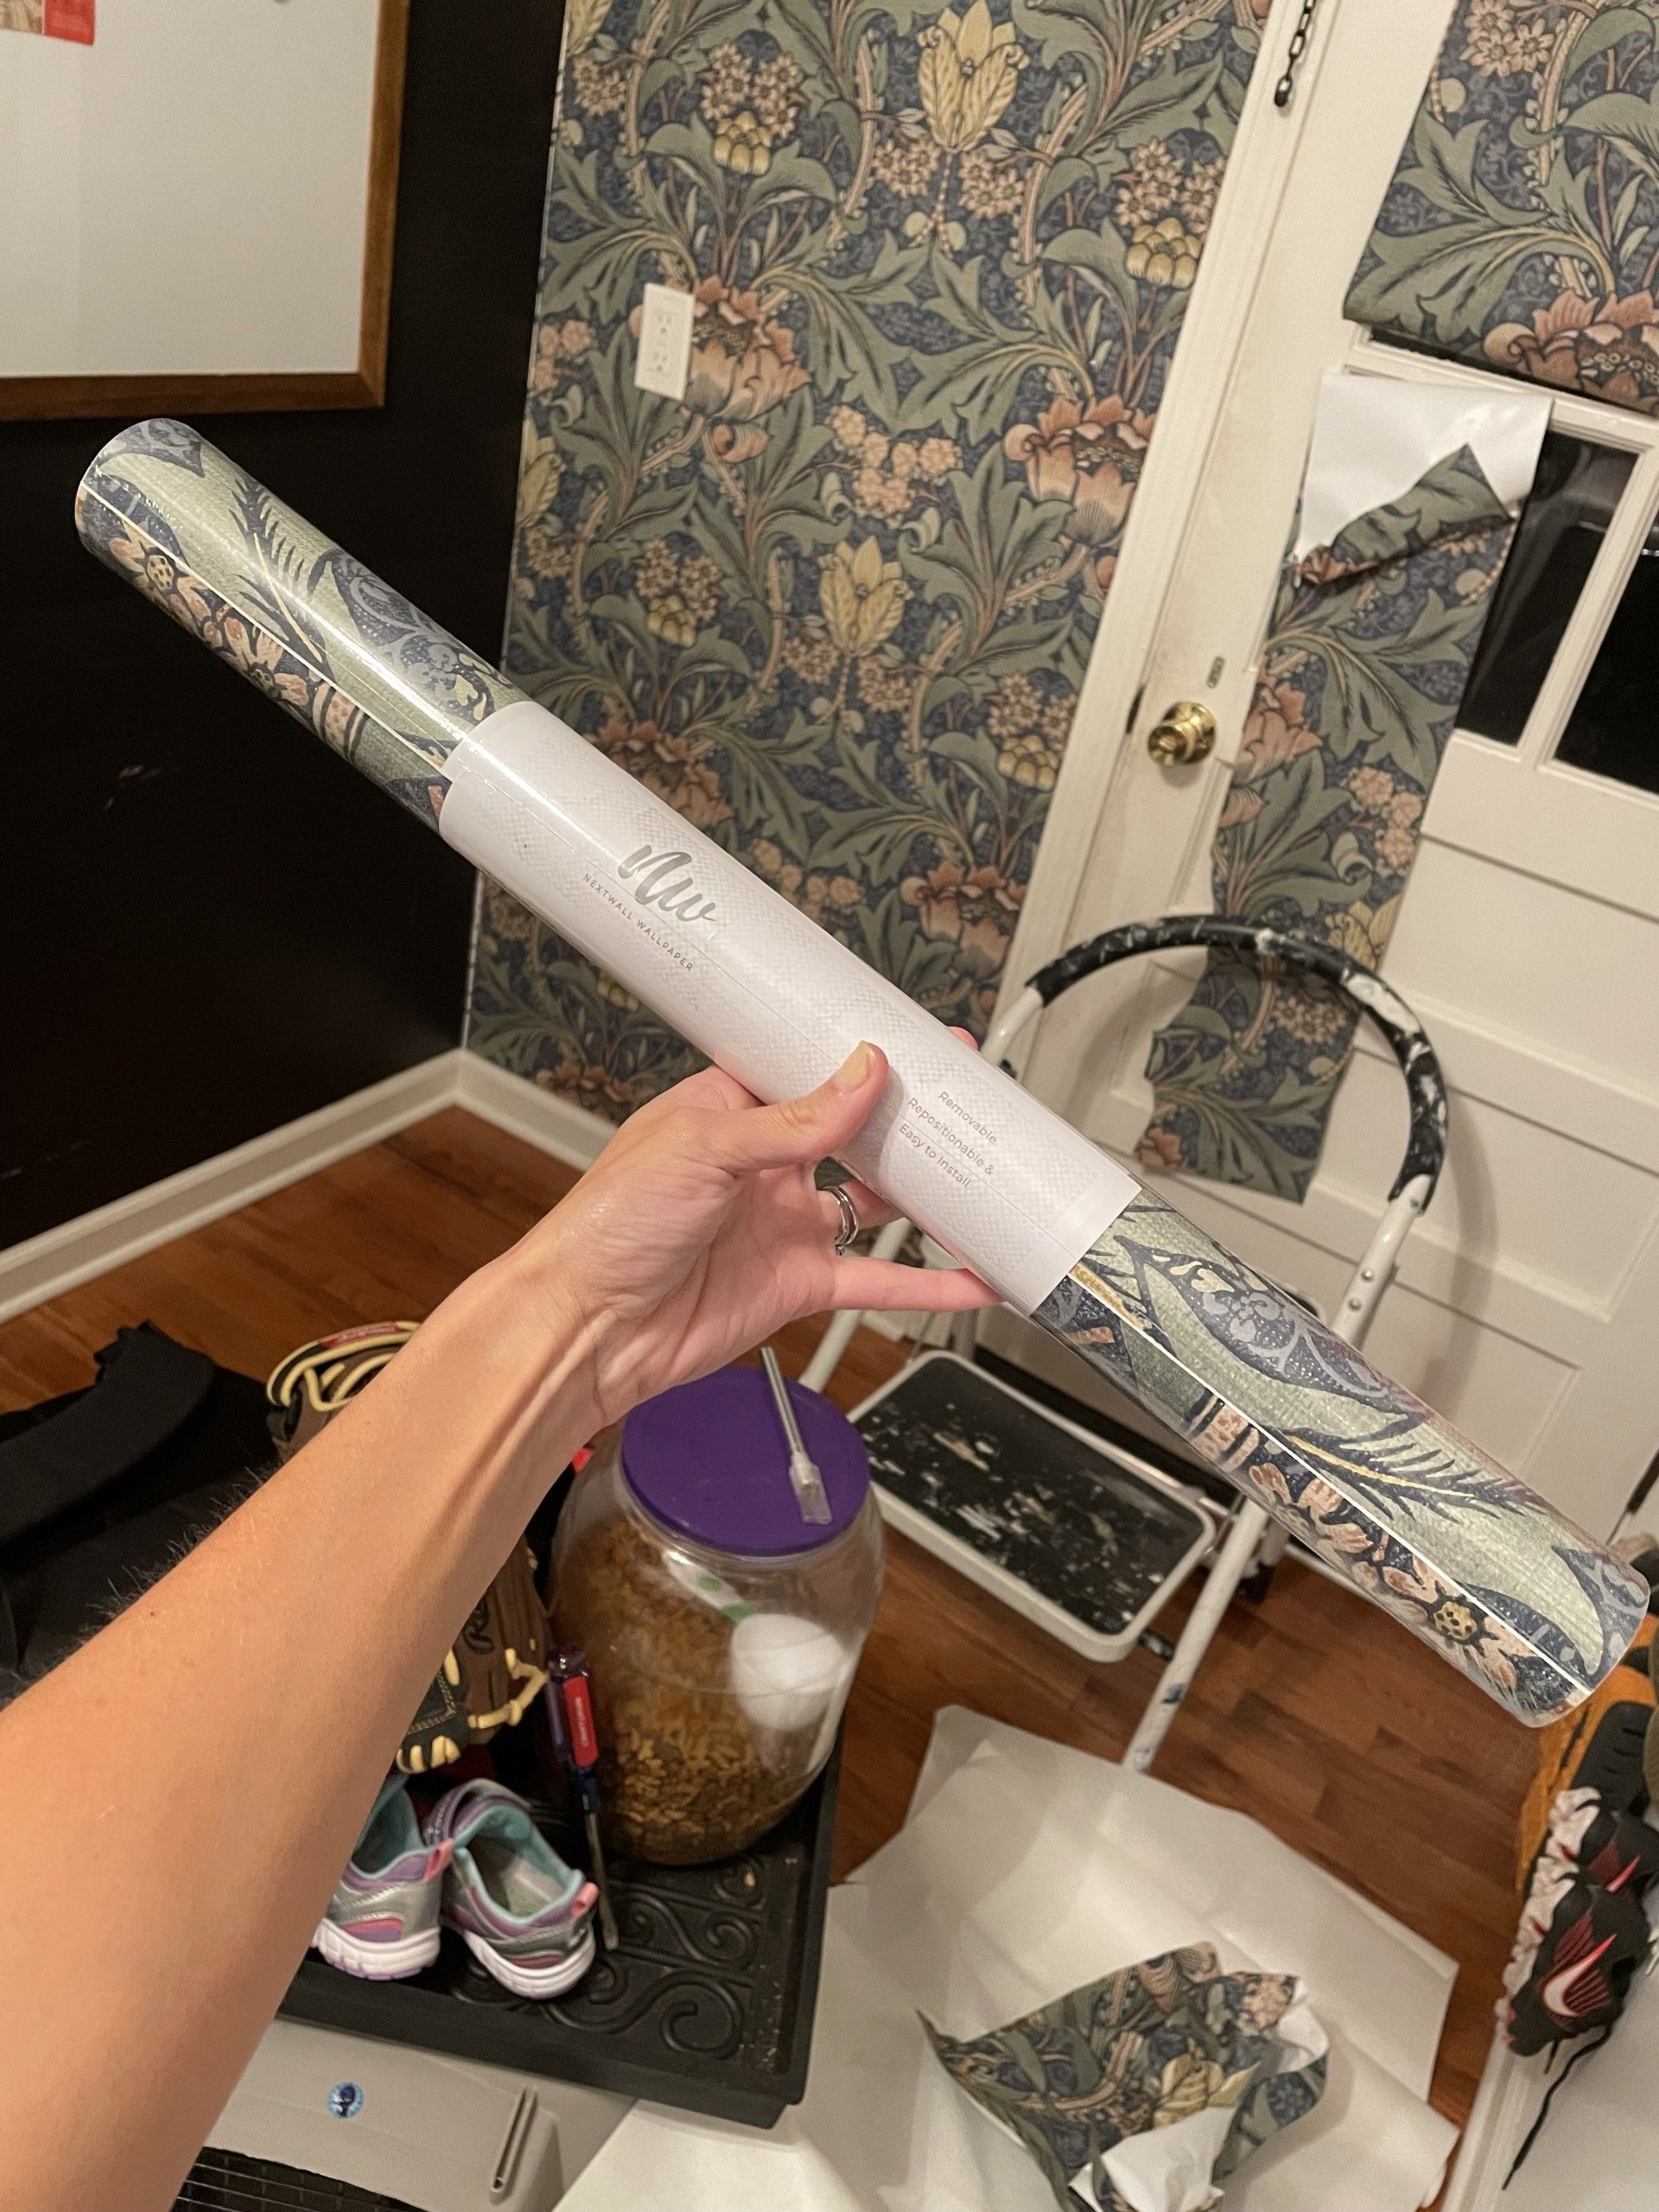
I knew I wanted to do peel-and-stick wallpaper, because for a DIY project, it's much easier and doesn't require any real skill to get a good result. It's also totally removable, which is a huge plus! I know from personal experience that removing wallpaper is one of the most difficult tedious tasks. After searching online, I found a gorgeous classic pattern
at Home Depot that I loved that blended perfectly with the colors of the rug. It was only $34.99/roll and one roll covered just over 30 square feet. Shipping was fast and I was able to start a few days later.
Installing
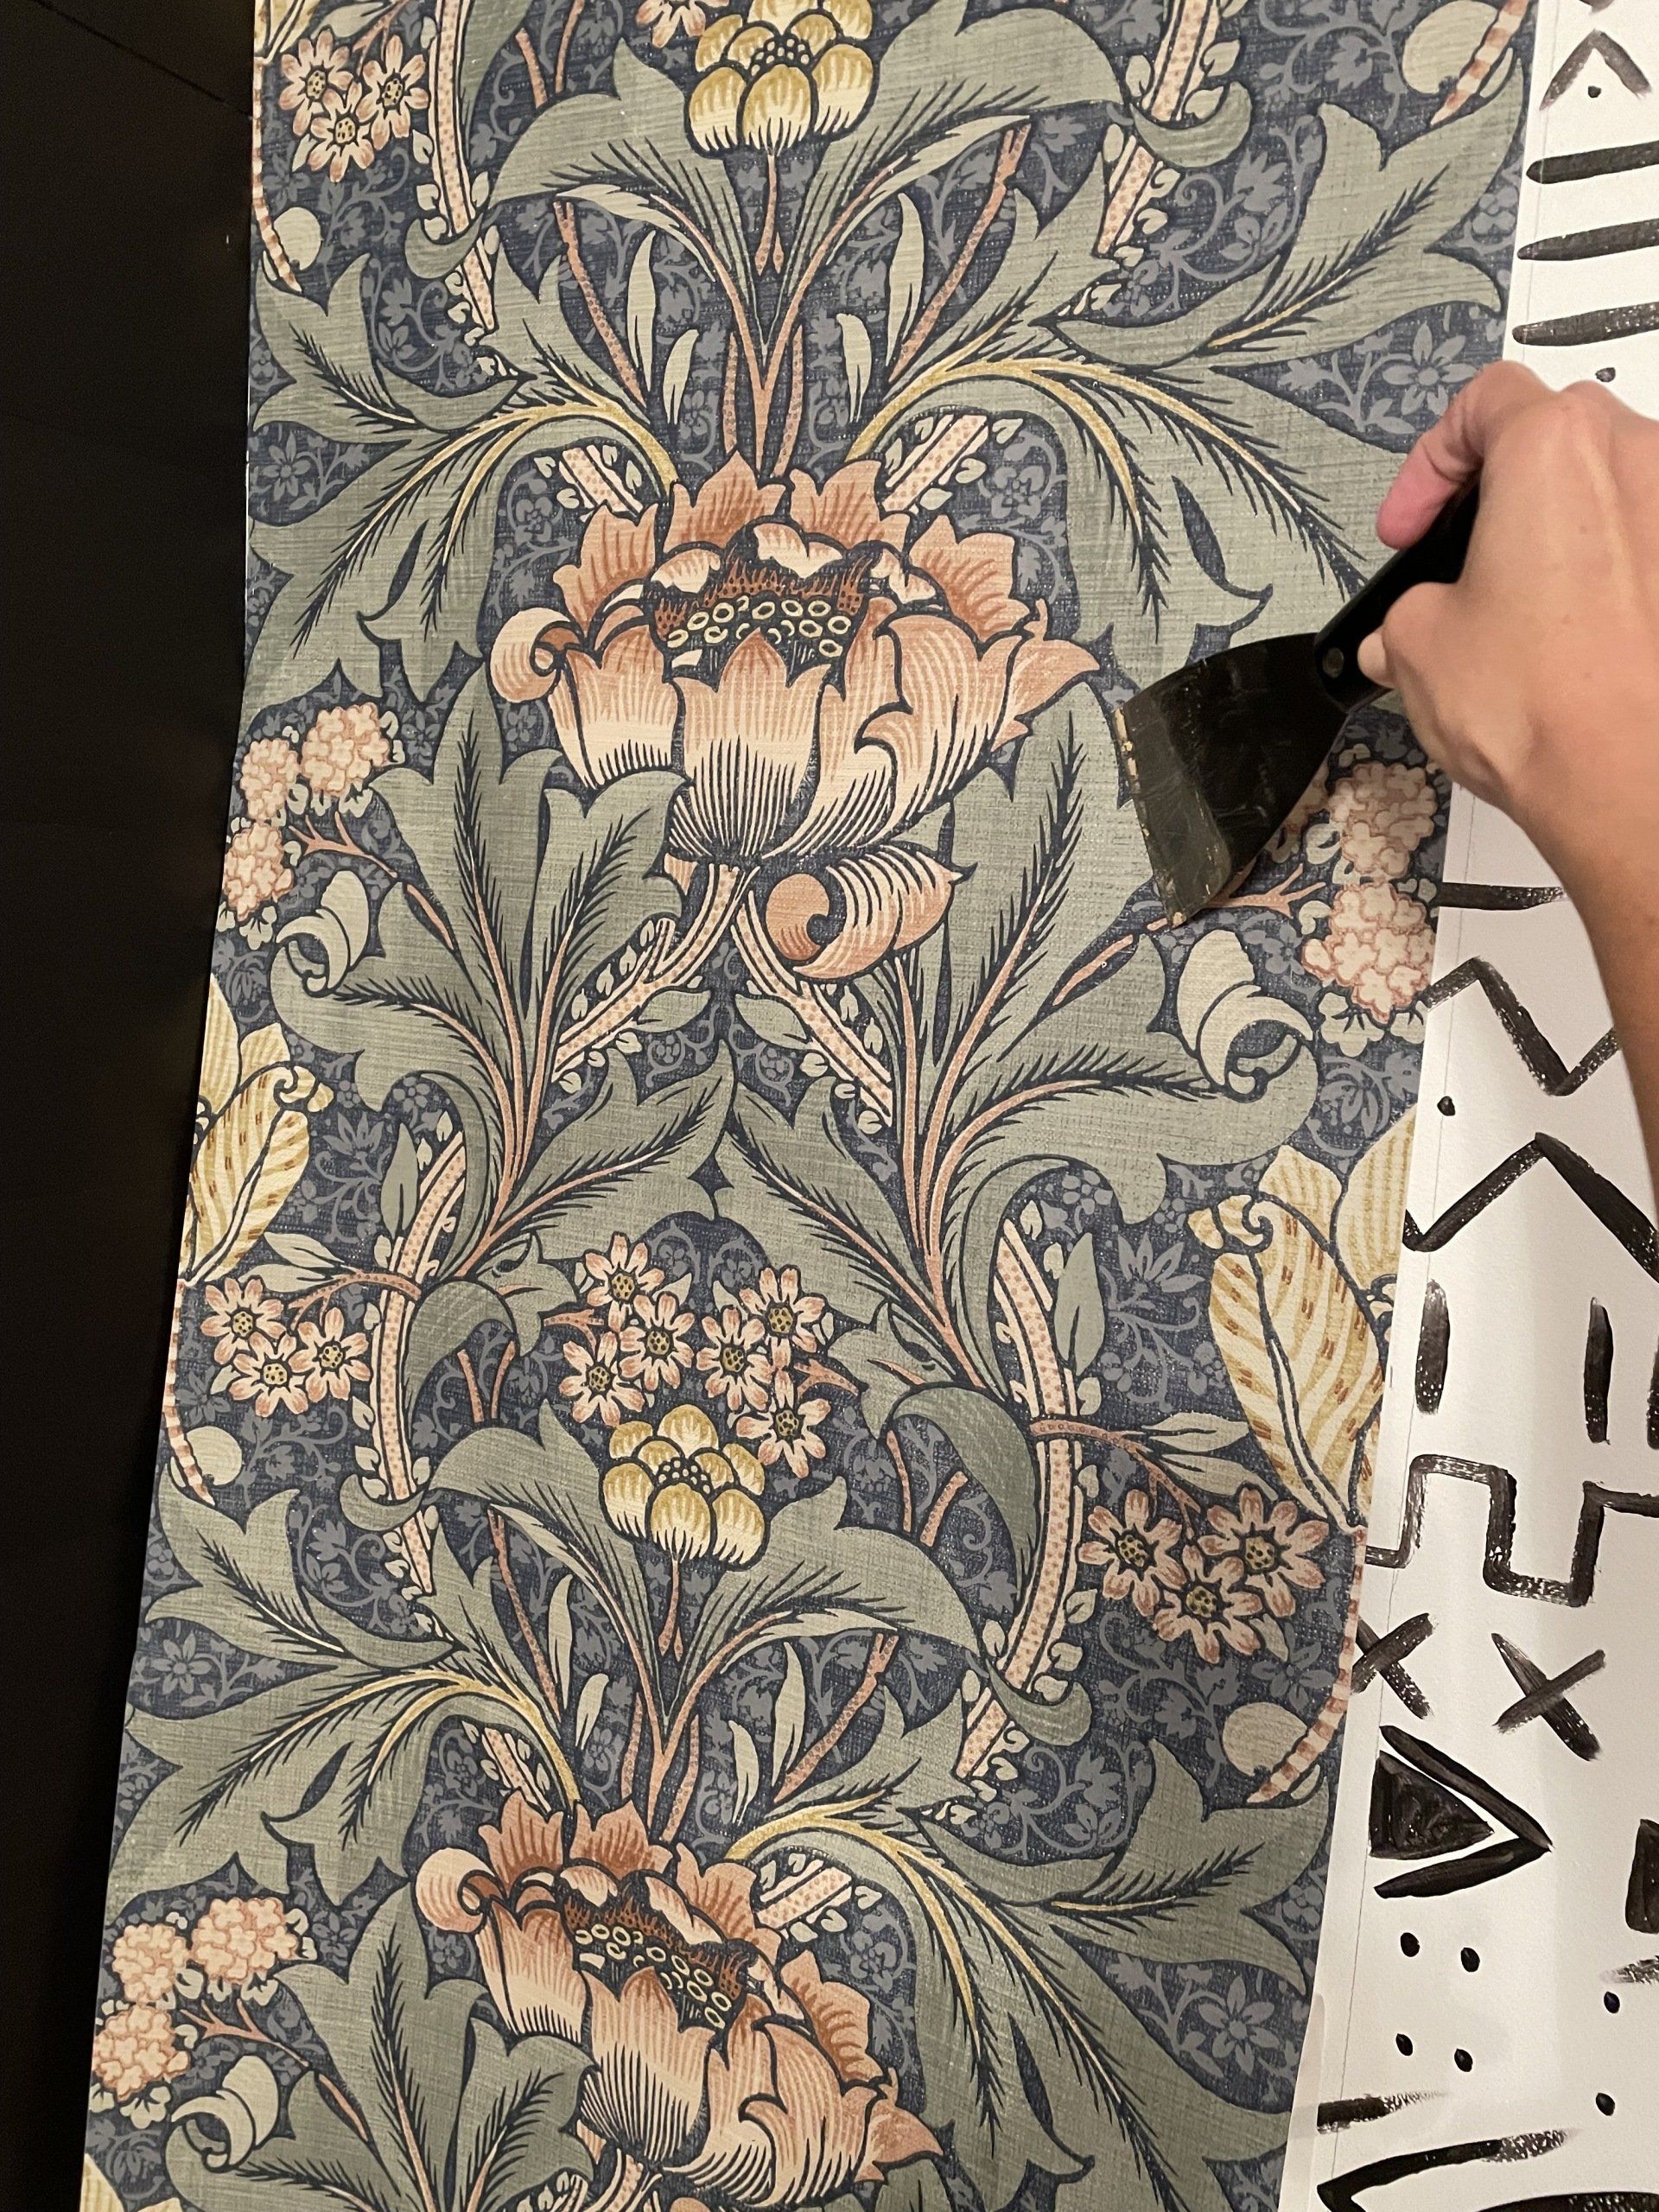
Since I was doing a very small wall, I started on the left side, but if you were doing a larger space, you should start in the middle. I began in the top left corner and lined up the top of the roll with the ceiling and corner and peeled about 12 inches of the backer off at a time, smoothing out the bubbles as I went with a putty knife. Looking back, it would have been better to let the left side of the paper overlap the corner a few inches and cut it later, because walls are never totally straight. By the time I got to the bottom, closer to the floor, there was a little gap that I had to deal with later. I could have saved myself some hassle with this simple fix.
When I got to the bottom, I used a sharp utility knife to cut off the excess paper. For the next row, I simply lined the pattern up, cut off the excess at the top, smoothed as I went down and cut it at the bottom. You should overlap the pattern about 1/16" to account for shrinking. Of course, you have to cut around any doors or windows, which is a little bit of a challenge, but nothing too hard.
This project probably took me about 1.5-2 hours to complete by myself. It could be a little quicker if you had another hand.
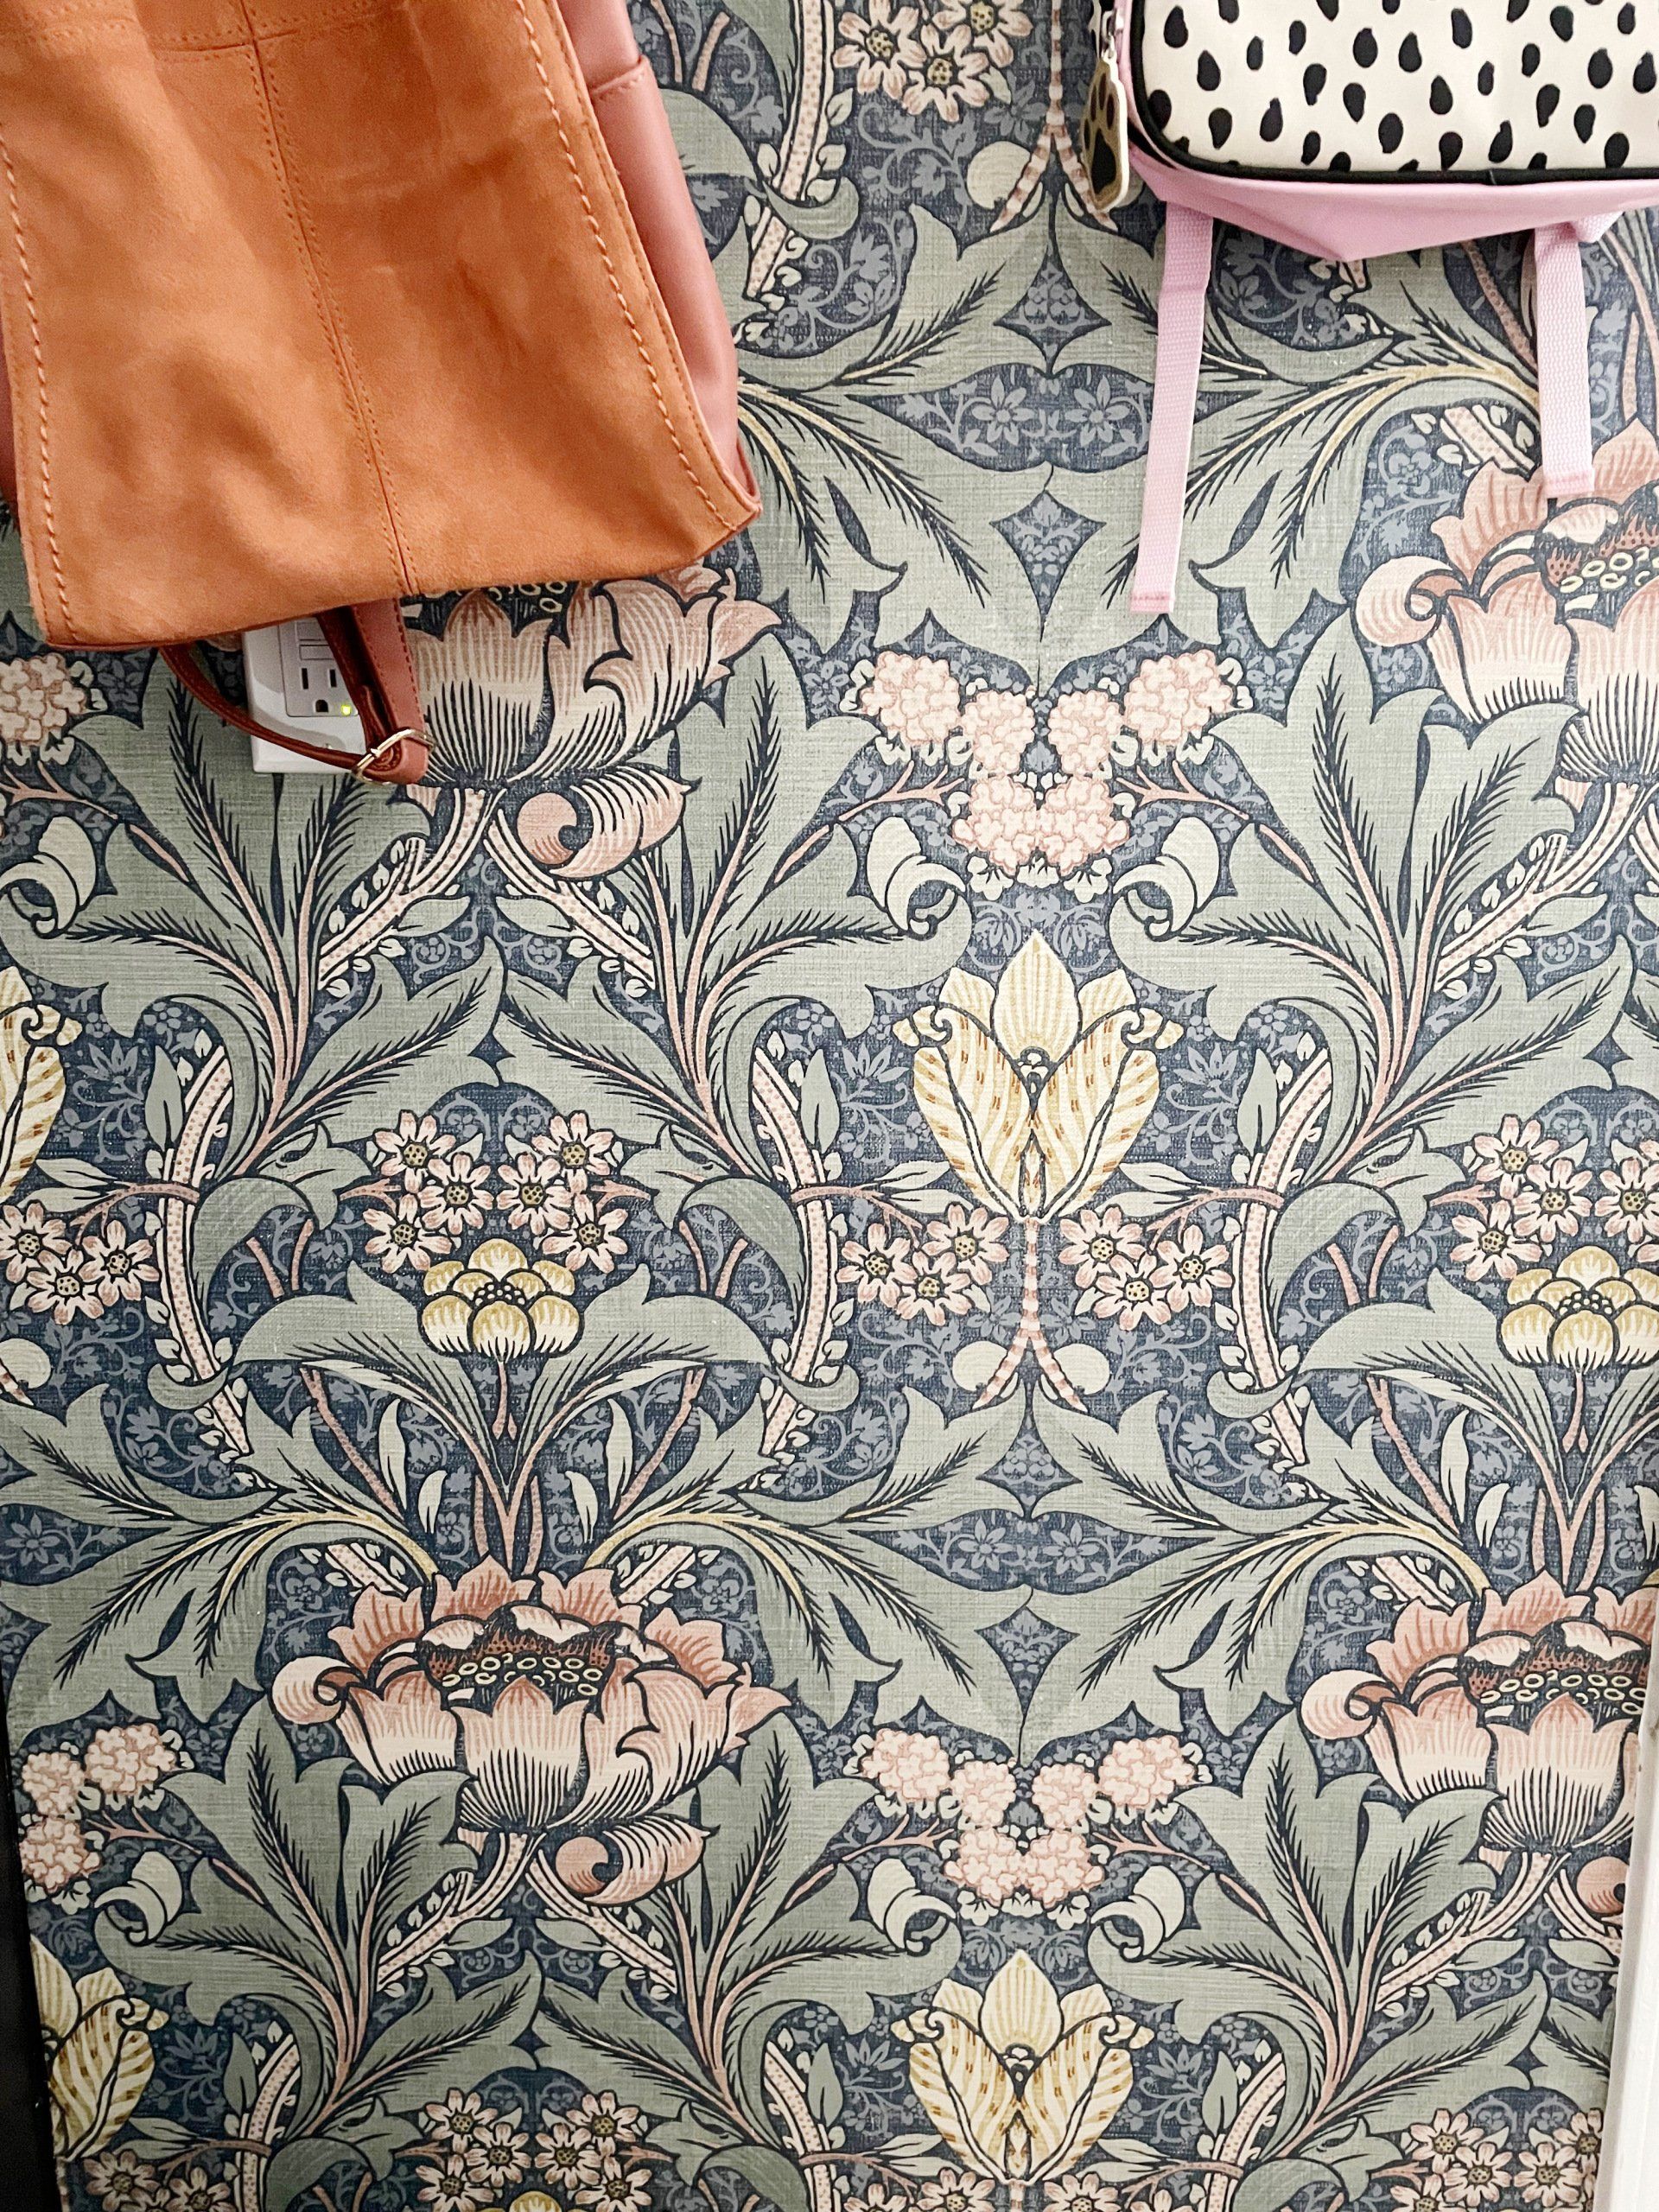
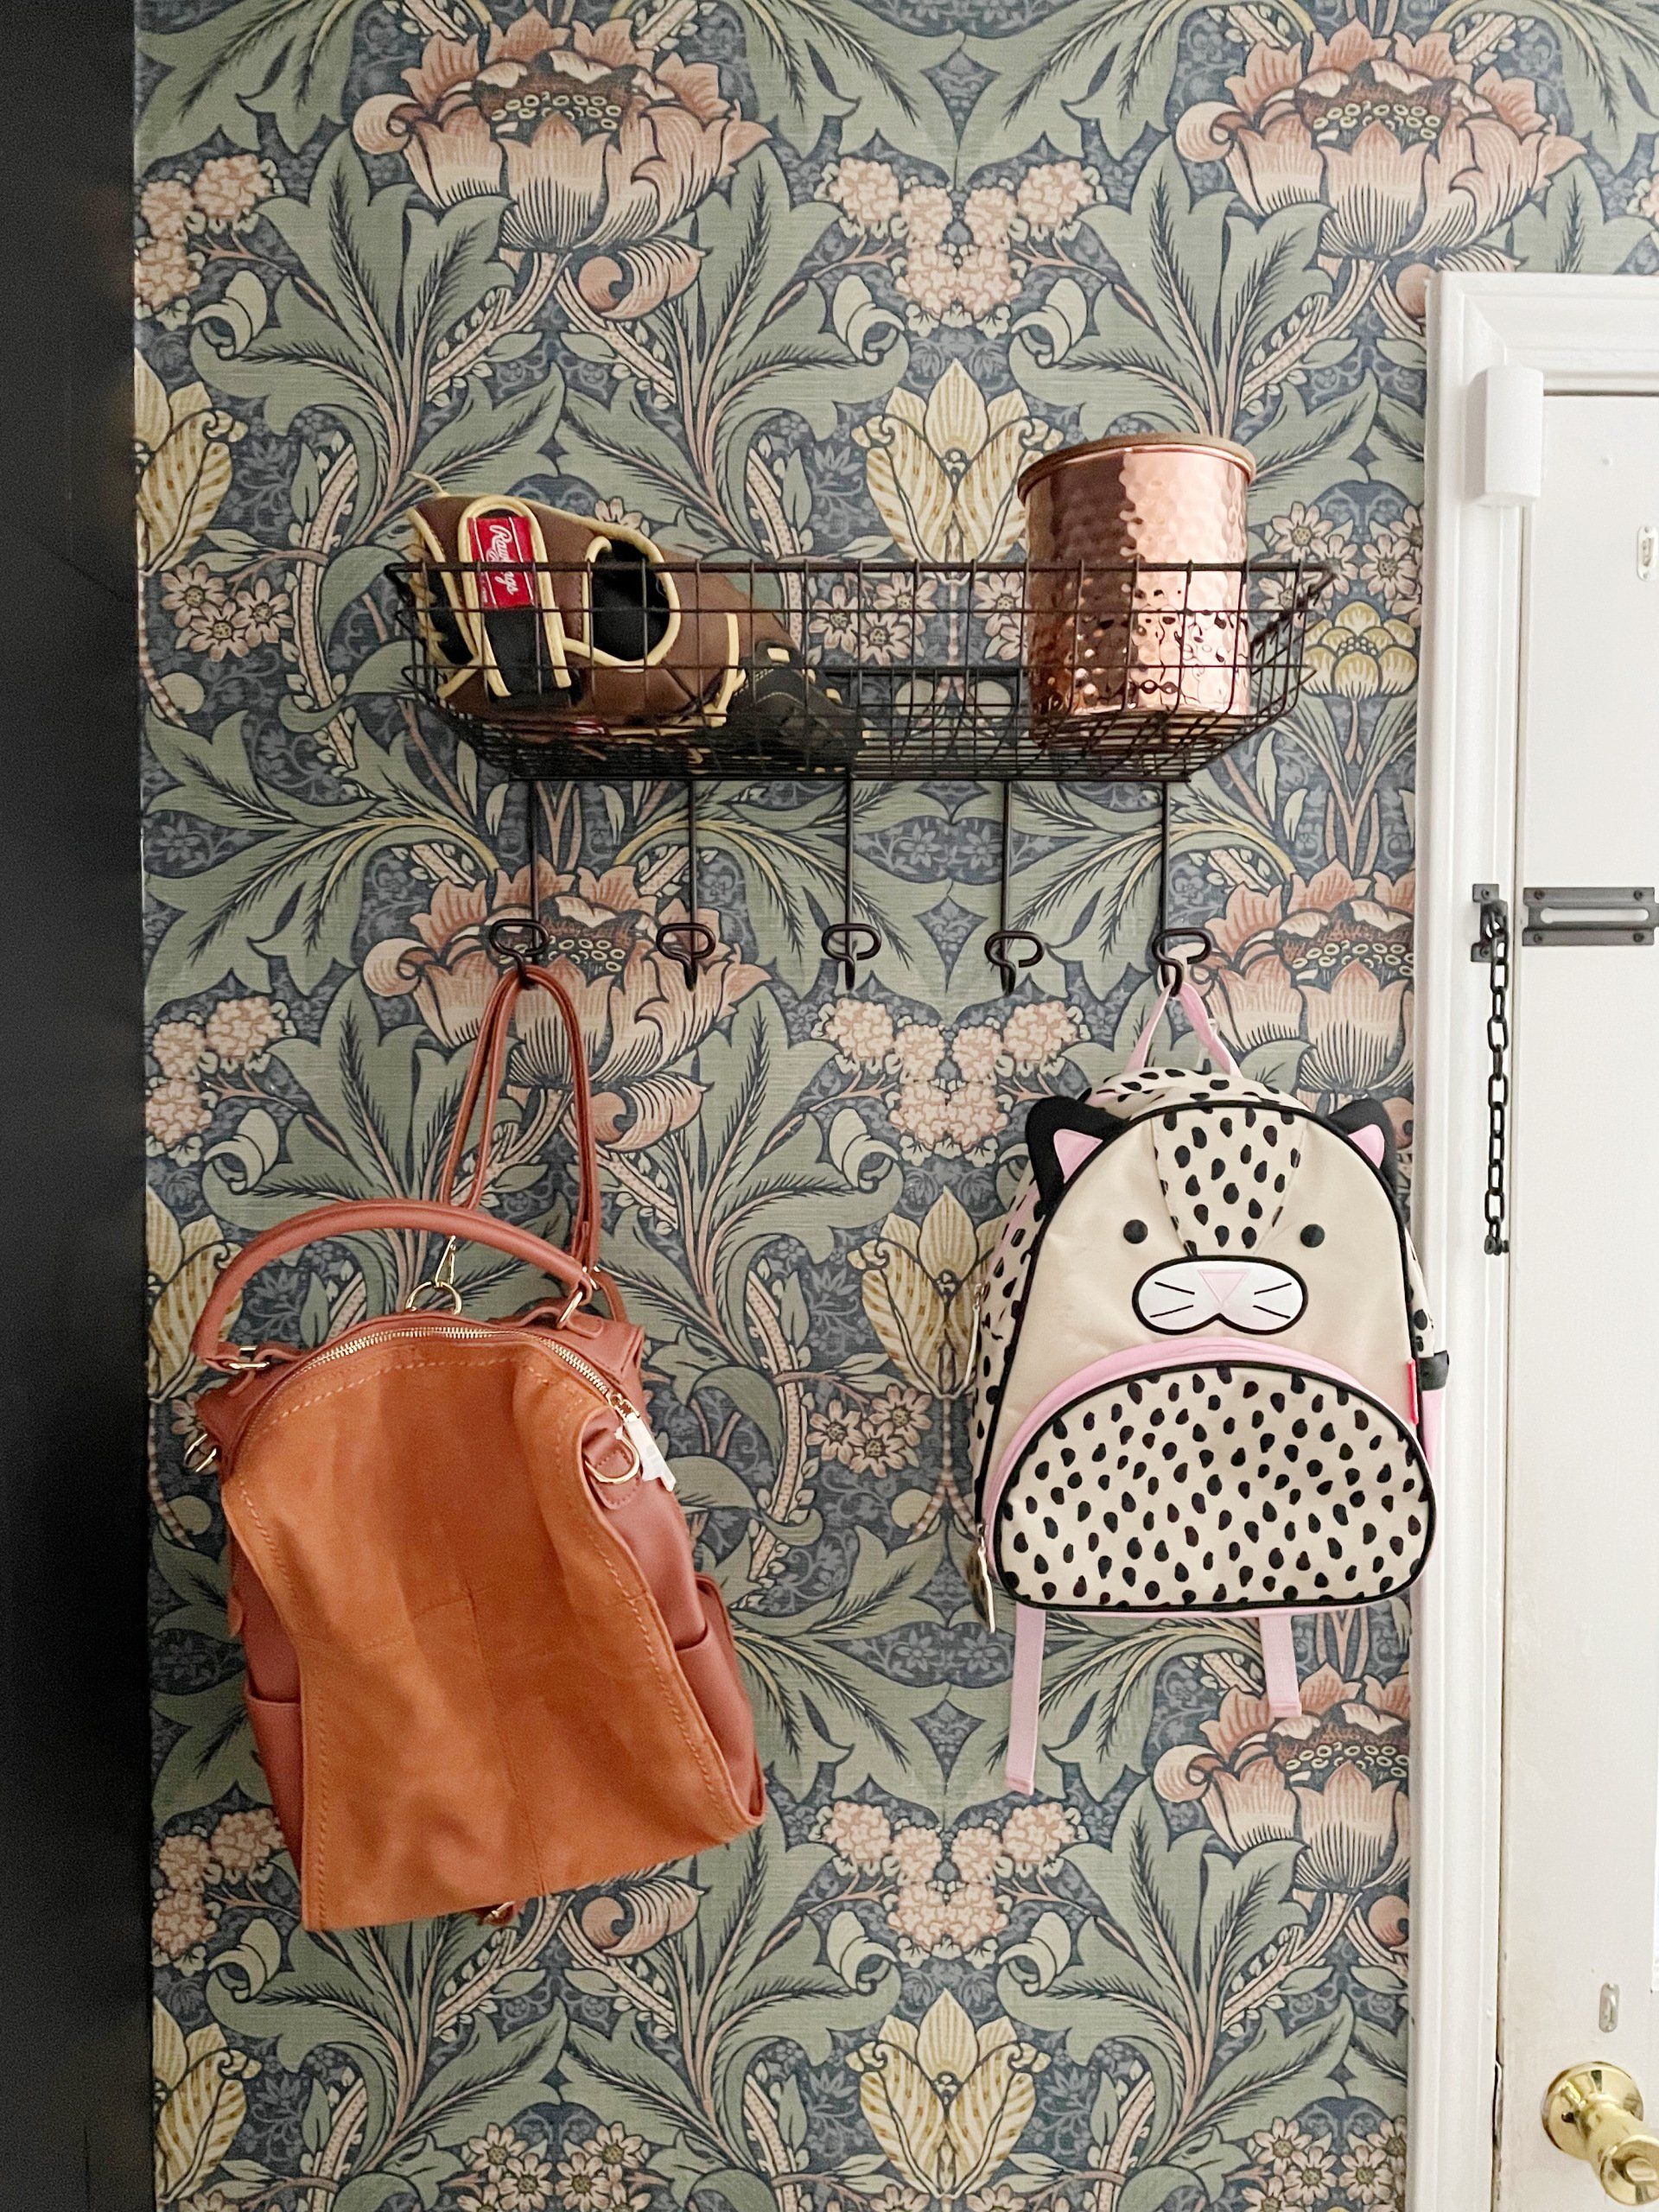
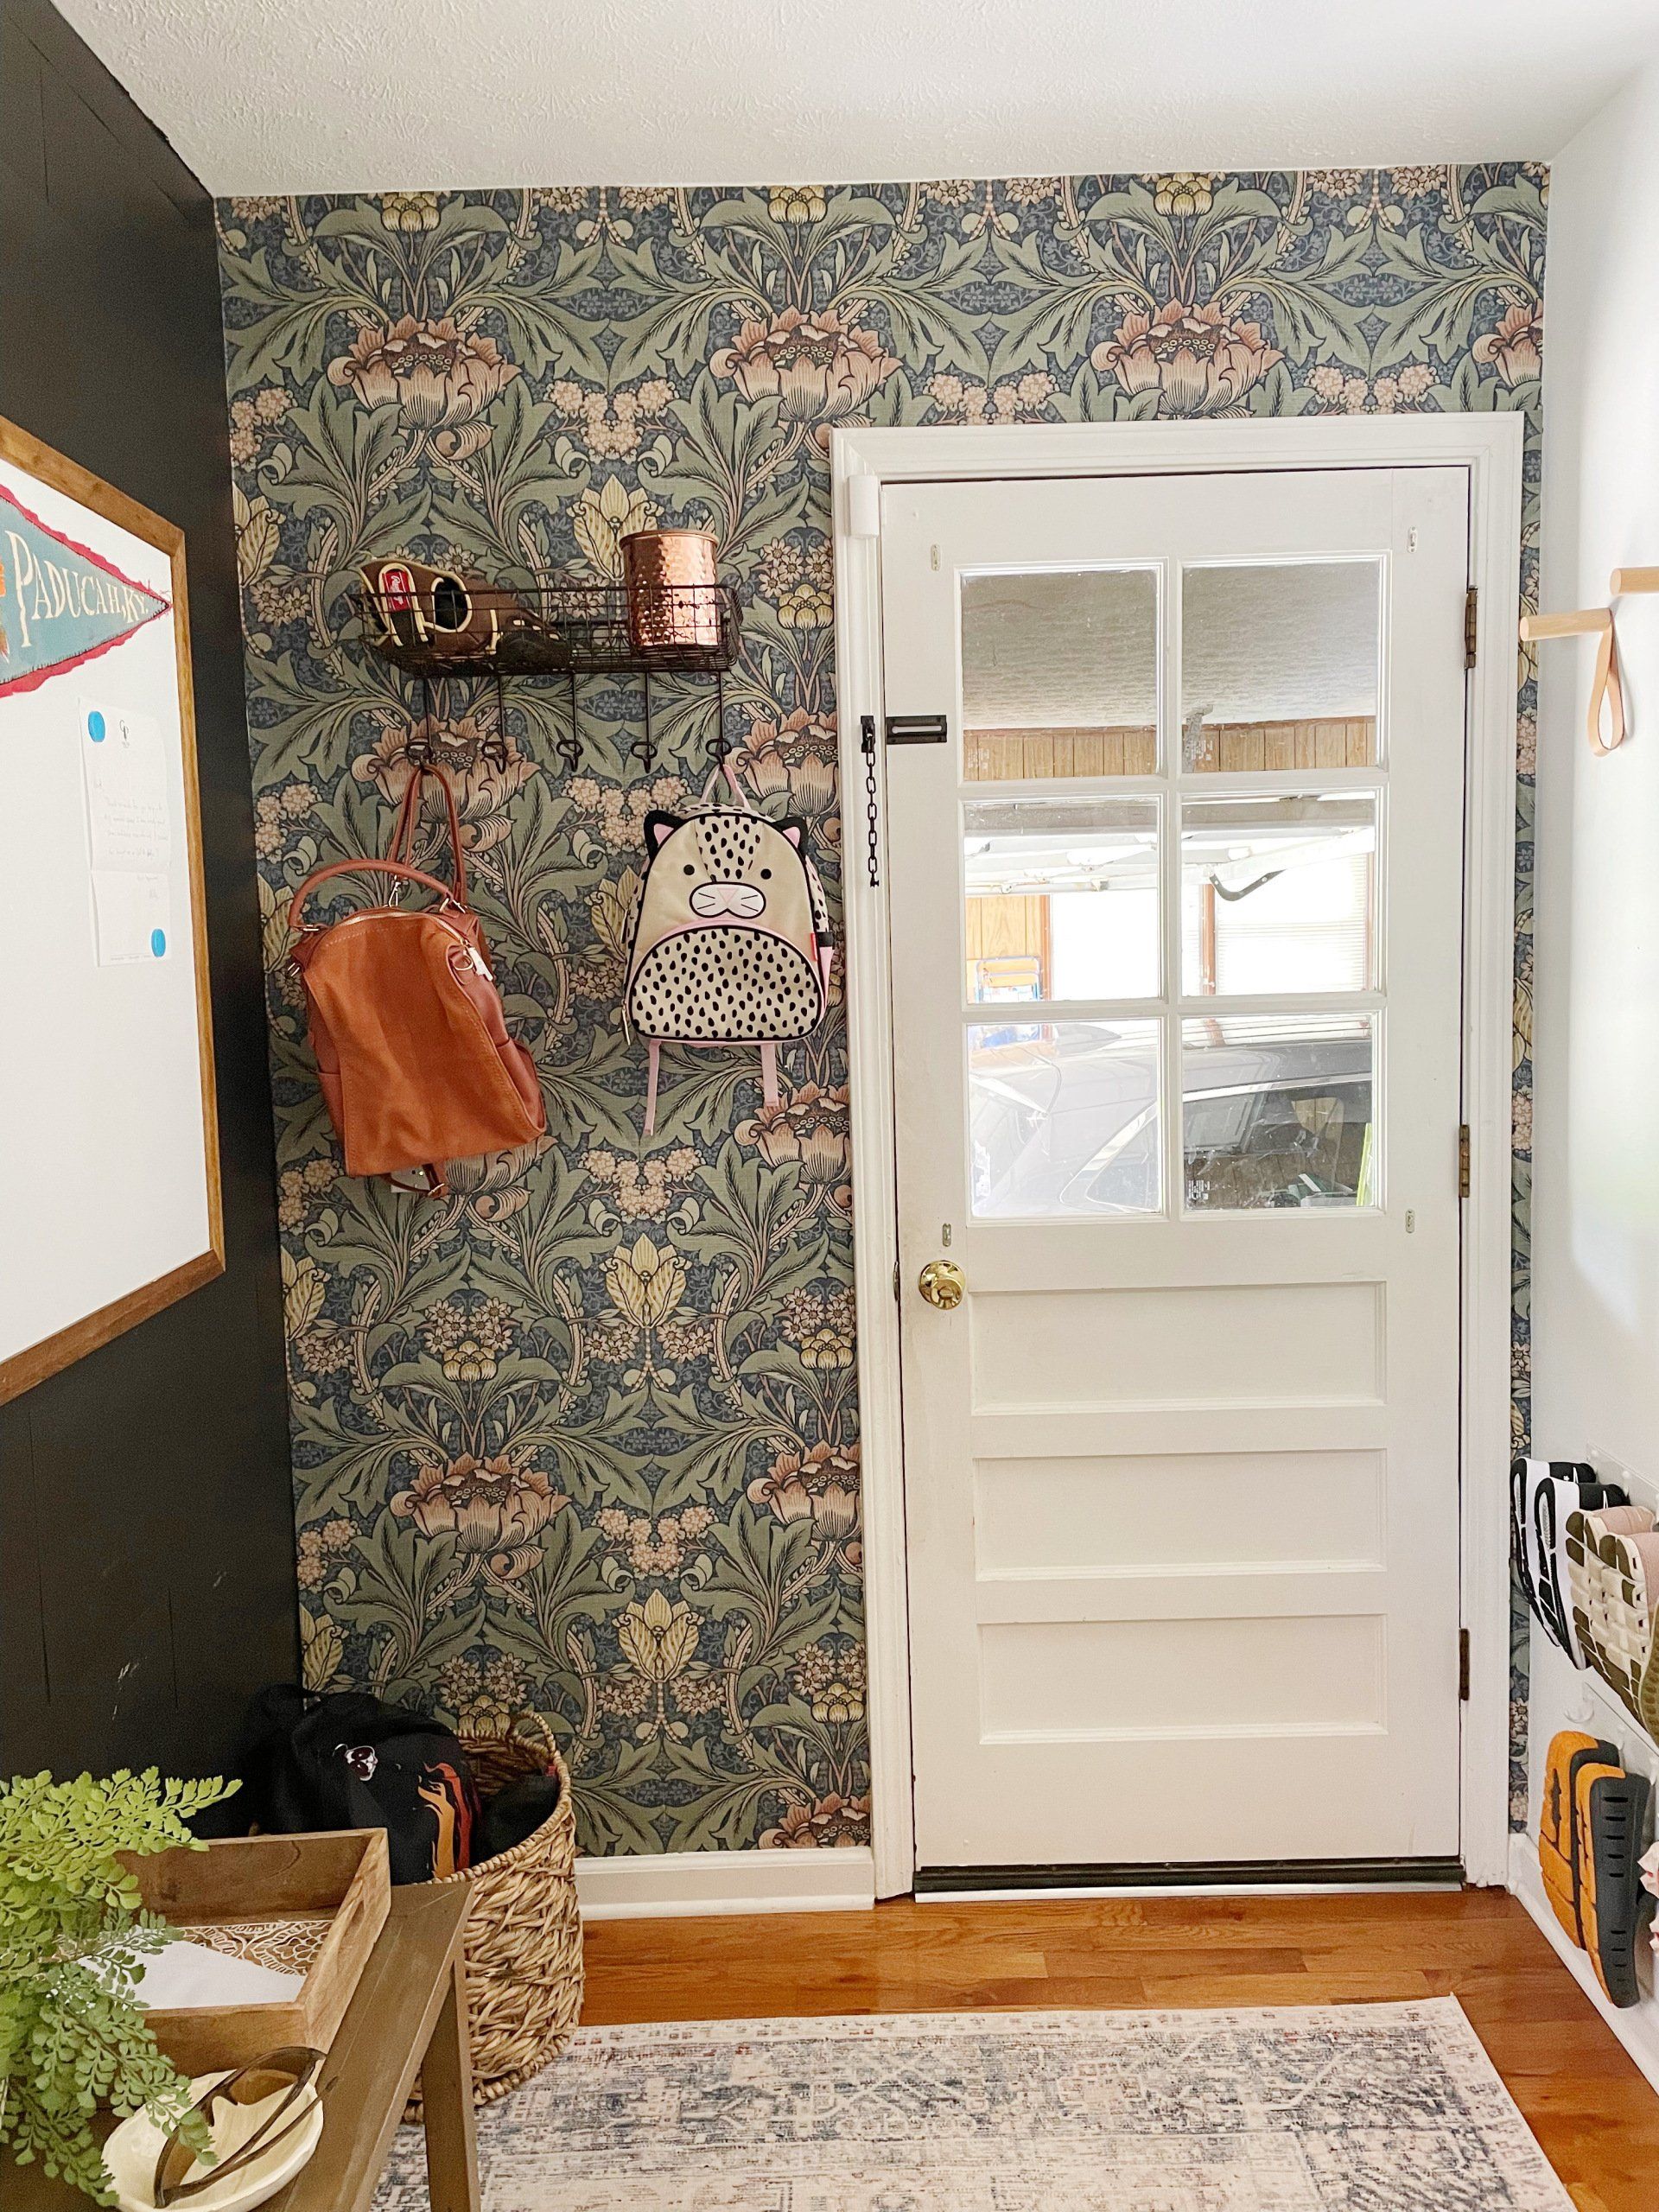
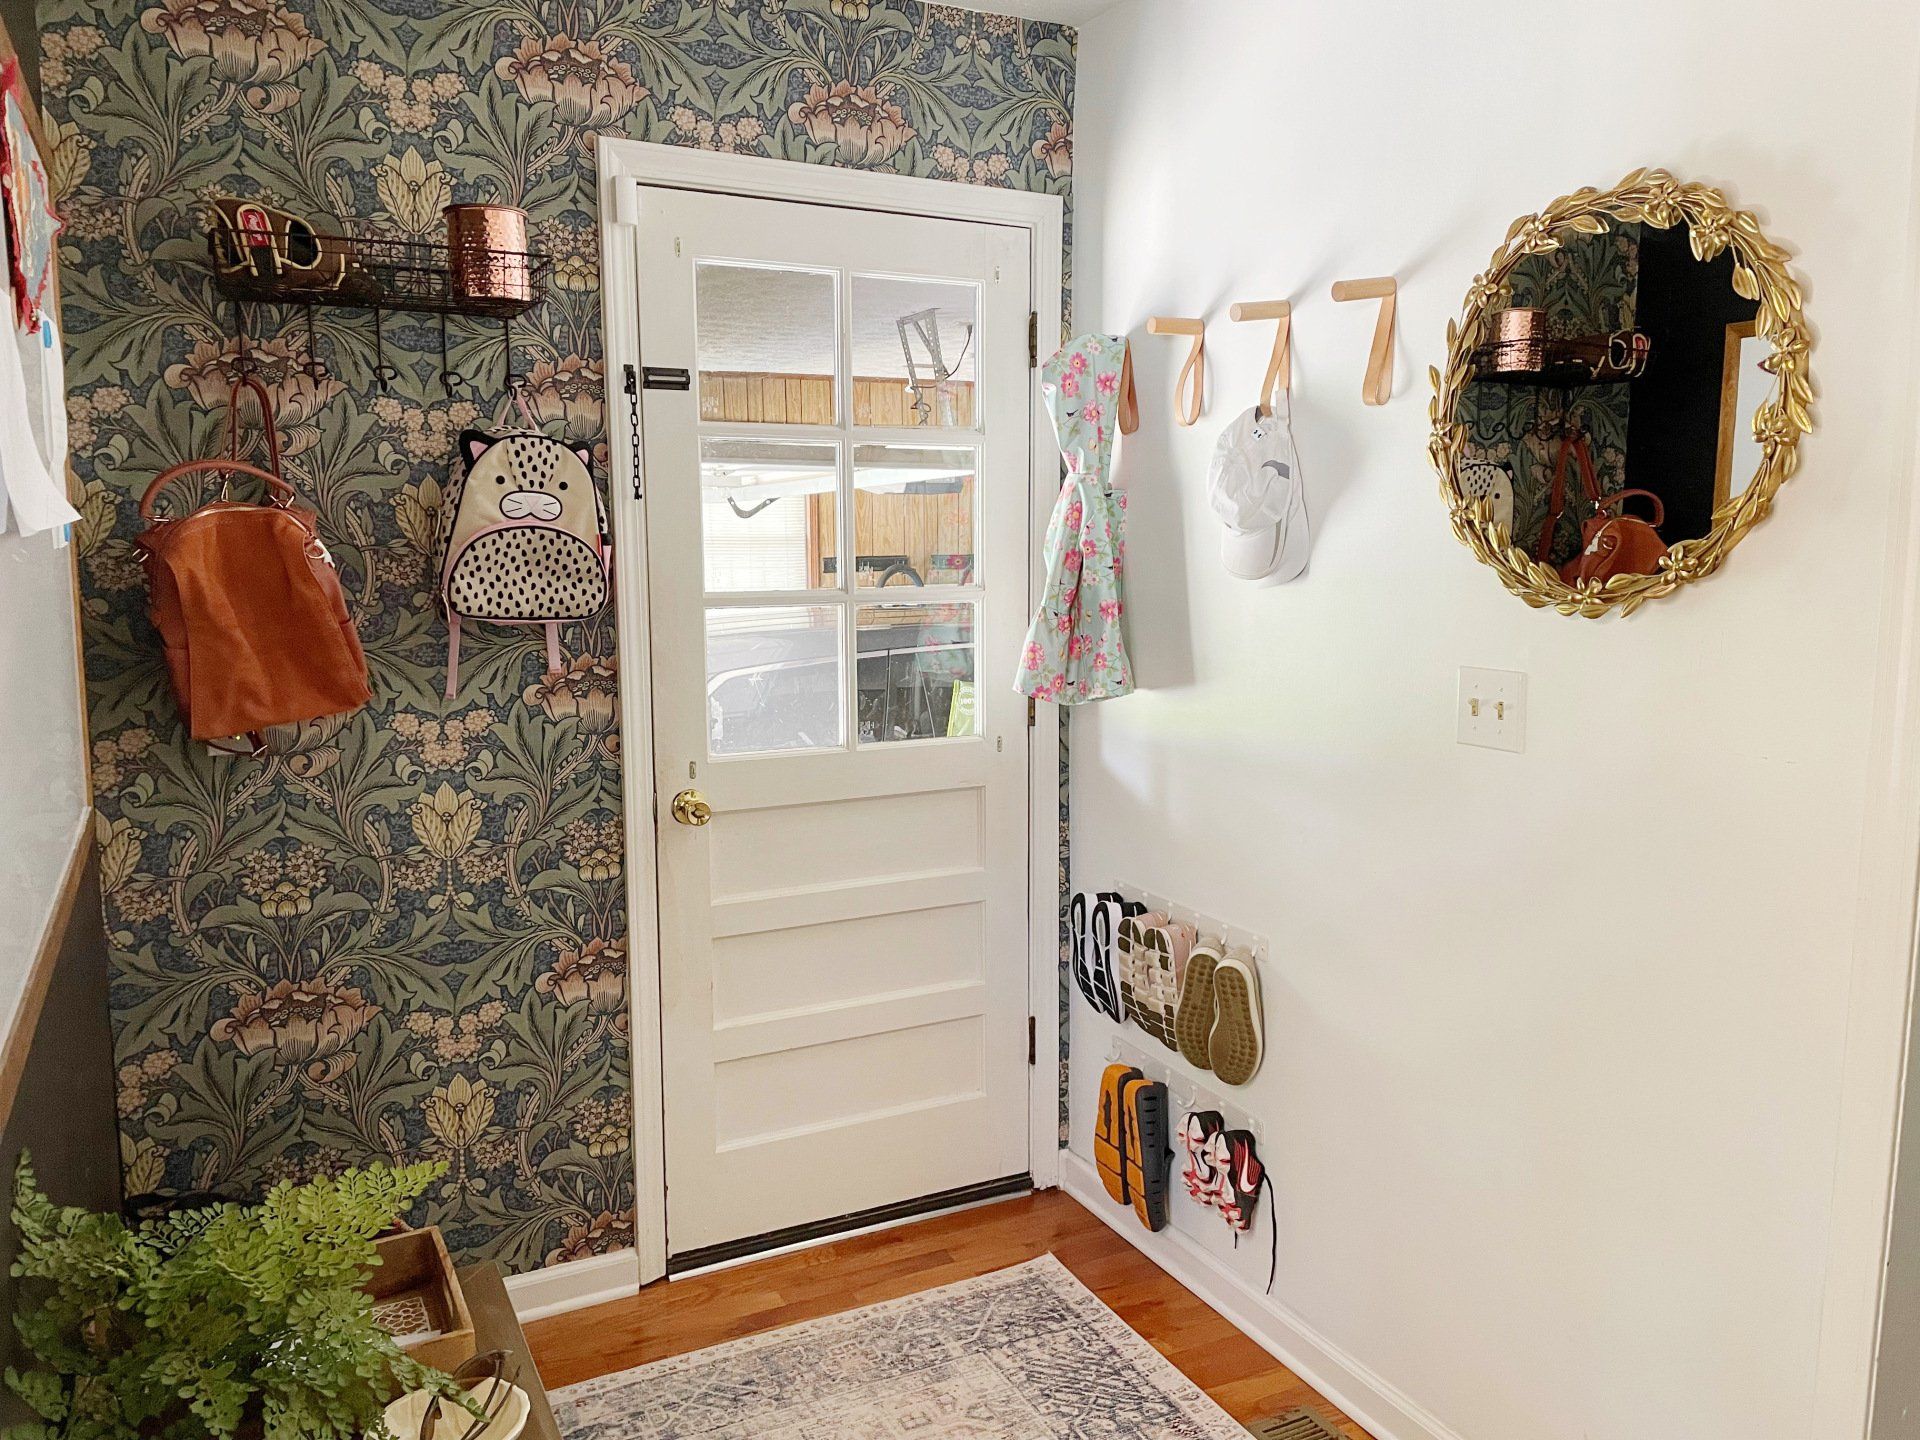
I absolutely love this soft, beautiful pattern! I also made some other easy updates by switching out some of the art, changing out the hooks for hanging and adding a new mirror.
I got some new printable vintage art prints from Westwoven on Etsy and had them printed at Office Depot. It was only about $12 for a 16x20 print! The cool wood hooks with leather accents are so great! I love having a mirror by the door--it's been surprisingly useful and bonus--it was a great price at Target! Seriously, it's gorgeous and I could see using it so many other places.
Pin for Later!

Rifle Paper Co Wallpaper

Space Planning

Rifle Paper Co Wallpaper

Designer Drapes

Rug Roundup January 2024

Booth at Christmas Market
Grasscloth

What not to do

Romabio Velatura Mineralwash

I can't remember the first example of fluted wood furniture I saw, but it was probably either this gorgeous custom wood bathroom vanity from Chris Loves Julia , or the DIY fluted coffee table Fariha shared on Pennies for a Fortune . The custom cabinetry was done professionally using a router for each line, which isn't something I possess the skills to do. This did help inspire the colors I used in our bathroom remodel, though! I really connected to the method Fariha used to build the coffee table--wooden dowels. What a fabulous idea!