Mudcloth Pattern
My biggest obstacle to hopping on the shiplap train was actually getting the boards cut and attaching them to the walls correctly, but guess what??! I found away around traditional construction and no one will ever know the difference unless I spill the beans. Check out how my DIY faux shiplap wall with NO nails!
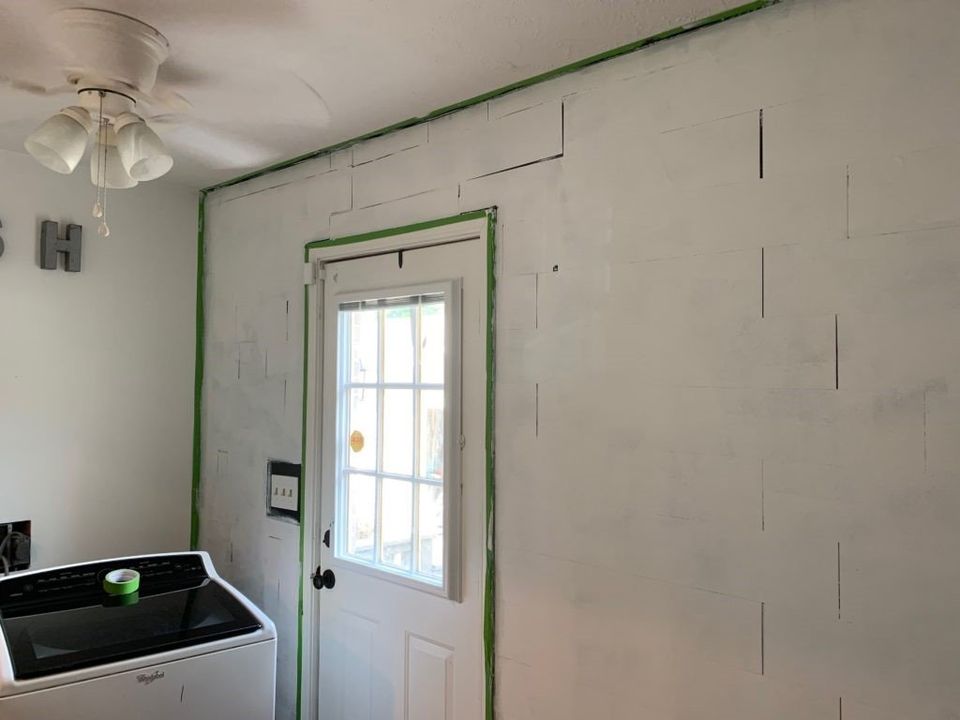
Thanks to Chip and Joanna, shiplap is everywhere–not just in older homes where it’s uncovered years later under layers. People are now putting it in their new construction homes. I finally found the perfect area for a shiplap project in our laundry room. The walls were already somewhat imperfect from removing a highly textured wallpaper, so covering them was a great option.
What color shiplap?
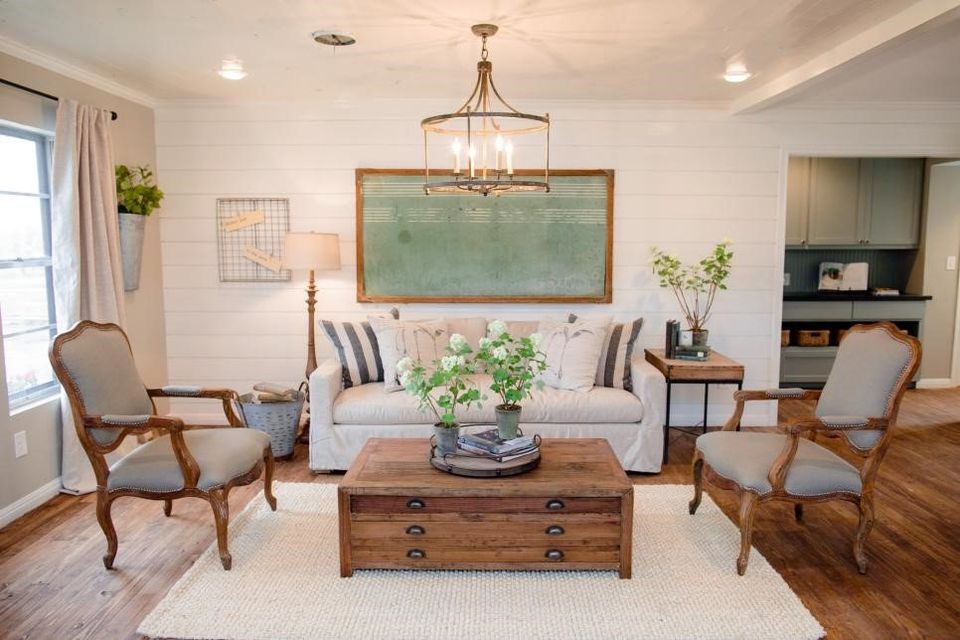
When I think of shiplap, I
think of Fixer Upper‘s bright, farmhouse
spaces with white boards. They’re taking over the world, so who am I to
question their choices?
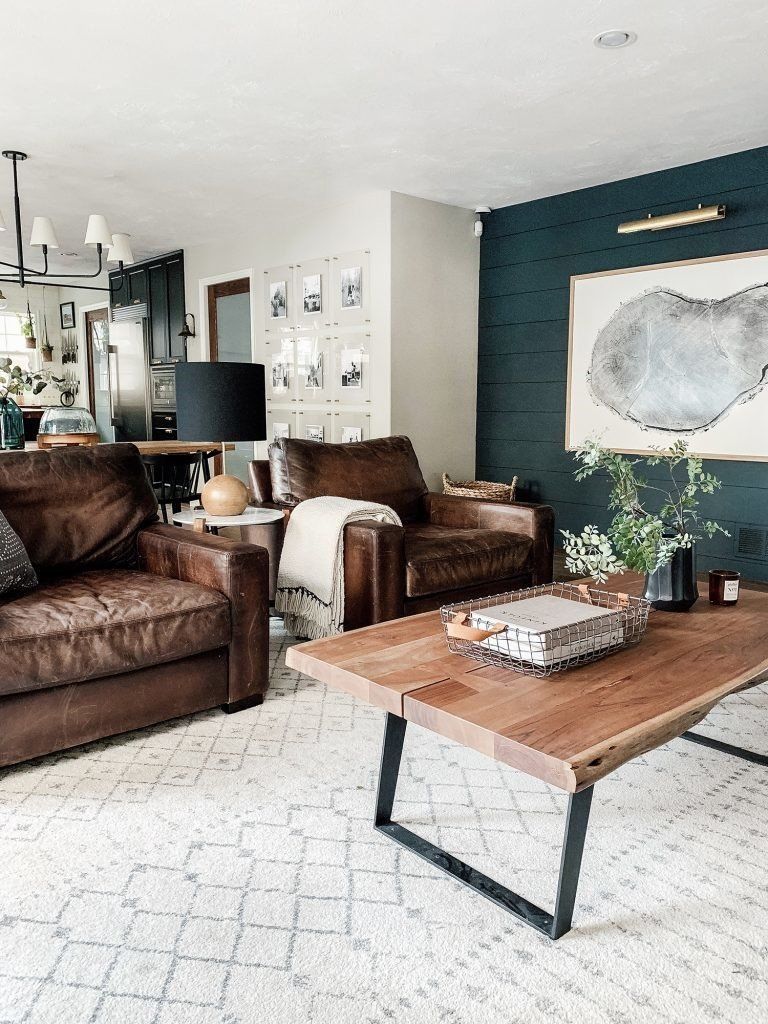
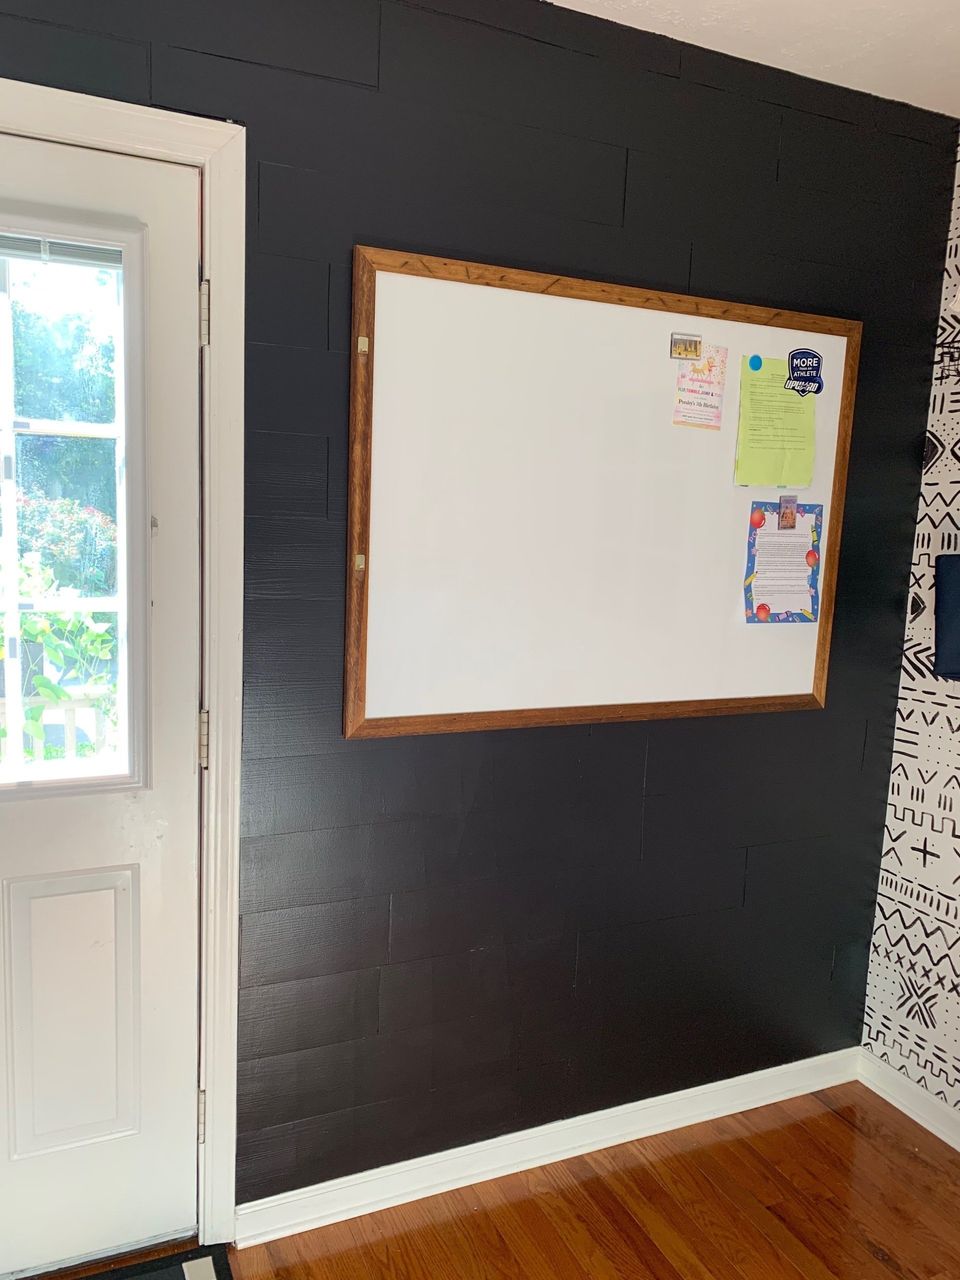
I’m still a big fan of white, but darker colors used on walls, built-ins and cabinets are also intriguing for me. Chris Loves Julia does a beautiful job incorporating darker tones into an overall, light and airy home. I fell absolutely in love with their dark shiplap accent wall with giant tree trunk art print, so that’s kind of the inspiration behind my design choice for this project.
I don't know how to use a nail gun or electric saw
Getting the boards cut and
onto the wall was my biggest hurdle in building a shiplap wall. My husband is
awesome at a lot of things, but being a handyman is not one of them. And I
don’t have or know how to use a saw. I would never get any work done if either
of us had those skills, because I’d always be doing a project! Be sure to check
out my full laundry room makeover, featuring a mudcloth accent wall, shelving and more!
Even if I could have
gotten the boards cut and onto the wall, there were still other things that
would need addressed (snowball effect, anyone?). The trim around the door and
baseboards would need to be adjusted. We would also need an electrician to move
our light switch and electrical outlets. So many obstacles–I had to get
creative!
Seriously, NO Nails!
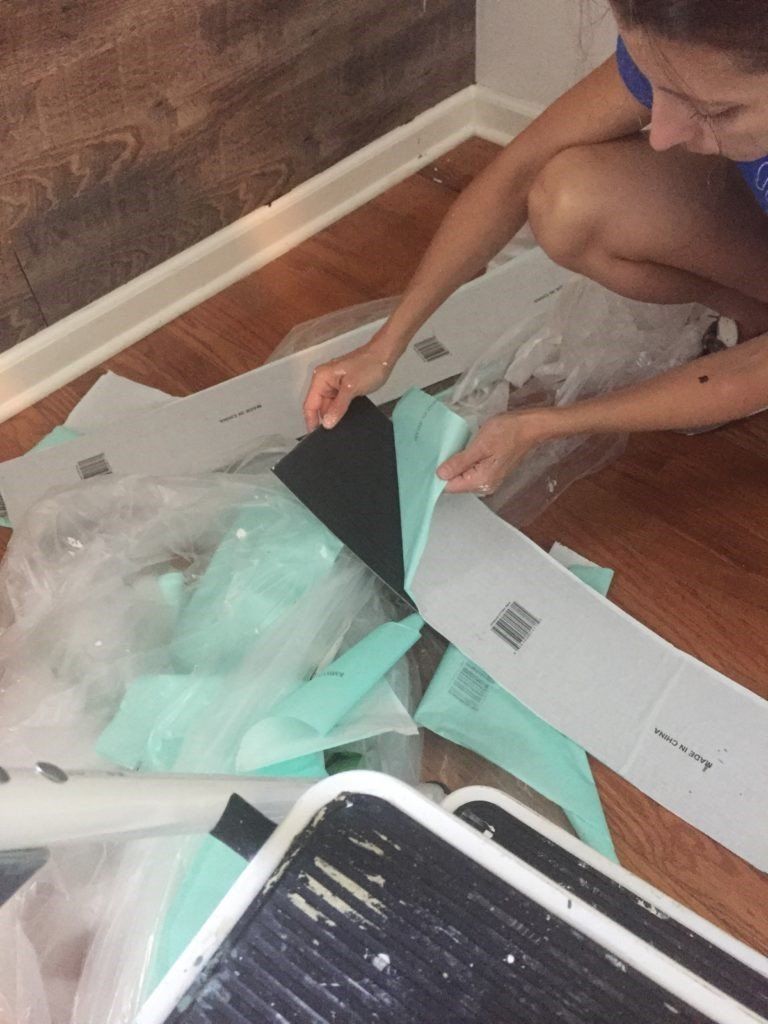
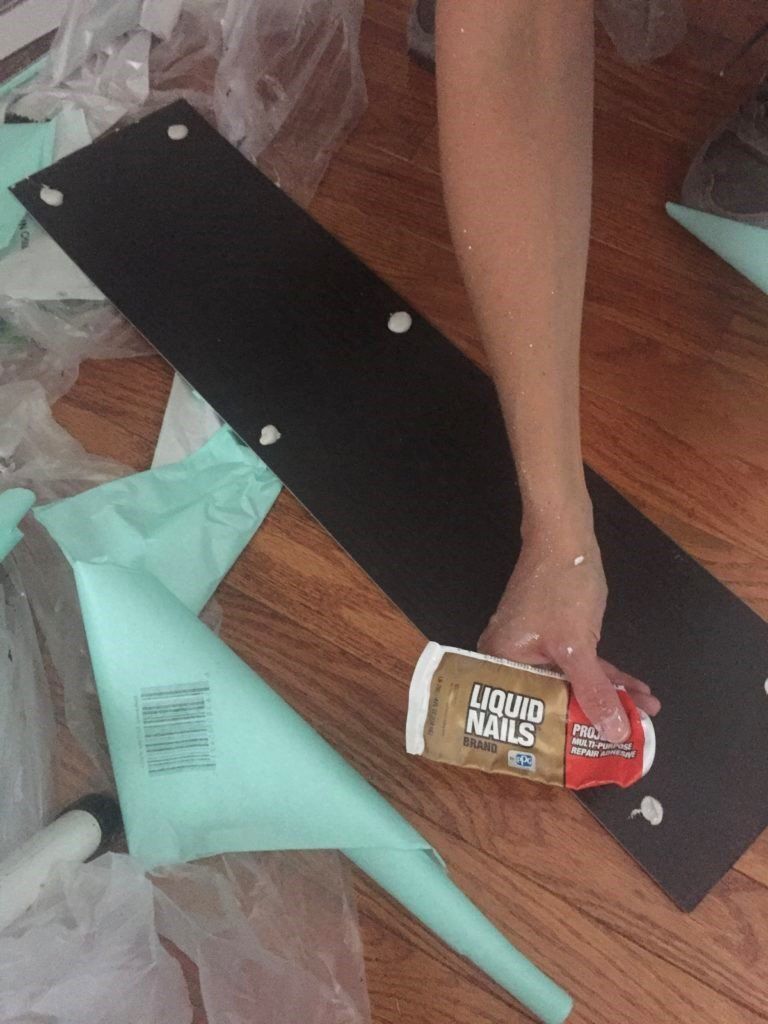
In order to avoid all the problems mentioned above, I chose to use peel-and-stick vinyl tile I found at Lowe’s for $1/piece. They came in 4-inch and 6-inch faux wood planks and I chose to use the 6-inch boards. Since this was a vertical application, and the adhesive isn’t SUPER sticky, I reinforced the adhesive with Liquid Nails. I bought the squeeze kind that’s basically like a toothpaste tube, so I didn’t have to mess with a caulk gun (I hate those!!). I just put several dots of the Liquid Nails on the board right before sticking it up.
You’ll want to push the boards on evenly and with firm pressure, but they stick well, so it’s not hard. I left approximately 1/8″ (or the width of a coin) between the boards, so they would look like actual boards in shiplap.
Cutting the Planks
You’ll want to stagger the
boards when putting them on the wall, so the seams aren’t perfectly lined up. I
just started at the bottom and worked my way up to the ceiling, cutting boards,
as needed, to fit on each row. Scissors will do the trick in a pinch, but just use
an Exacto knife to score the top and bend to break it. It's the easiest.
Painting the Boards
First, I taped off the ceiling, baseboards, and surrounding walls with Frog Tape. Working with vinyl is a little different and not all paints will adhere to the material, so I primed the boards with Valspar Stainblocking Bonding Primer/Sealer. I think Kilz also makes a product that will work. Once that was dry, I started with the black. I used an angled 2″ brush for the trim and corners and rolled on the rest. It took two coats of latex paint in Sherwin Williams Black Magic.
It was pretty easy to use the roller to get into the gaps between the boards. I painted the wall black before starting, so the gaps wouldn’t be the old blue wall color, but I don’t think it was necessary. Since the planks are very thin, the roller gets in between them well, and you can easily use your brush to touch up any stubborn areas. You can still see the grain of the “wood” under the paint, which was exactly what I was going for.
Easy, No Tools Required Shiplap
I’ve seen a lot of tutorials for how to create faux shiplap, and they all have a nice effect, but if you’re in the same boat as me with an idea that you just can’t shake, and don’t have the necessary skills or tools to create one with wood, this is the way. A DIY faux shiplap accent wall is just a trip to Lowe’s and afternoon away! Share your photos with #greysnaildesigns so I can check it out.
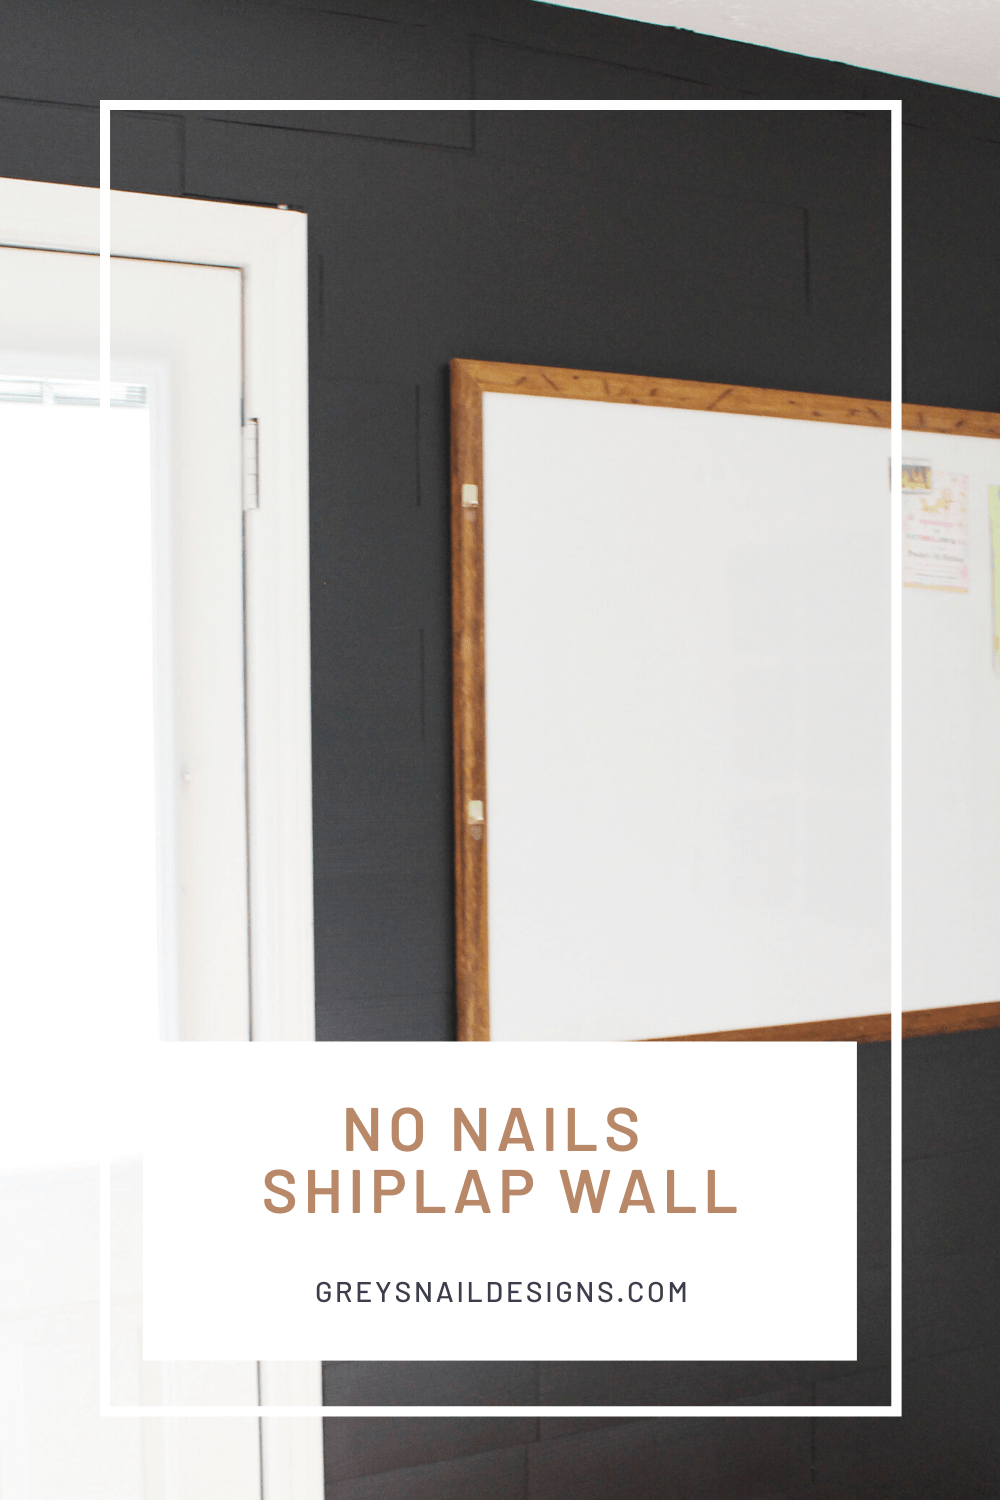
Pin for Later!