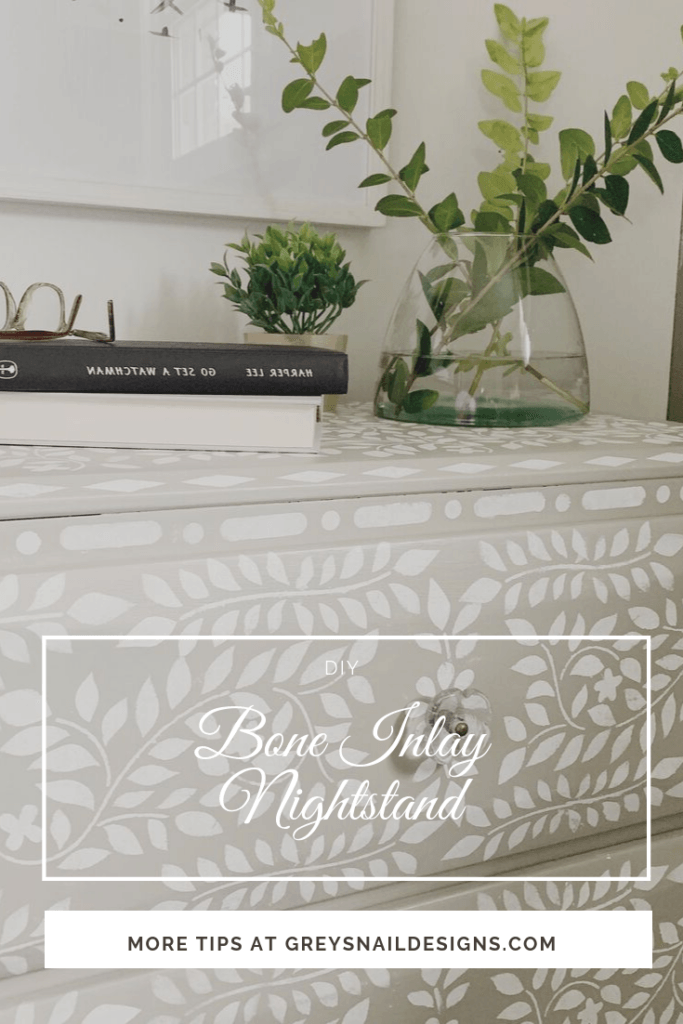
Bone Inlay Inspiration
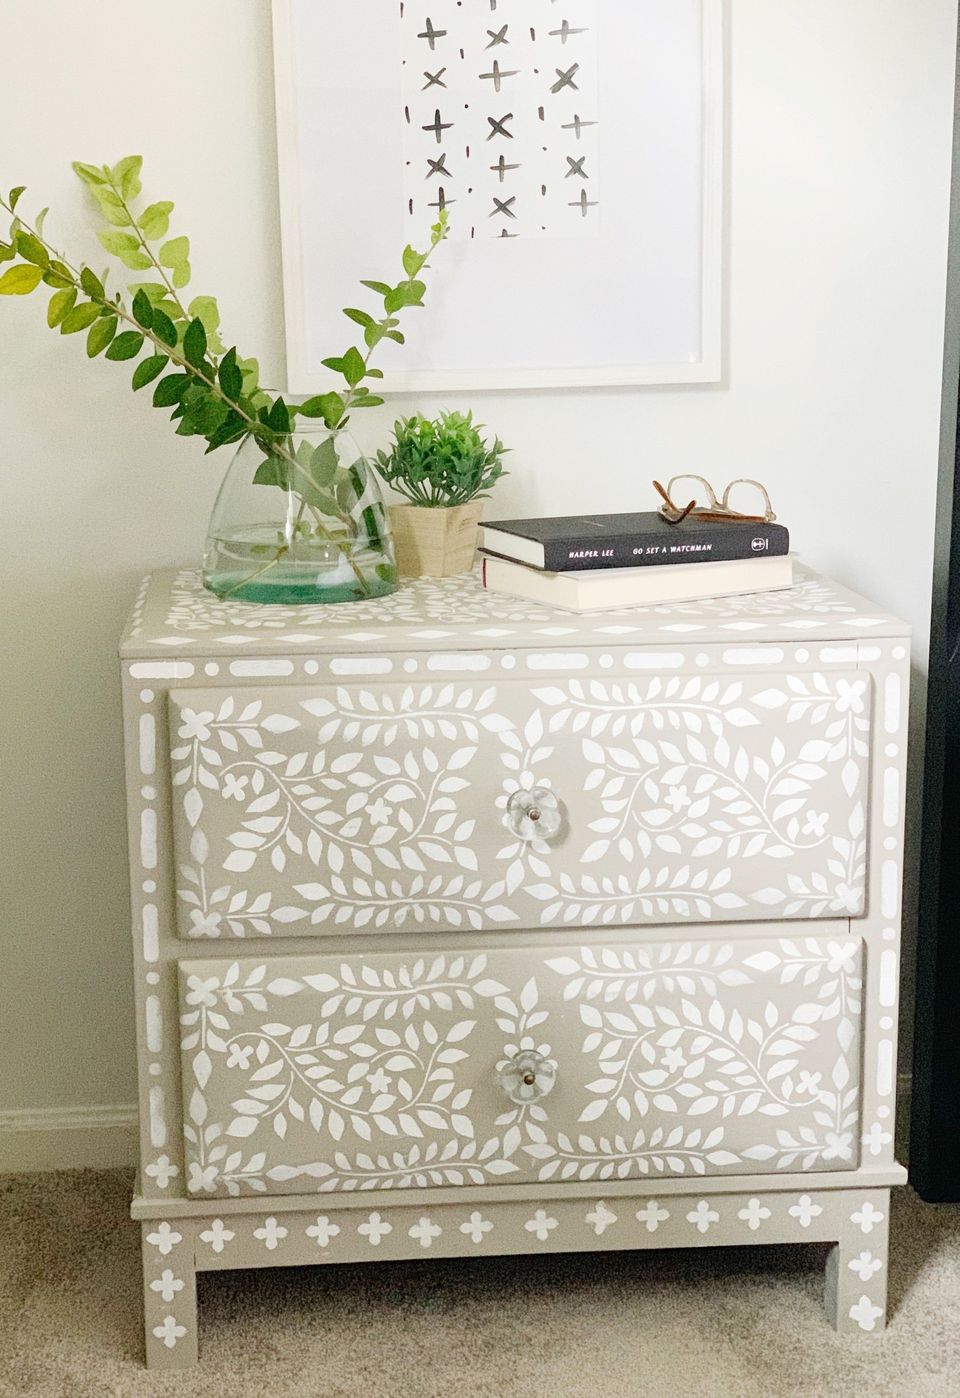
I created my own DIY bone inlay nightstand with our existing furniture and a little paint, and saved hundreds dollars. I’d been eyeing bone inlay furniture all over online and itching to find something that would work in our home.
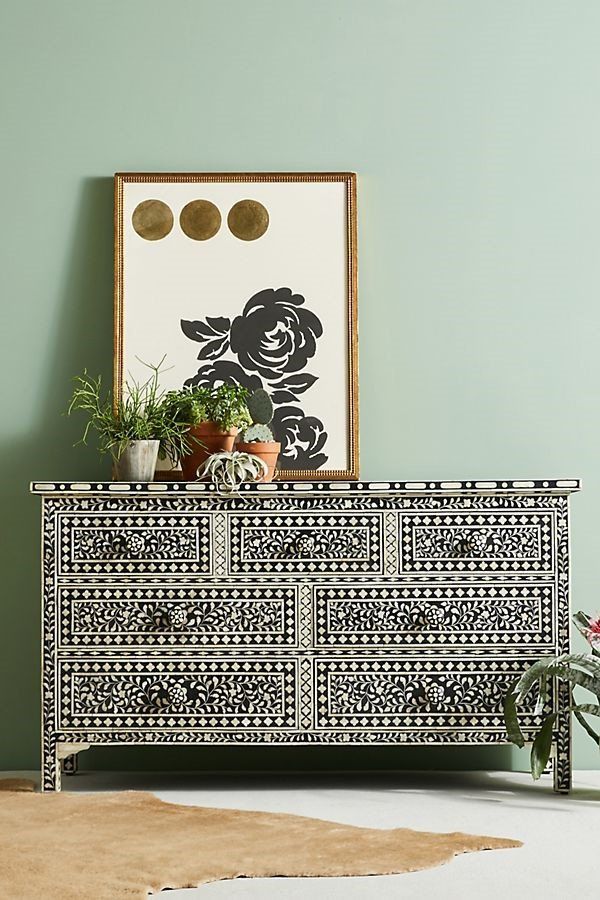
I am totally gaga for this gorgeous black and white dresser at Anthropologie, and loved the bright blue and white combo of one featured in HGTV Magazine. HGTV has 15 beautiful splurge-worthy pieces in this feature. (Beware, may cause online shopping frenzy).
Stenciling
There are definitely plenty of lovely bone inlay pieces to buy, but stenciling your own design is also a pretty good hack. You still get the same look without the hefty price tag, and it doesn’t really require you to be an artist.
Cutting Edge Stencils offers two different size stencil packages and seems to yield a beautiful design. I purchased mine at our local Michael’s store and chose a Martha Stewart brand stencil. It’s available on Amazon for $12.99, and the pattern is called Moroccan Inlay.
Prepping the Old Nightstand
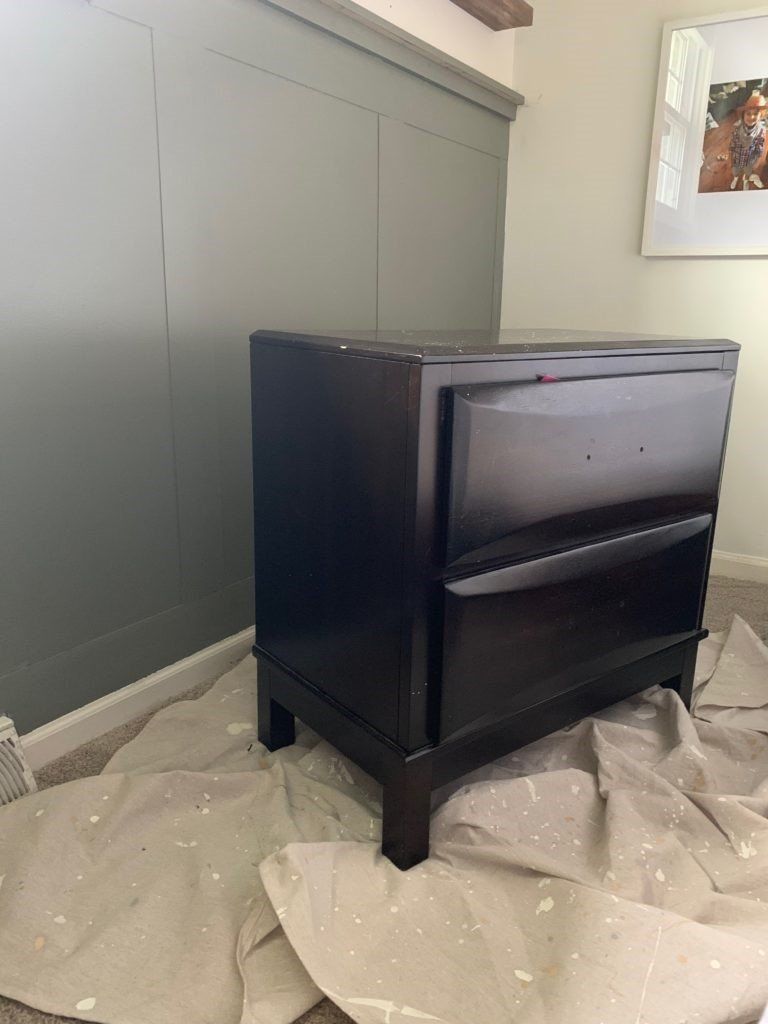
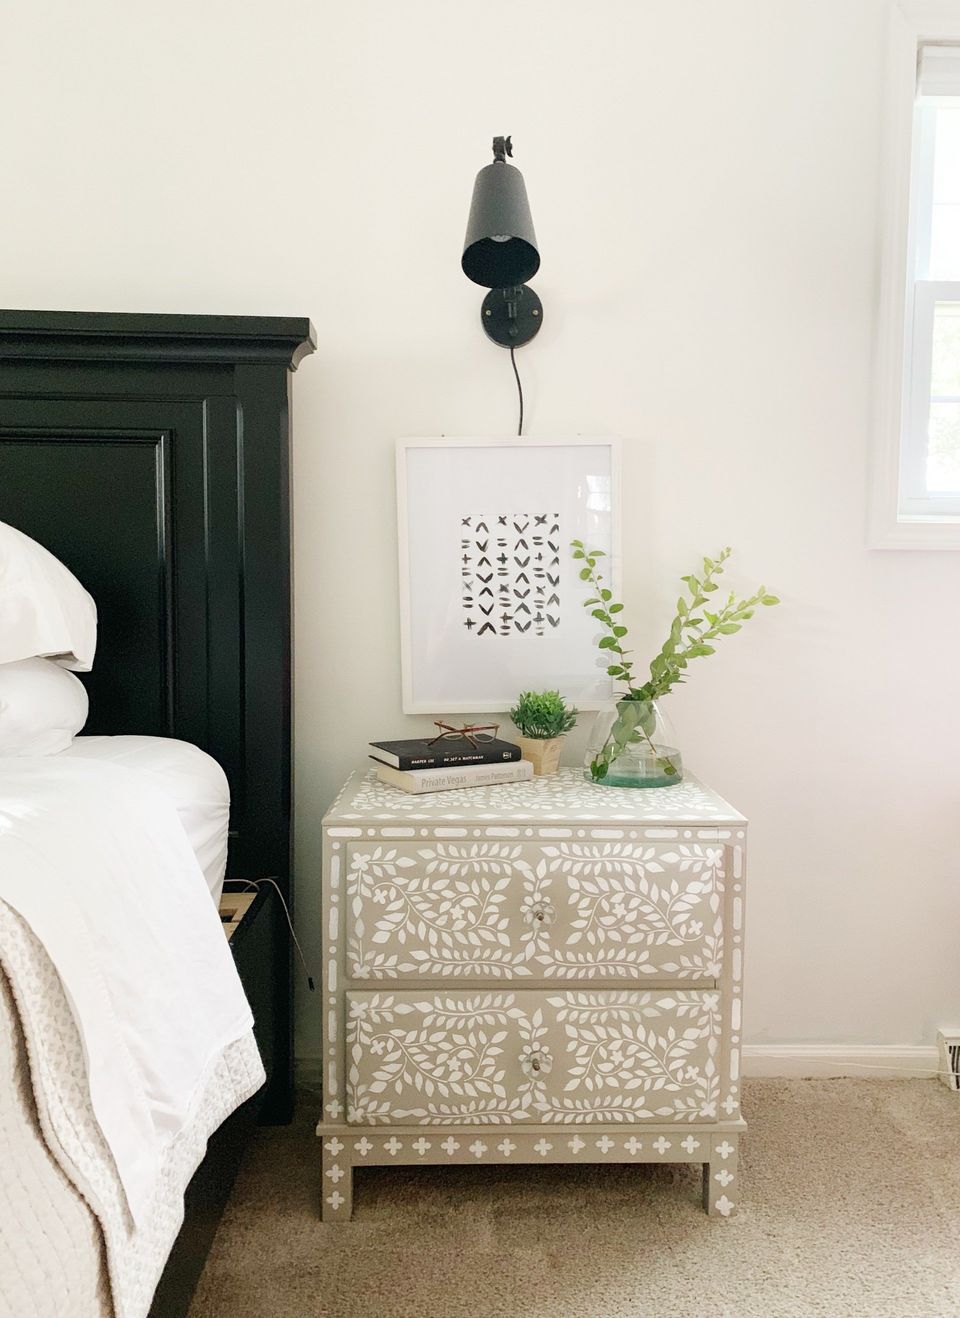
This is a basic (almost) black wood Ashley Furniture nightstand. It came as part of a set with a dresser and full bed. I also made over the dresser! It never really fired me up and it was just a pretty boring piece, but is a nice size and has great drawer space–plus it’s in good condition, so it’s the perfect candidate for painting. I should also add that since we already owned it, it was FREE as in I didn’t have to go buy a piece to paint.
Chalk Paint Base Coat
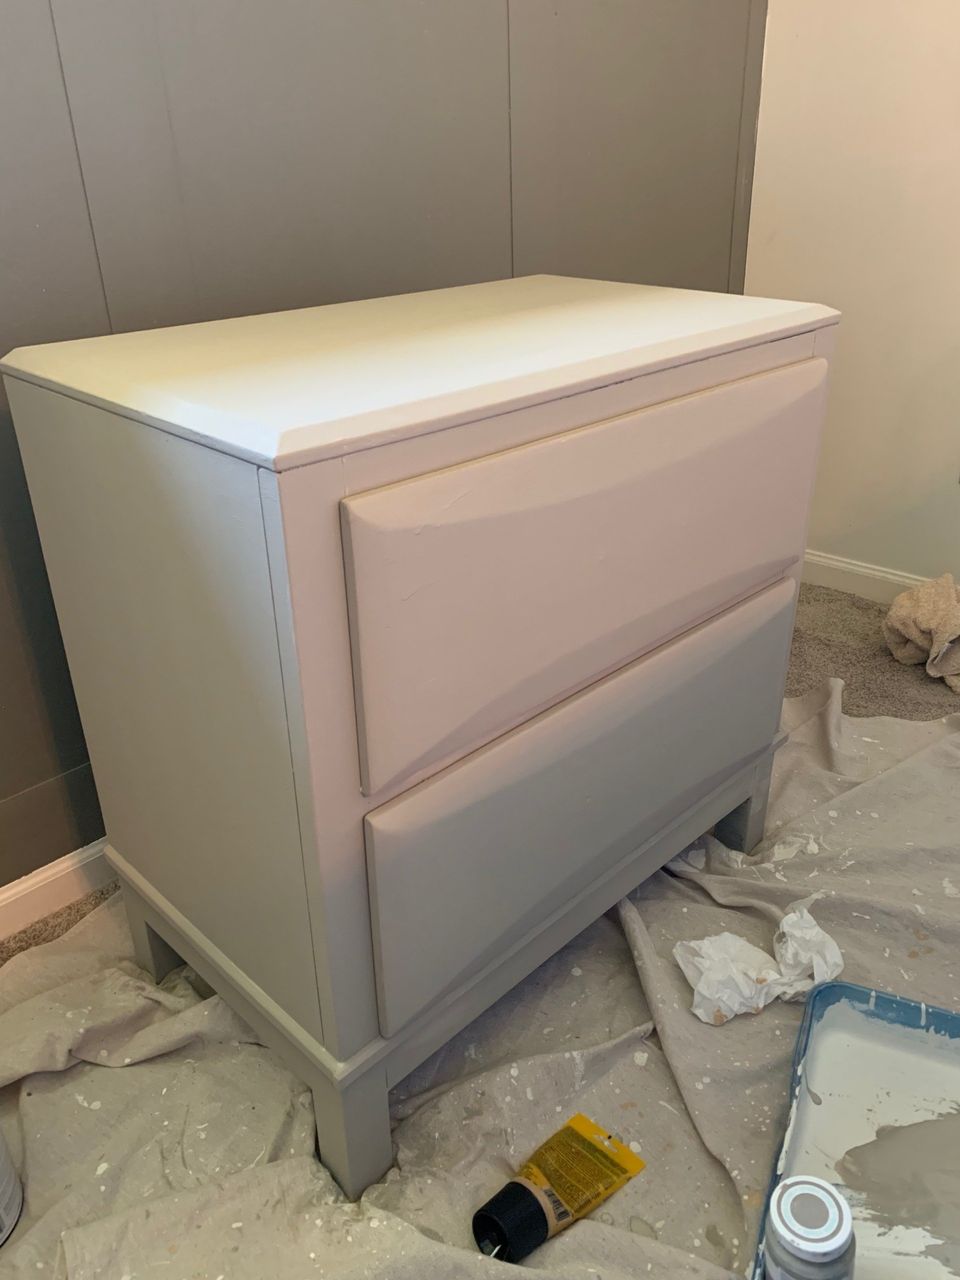
I LOVE using chalk paint as a base coat. There’s no sanding or deglossing or priming required–the chalk paint can act as your primer. I knew I wanted something light gray or tan for the background color, and luckily, I had a nice greige in my stockpile. Sometimes I will use latex paint over top of chalk paint, but since I had the right color in chalk paint, I used it. You’ll need 2-3 coats total.
I actually really liked this painted solid greige in this room, but this piece was meant for more.
Filling In the Old Hardware Holes
I didn’t snap a picture of this, but you can see it in the dresser project. I chose to change the position and style of the hardware of this piece, so I needed to get rid of the existing drawer pull holes. I used Minwax Wood Filler from Lowe’s to fill in the holes. You’ll want to do this before painting, or at least after your base coat.
Simply squirt enough of the paste into the old holes to fill them, then scrape off the excess with a straight edge. You might need to add a second coat after the first dries if it’s not even, but it’s pretty forgiving. You can also sand it with sandpaper after it’s dry if you need to get it smoother.
This was one of the things that used to really stump me when making over a piece of furniture. Now, I know I don't have to be limited to the existing hardware positions!
Stenciling the Pattern
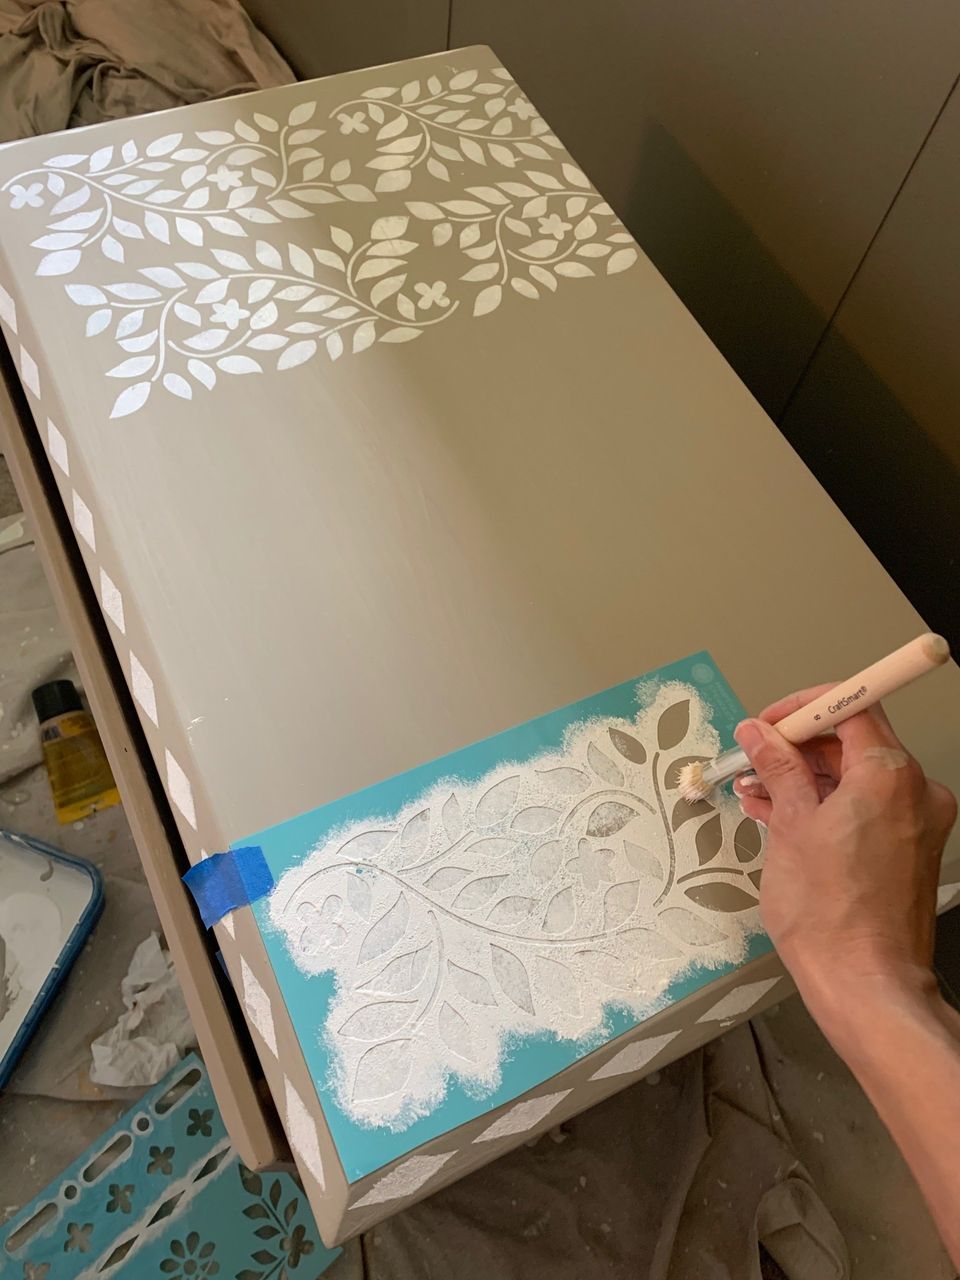
The stencil comes with several different designs and I recommend cutting each one apart so they’re easier to work with. I started with a dash-dot pattern around the edge.
Position your stencil and use blue painter’s tape to keep it in place; then dip a stencil brush (stiff brush with a flat head) into the paint you’re using and blot off any excess. Using firm up and down motions, apply paint in the blank areas of the stencil. It’s important to use as little paint as possible so it doesn’t seep underneath the stencil and spoil your pattern. You don’t want to have much to touch up in the end, so it’s best to be super careful while you’re stenciling.
I used white chalk paint for my project, but acrylic paint would be fine, too. It’s just what I had on hand.
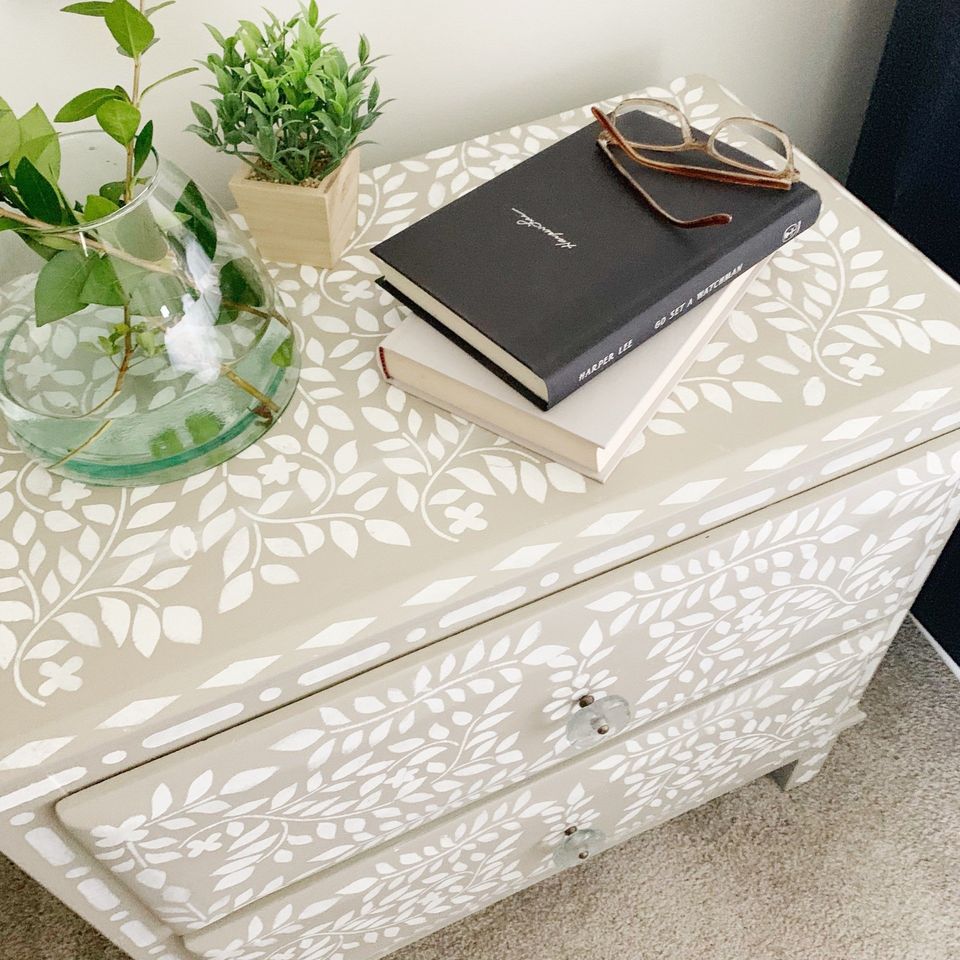
From there, I used the largest portion of the stencil for the top and sides of the nightstand. It had a little border from the edge of the stencil and I just added in some extra leaves once it was dry to fill in the areas and make it look for like actual bone inlay.
For the drawers, I used a flower for the center, with the large stencil for either side. I used the corner piece for all the corners and then used a portion of the leaf design to fill in the blank areas. Don’t be afraid to just use parts of the stencil if the whole design is too large.
Sealing & Varnishing
I used a satin varnish I had on hand to finish this piece. I do not ever use wax, even with chalk paint, because I prefer varnish. I have tried the gloss and matte version of Liquitex and it’s still my favorite. 2-3 coats is plenty and will provide a nice, durable finish. I get mine at Michael’s and can almost always find a 40% or more off coupon.
New Hardware
I found some clear quadrifol hardware at Hobby Lobby on sale for $1.47/knob! I love that you can still see the bone inlay design underneath and it definitely gives the nightstand some character. I have since updated the hardware again to a gold-wrapped white bone bar.
Pin for Later!