Bedding
I have gone through a LOT of bedding in a pretty short amount of time. I like to switch things up pretty frequently, often with the seasons, but until now, I was always searching for MORE with our bedding. I always wanted the bed to look more welcoming, more like hotel or something you see in a store, where you just want to flop on that bed and sink in.
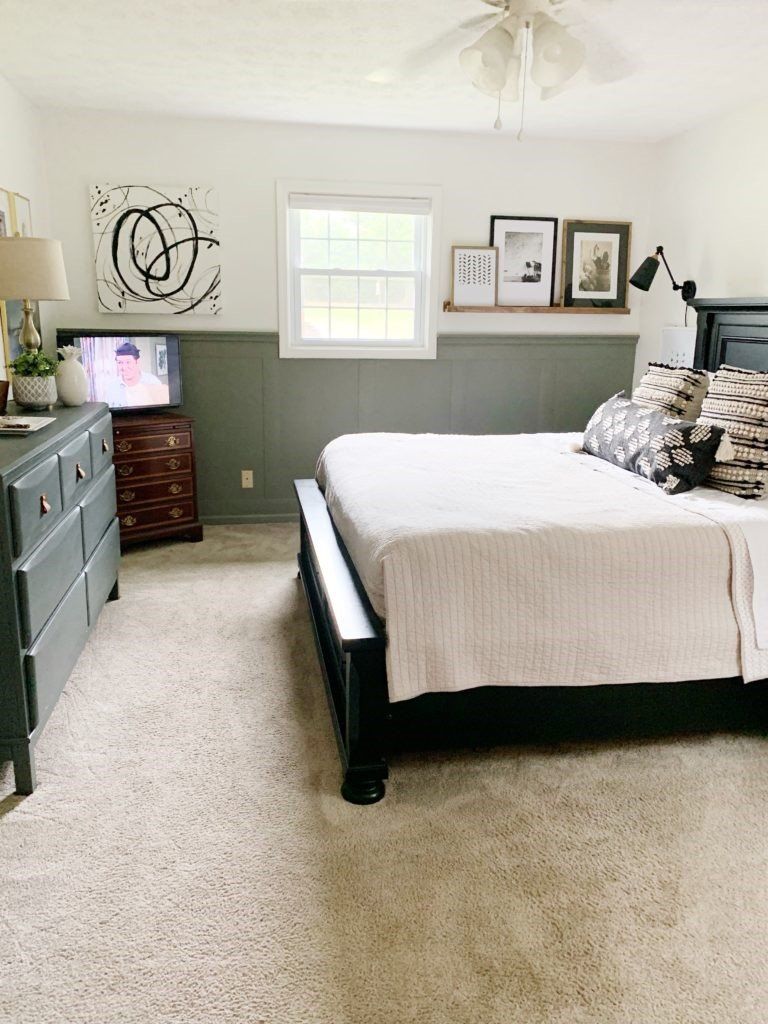
I used to always have a comforter, until I switched to a quilt. I much prefer sleeping under the weight of a quilt, so that's what I have been purchasing, but a quilt just doesn't give you as much "fluff" as I desired. You can see below the quilt look. It's fine, but it certainly doesn't have that magazine look.
Study What You Like
I finally started studying photos of bedding that I liked in pictures, noticing what exactly each bed included, the colors and layers that were there, the pillow arrangements. I took lots of inspiration from
Shea McGee
at
Studio McGee, Jordan at
House Becomes Home
and Lauren at
Bless'r House. Be sure to check out all those links, because each has awesome tips!
Studio McGee was where I first noticed the option to use two, instead of three Euro pillows on a king-sized bed. What?! I loved the look of putting two Euros in front of the king pillows, instead of three on the back. Plus, I also LOVED that it saved money on one of the most expensive items in bedding, the Euro sham and insert! I knew this was the route I wanted to go.
Then, I found an inspiration from Jordan that I kept going back to. I even ordered the Casaluna quilt and throw she had in the picture to try! I was so sure this was going to be a hit, but I was only half right. She does the BEST job styling beds and I love her taste. She's great at sourcing awesome sale items, too.
I kind of combined everything to create something that worked for us.
Your Base
I started with a base of 100% white cotton sheets from Sam's that I already owned. I love cotton sheets and really never use anything else. I started with two new king pillows so they were extra fluffy and new for this transformation. I tried the gel-filled ones suggested by Lauren at Bless'r House, and while they fill out the pillowcases nicely, they didn't have enough support for me, so I returned them and purchased
these from Amazon. They are nice and firm and I get a good night's sleep. They are also perfect in the pillowcase.
Think in Layers
Much like an outfit looks more put together with multiple layers and accessories, so does a bed. Think sheets, blankets, duvets, quilts, throws and pillows. You don't have to have them ALL, but you'll need to pick several.
I used Lauren's suggestion of using a duvet insert (with no cover) between the quilt and sheet to add volume and fluff to the bed. She actually uses two for her bed, but that was just too many for us. I found that one adds enough fluffiness. I bought
this one off Amazon for around $40. I also love that I don't have to wrestle with actually putting it in a duvet cover!
I ordered two different quilts--one white and one tan. The
Casaluna
quilt from Target was the one I was SURE I was going to love, but in our space, it just looks so dark, and I wanted a brighter, fresher look. It's a beautiful quilt if you're looking for something darker. It's $109 and a really nice quality cashmere blend. If the light natural color would have been in stock, it probably would've been perfect.
The other quilt I ordered was a
white microfiber quilt from Belk. It ended up coming with two king shams for around $50 and shipped free and arrived a couple days later! It was probably closer to a California King size when it arrived, but I washed it and it shrunk a lot. It still fits our bed well and looks a little better after it's washed because it showcases the stitching more.
I chose to send back the sand-colored Casaluna quilt and keep the white one.
Making the Bed
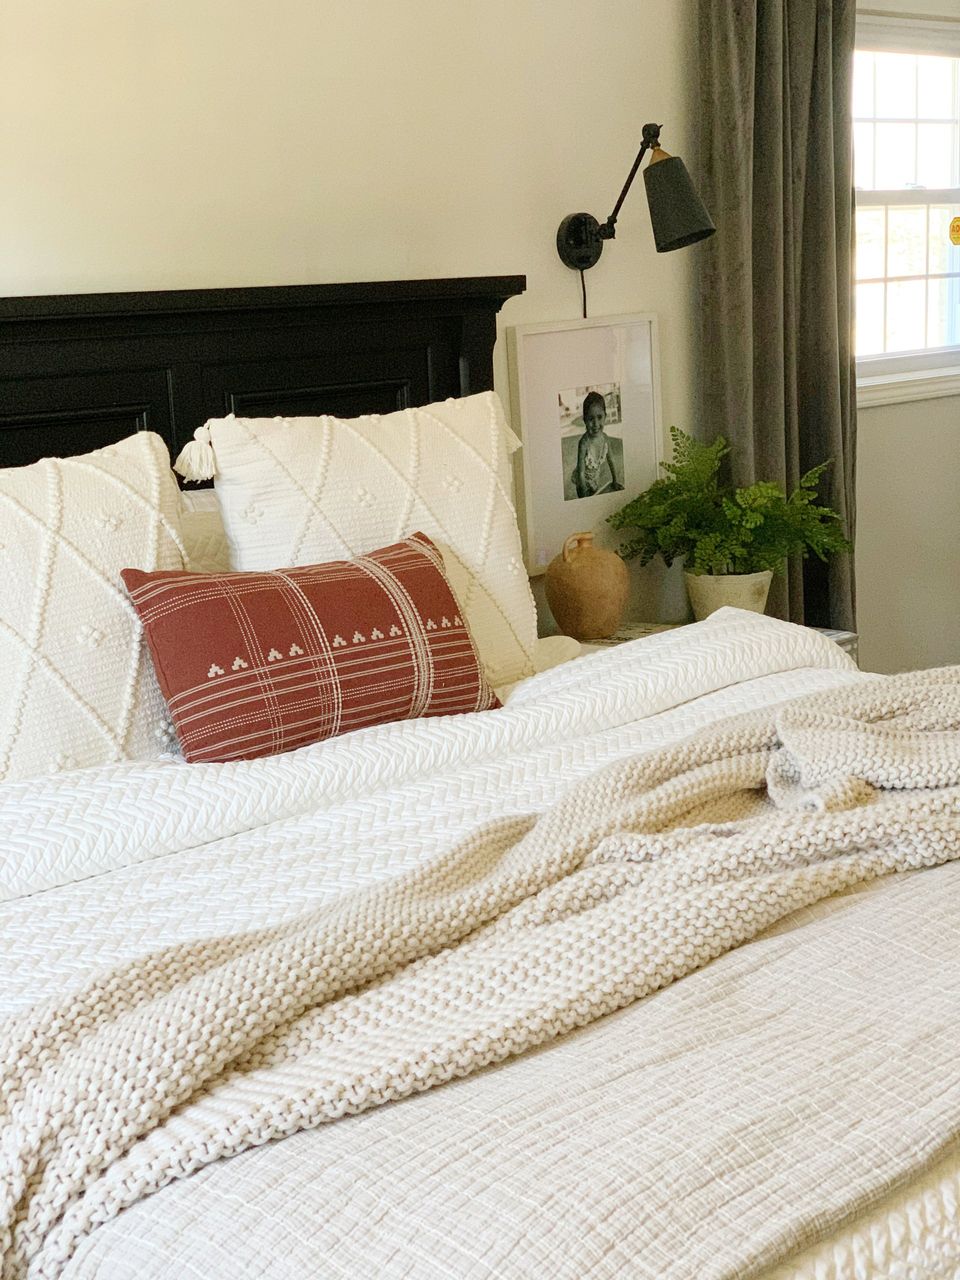
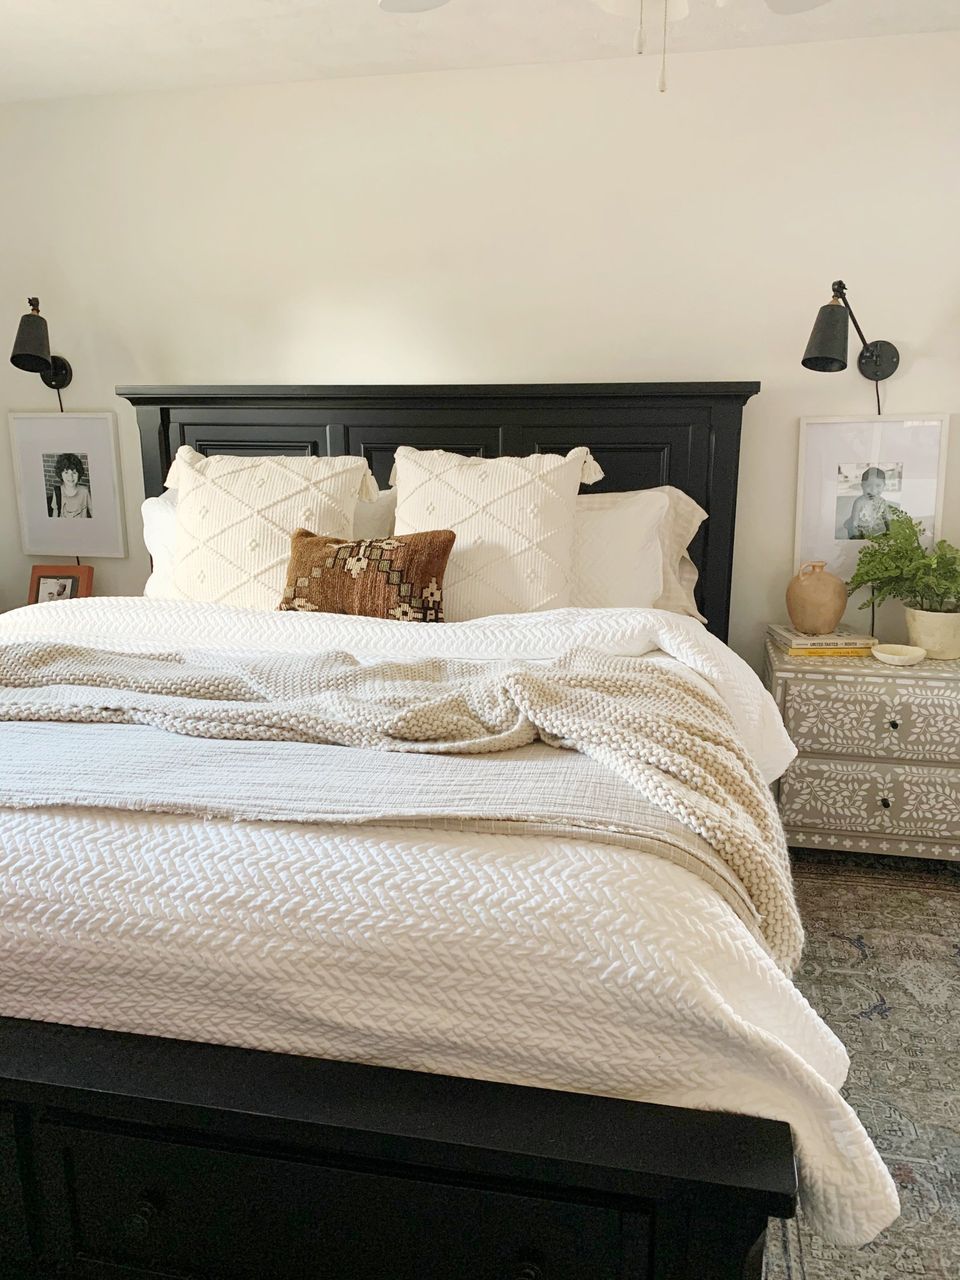
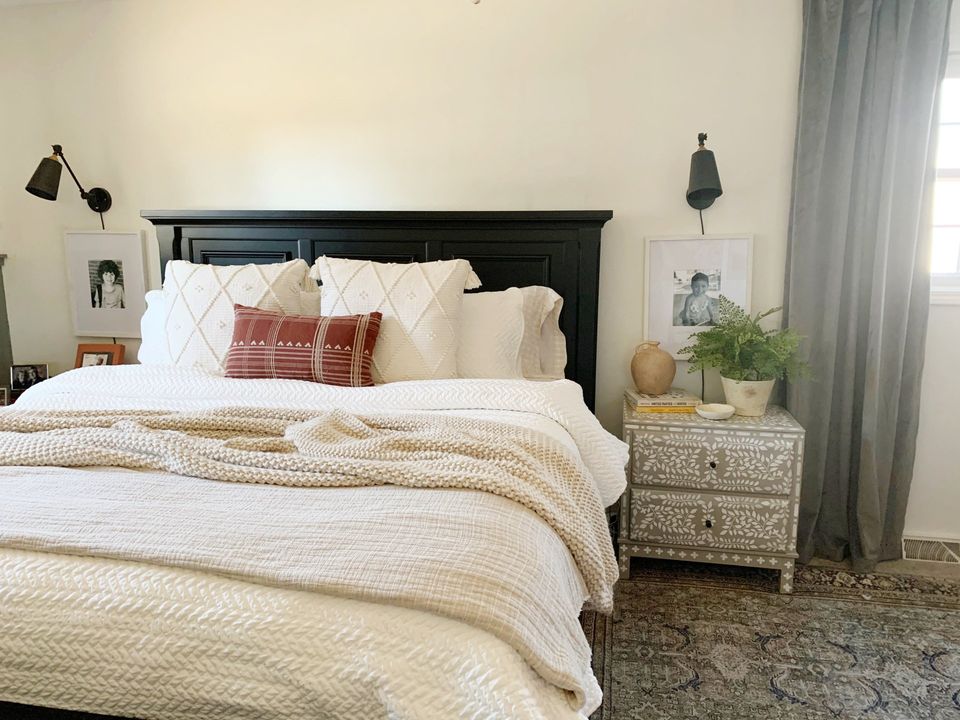
Once you put on the fitted sheet, put the flat sheet on top (top face down) and pull it all the way to the top of the mattress. Tuck in the bottom and sides. Lay the duvet insert on top and pull to the top of the sheet. Put the quilt on top of the duvet and pull all the way up. Grabbing all three layers, fold them back about 1/3 the way of the mattress. You can leave it this way with the sheet on top, or fold it back in half again, so the quilt is on top again. This gives the bedding a little volume, which I like.
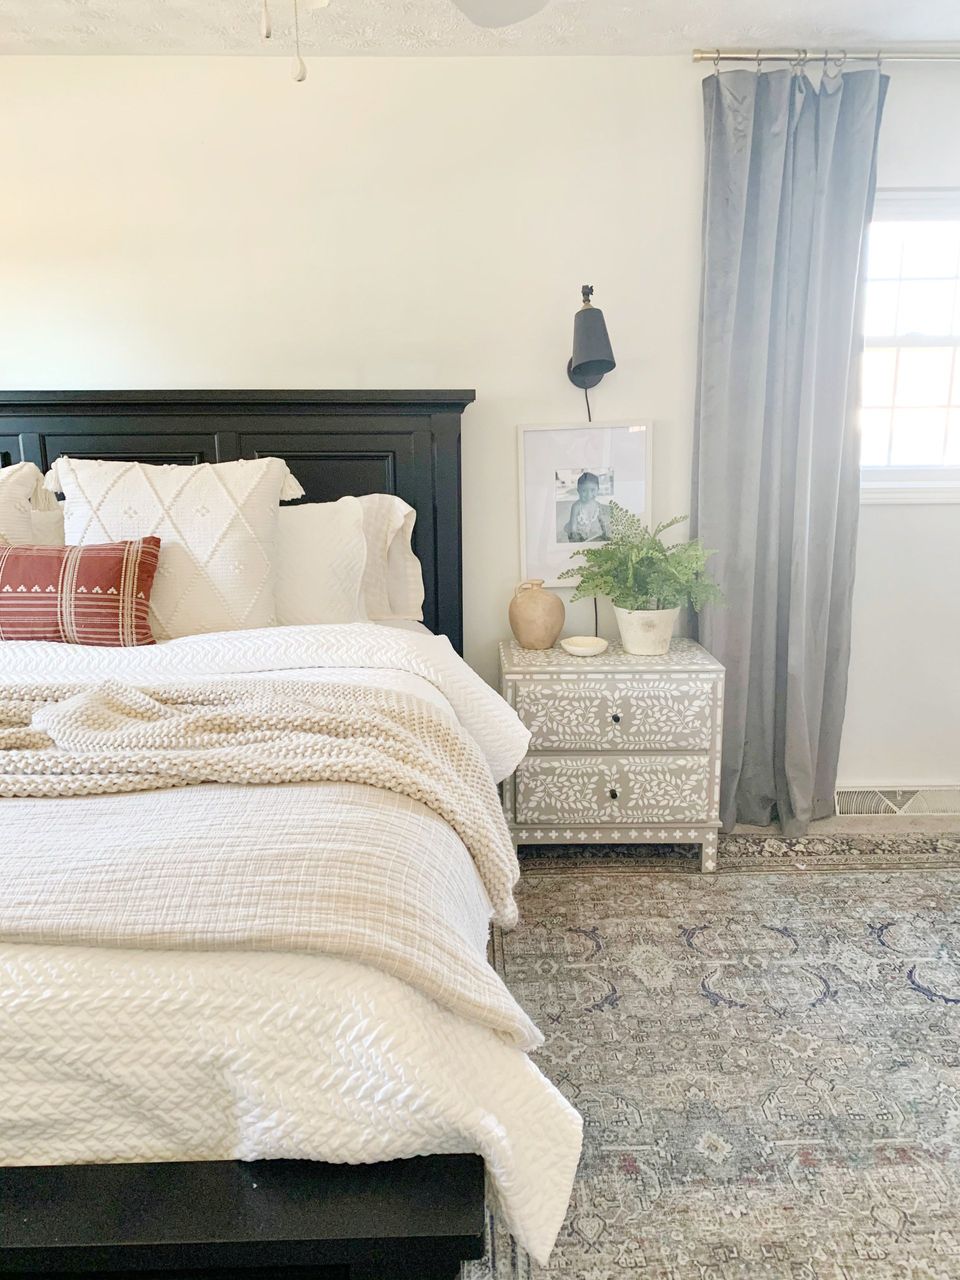
Now, place the pillows straight up against the headboard. Put the king shams in front of them. Now, put your throw pillows. I chose to get two 22x22" Euro Shams from HomeGoods. They are solid cream with lots of pattern and texture, and of course, tassels! I arrange them towards the center of the bed, before finishing it off with a colorful patterned throw pillow. I think a lumbar or 16x16" pillow works great here.
I have a muslin throw from HomeGoods folded across the foot of the bed. It's tan with white pinstripes and a little fringe. Per Jordan's suggestion at House Becomes Home, I purchased the
Casaluna Chunky Knit Bed Blanket
in Natural. I got the full/queen size and it's plenty large for at the end of a king bed. I don't bother folding it--I just toss it across the bed from the side where you can still see the folded throw at the bottom.
Mixing it up
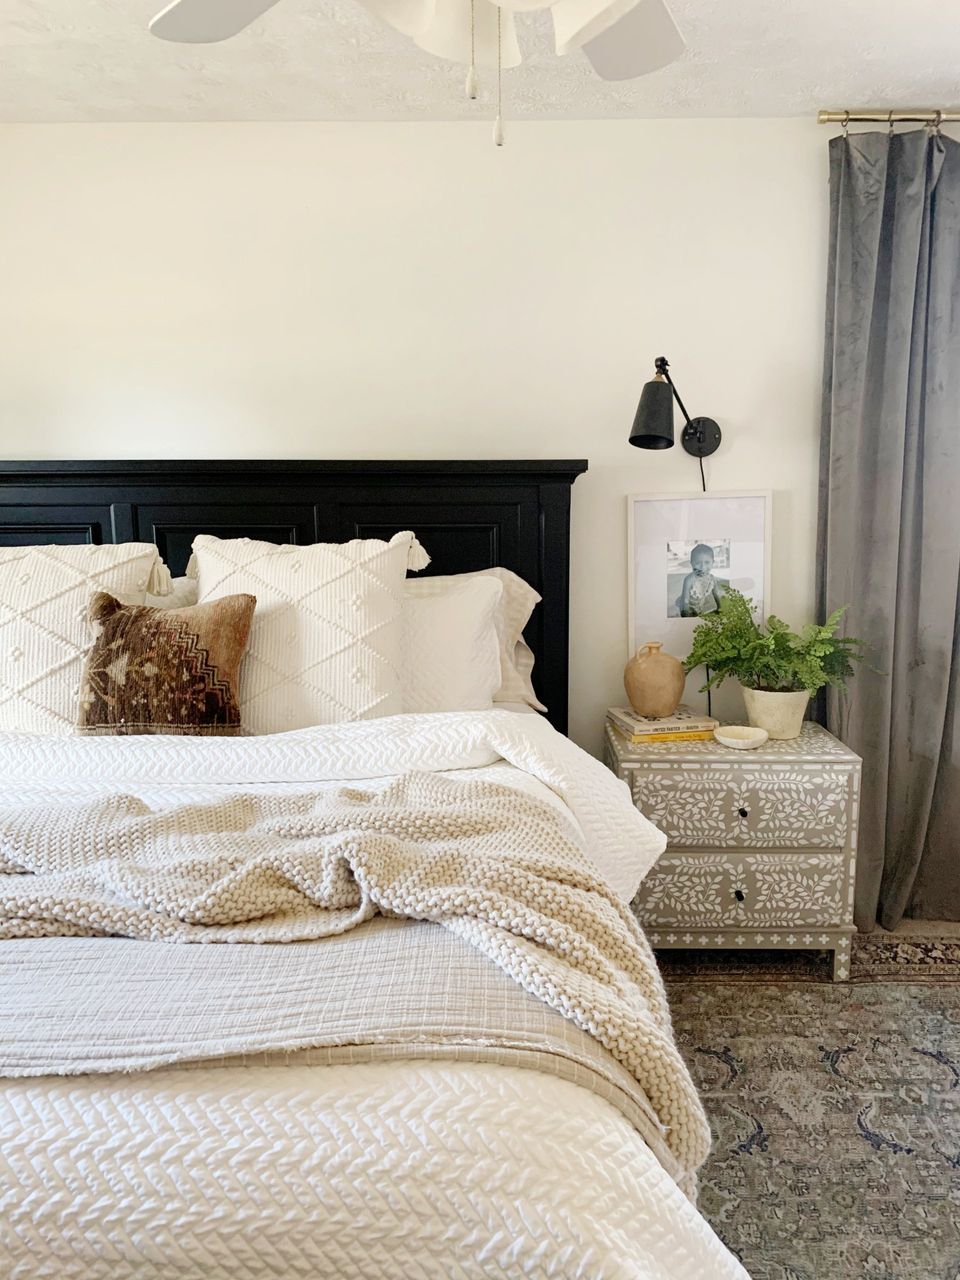
The great thing about having a good, basic base is the ability to easily mix it up. You can change up your pillows, or add a different throw as the seasons change. I love having that option. I am also crazy about how our new bedding looks AND feels! Use this basic formula to create a combination you love! See, I'm mixing it up already. This rust pillow from the Studio McGee by Threshold collection at Target gets switched out for some vintage kilim pillows I ordered from Turkey off Etsy! How can I choose?
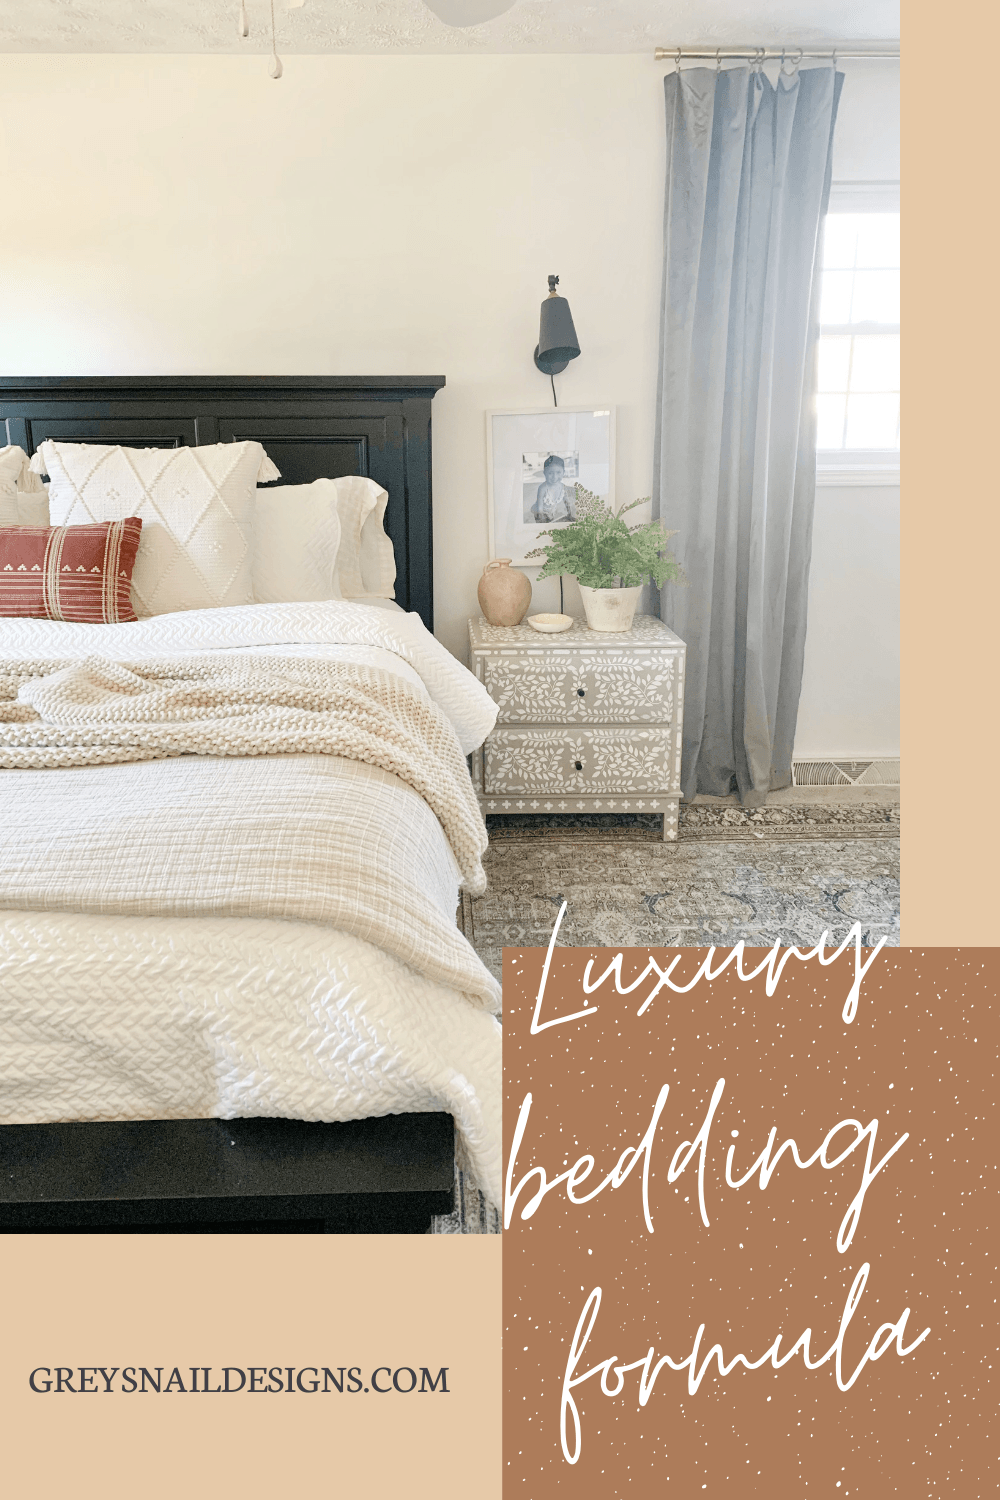
Pin for Later!