
Another Garage Door Update with Minwax Gel Stain
April 19, 2020
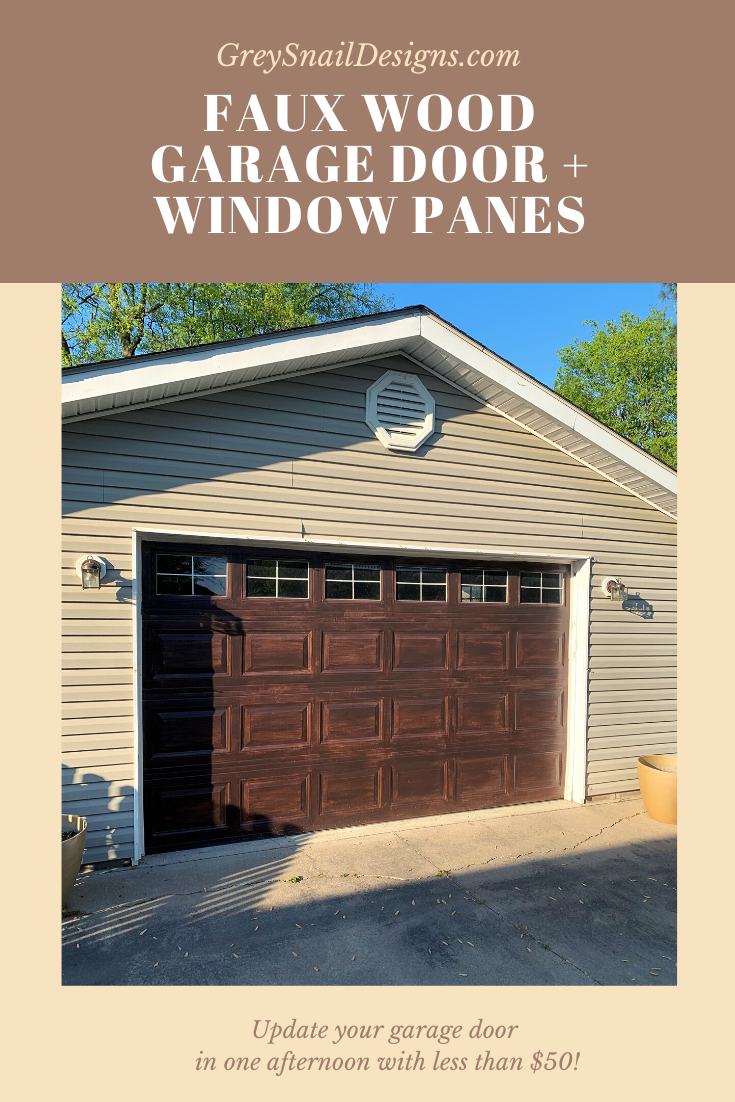
Another Garage Door
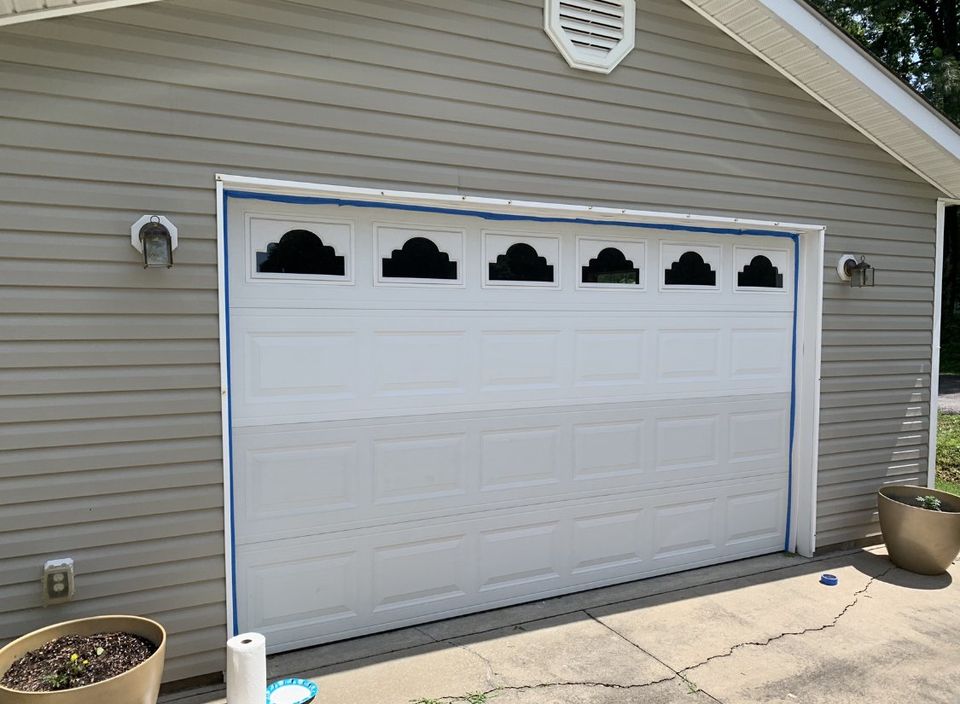
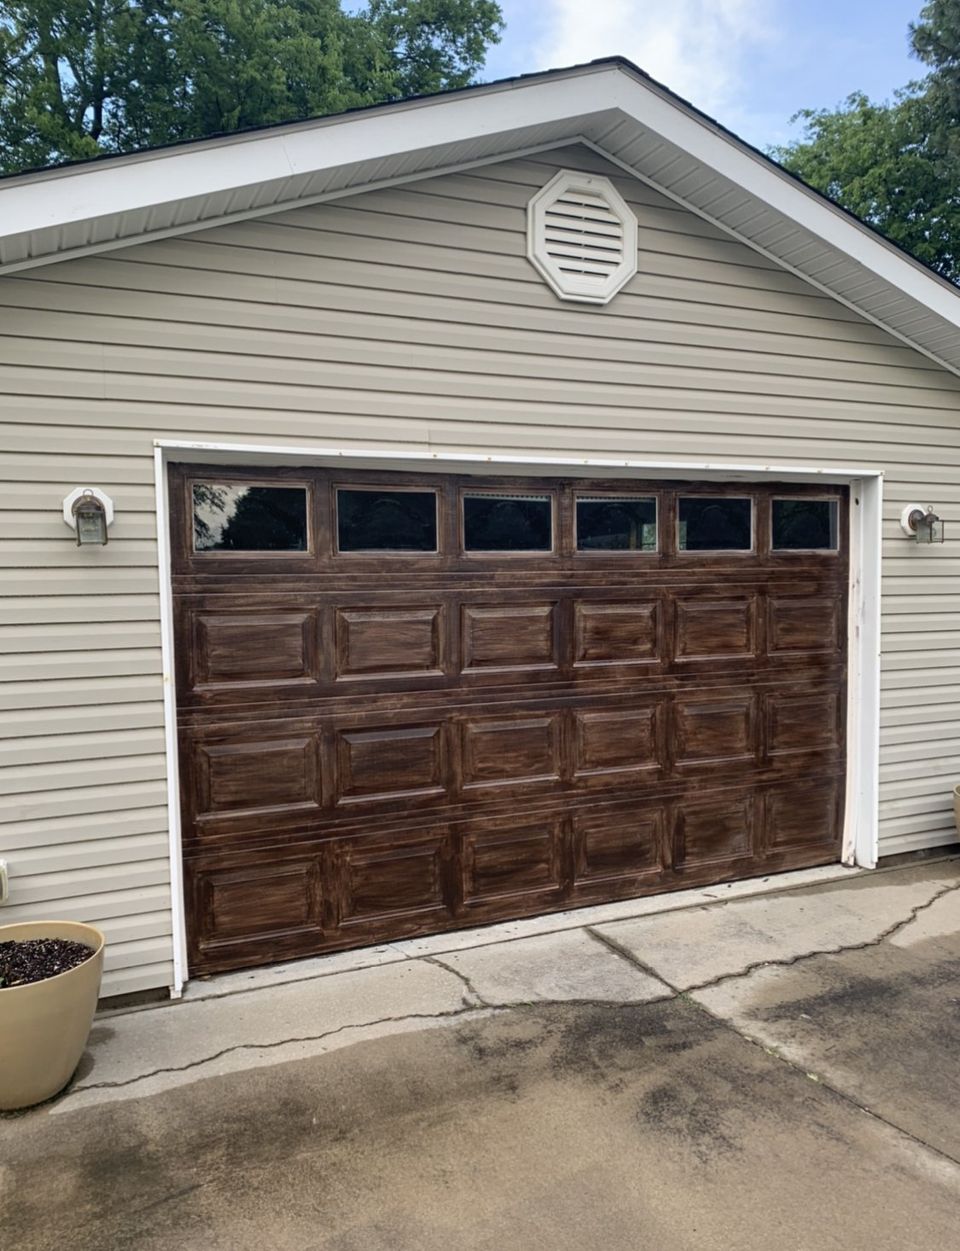
I debated for a couple years over whether or not to stain our detached garage door to match our faux wood garage door
on our house. The dilemma was this--the door (and garage itself) is pretty new, works well and isn't really an eyesore, so the idea that I MIGHT mess it up weighed heavily on my mind.
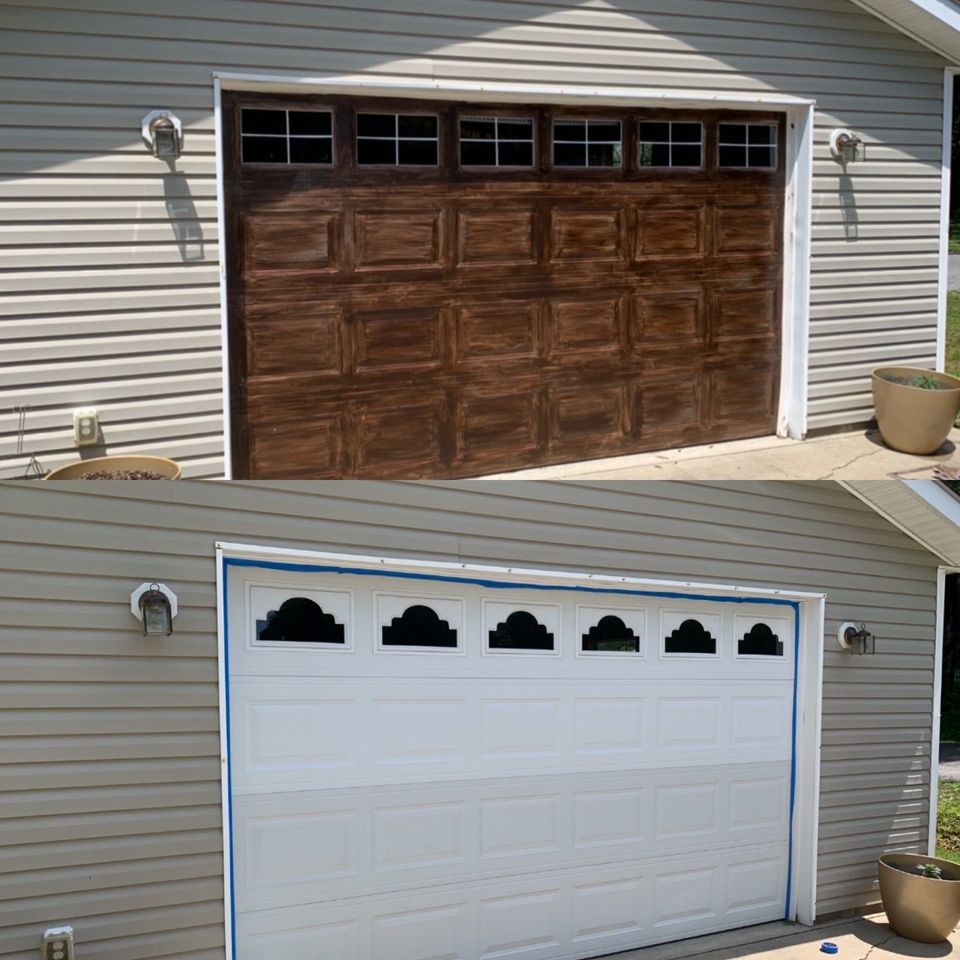
Ultimately, my itch for a change won. Plus, I really wanted to figure out how to get rid of those decorative scallops.
Process
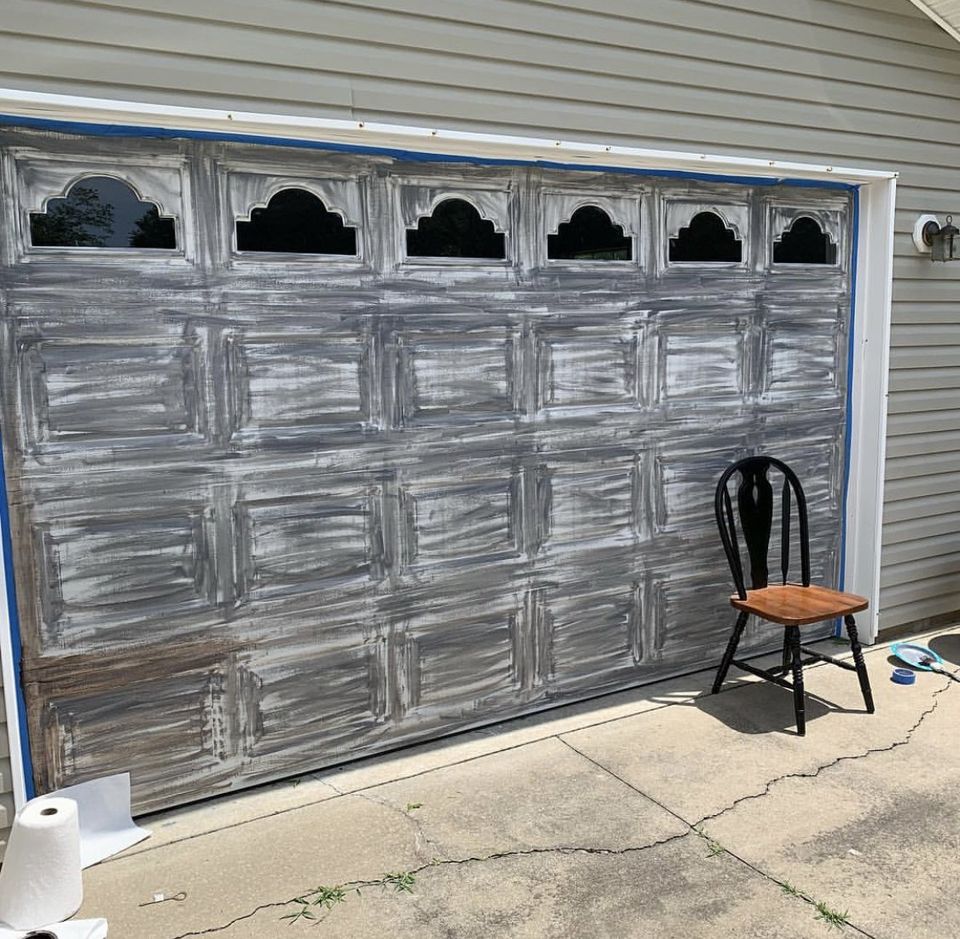
Since I wasn't staining the trim (I didn't want to get it on the siding--eek!), I taped it off so I could JUST stain the door. I started with a brand of grey gel stain I found at the craft store. You can see what it looked like. I was hoping to just add a little grey tone to the "wood" look, but I wouldn't recommend using this product for this purpose. Live and learn.
Minwax Gel Stain
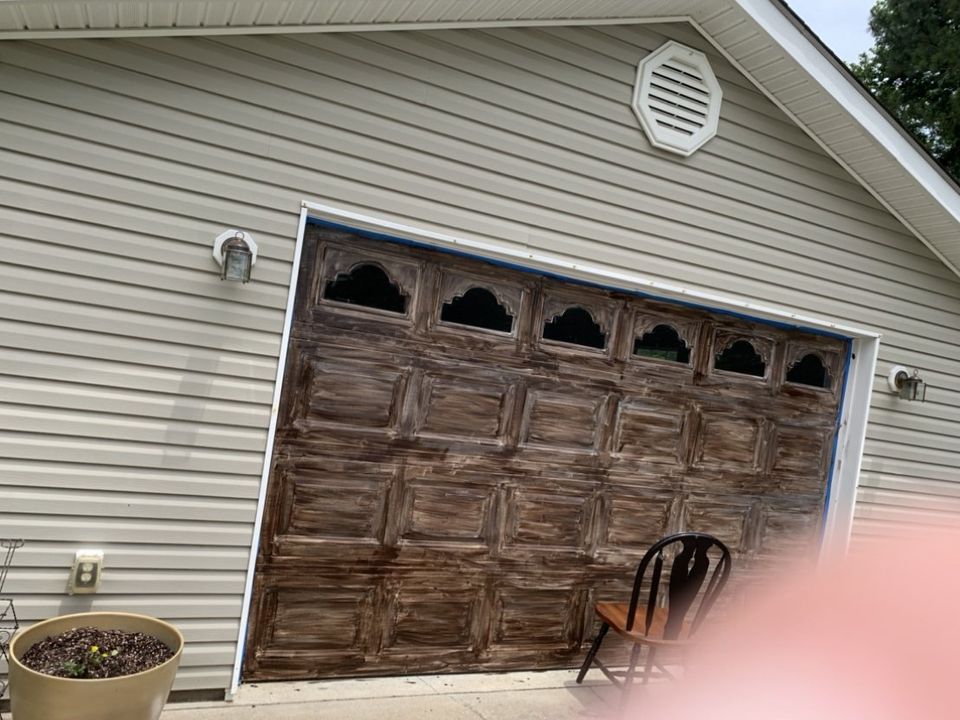
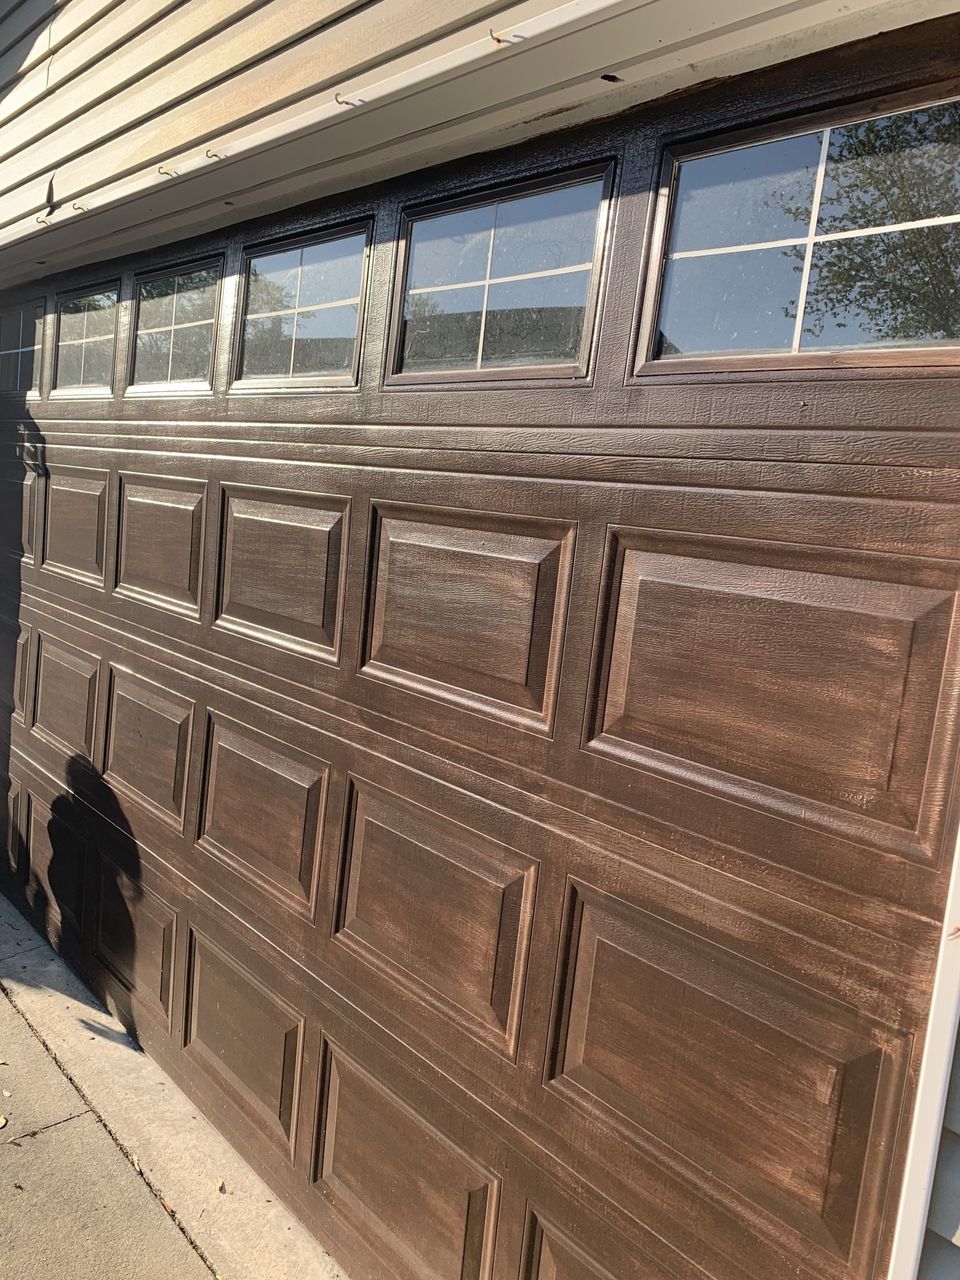
Minwax Gel Stain to the rescue! I moved on to my trusty Minwax (Chestnut or Walnut is both great!) and got to work. I brushed on a coat with a straight 2" paint brush. You can see we're getting there, but not there yet. Don't stop here; the magic is about to happen. It's pretty much always going to take at least two full coats to get a result you're happy with.
Another Coat
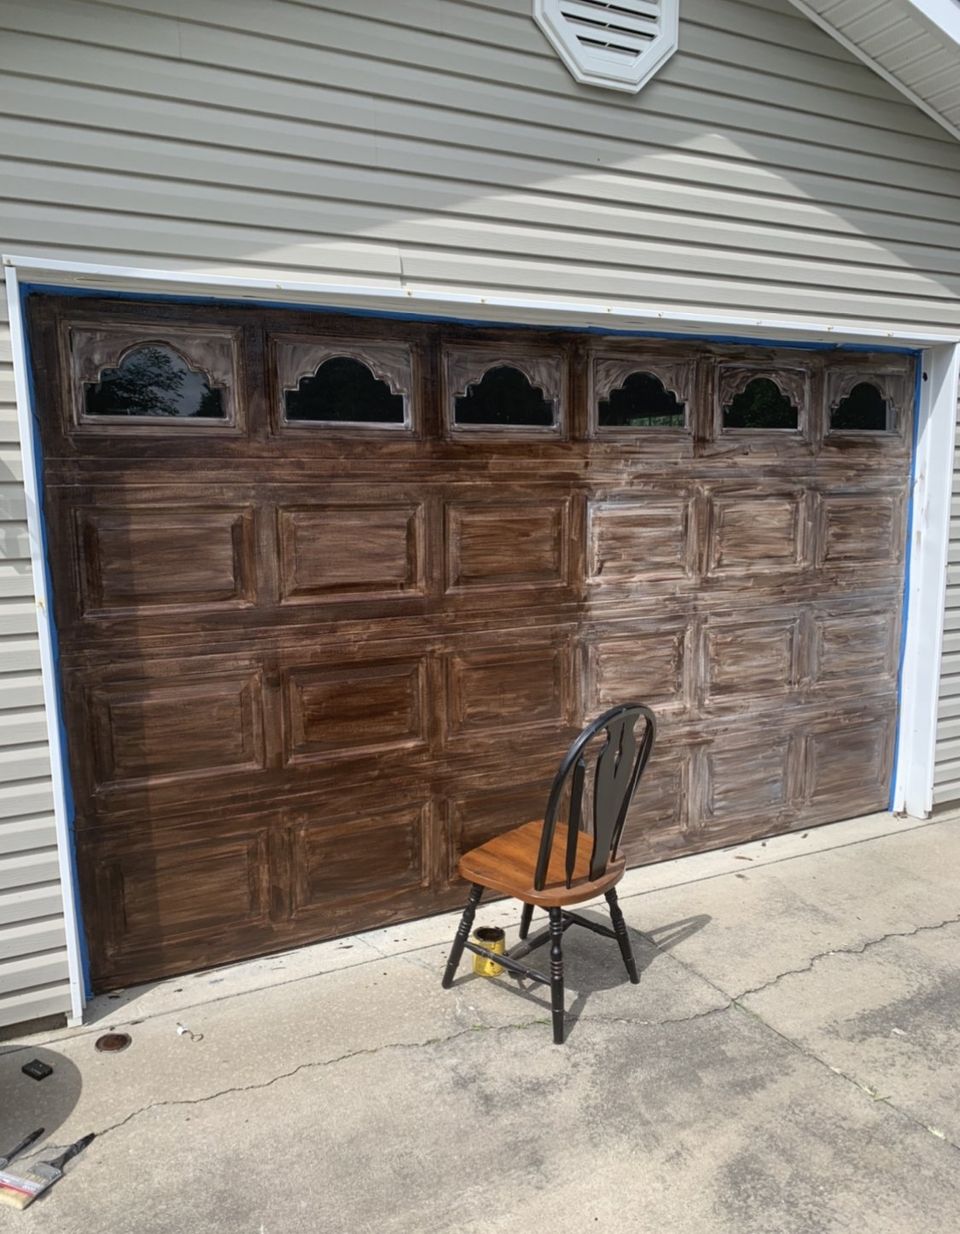
This is the time I start to get excited, and relax a little. I can see the end result is in sight and feel pretty confident I haven't messed up our perfectly good garage door. Oh, and you can see my regulation safety ladder in this photo. Please disregard and do not use that for your ladder.
The Windows
Amazingly, and much to my surprise, the decorative window inserts easily popped out. It was just a plastic piece that held them in under a rubber edge. I popped them out in about five minutes with zero tools, so that was exciting.
Once they were out, I thought the windows needed a little something. They just looked so blank.
Faux Window Panes
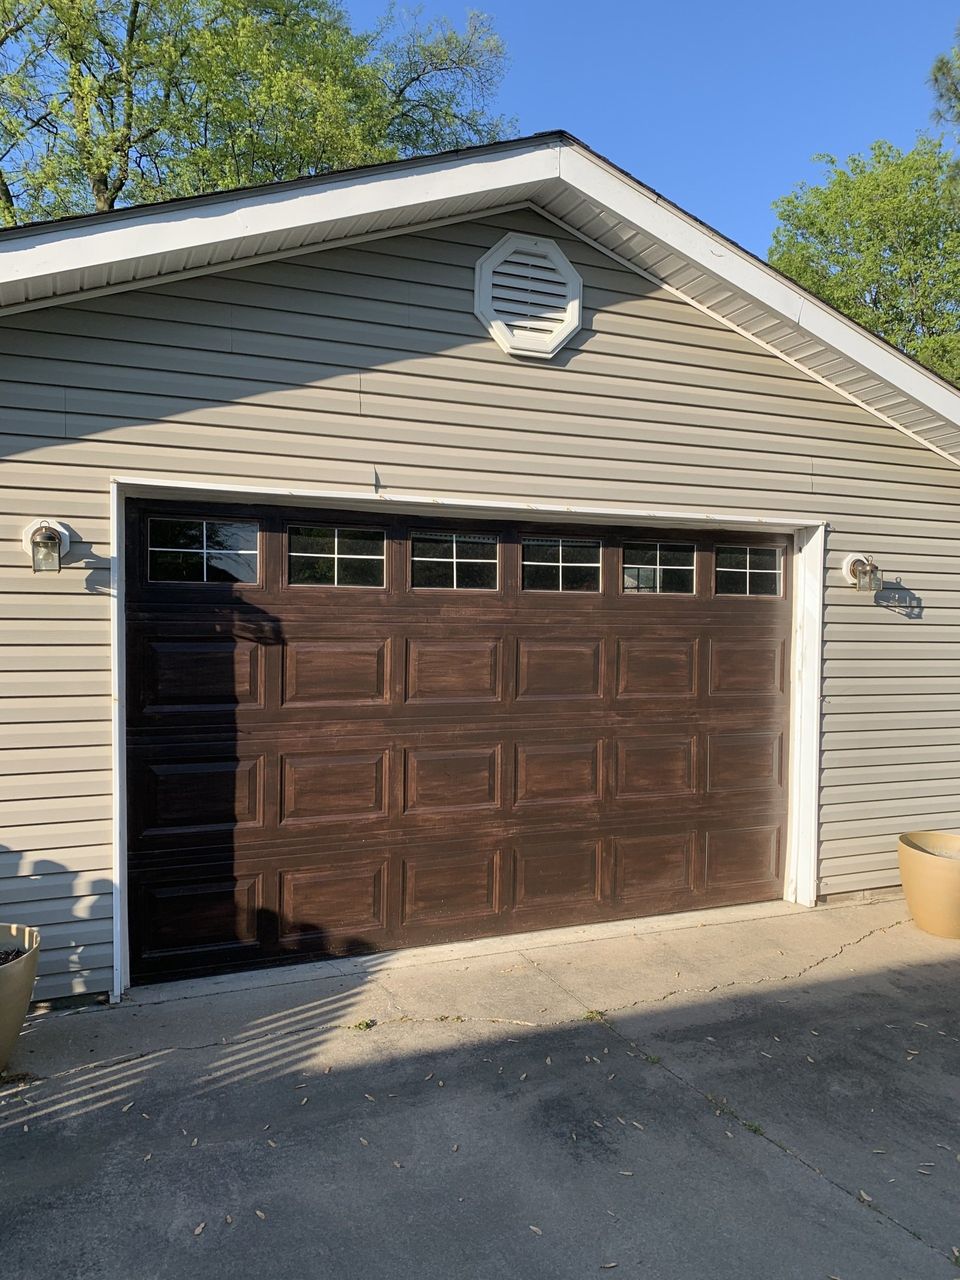
I measured and marked the center of the top and bottom of each window. Then, I marked the right and left sides of each. I used blue painter's tape to mark off an area to make a vertical stripe on each window approximately 1/4" wide. I used white chalk paint to paint the area with two coats. I repeated the process once the paint was dry with the horizontal stripes to create faux window panes.
I thought about painting them on the inside of the garage door, but decided to paint the faux panes on the outside. They look just fine a year later.
Gel Stain
I've used Minwax Gel Stain successfully on so many projects. It's easy to control and works perfectly on a vertical surface, since it's a gel consistency and won't just run or drip down the surface. I even use it in place of traditional stain in many projects. I used it the first time on the garage door of our house and STILL get compliments years later. I'm always shocked people actually think we just replaced it with a wood door. It works well on metal and you can use it over a painted surface. It sets on top of the surface you're staining, instead of soaking in like a traditional oil-based stain.
Pin for Later!

Rifle Paper Co Wallpaper

Space Planning

Rifle Paper Co Wallpaper

Designer Drapes

Rug Roundup January 2024

Booth at Christmas Market
Grasscloth

What not to do

Romabio Velatura Mineralwash

I can't remember the first example of fluted wood furniture I saw, but it was probably either this gorgeous custom wood bathroom vanity from Chris Loves Julia , or the DIY fluted coffee table Fariha shared on Pennies for a Fortune . The custom cabinetry was done professionally using a router for each line, which isn't something I possess the skills to do. This did help inspire the colors I used in our bathroom remodel, though! I really connected to the method Fariha used to build the coffee table--wooden dowels. What a fabulous idea!